Star of David Crochet Pattern
Star of David Crochet Pattern – The Short Answer
Materials and Pattern Basics
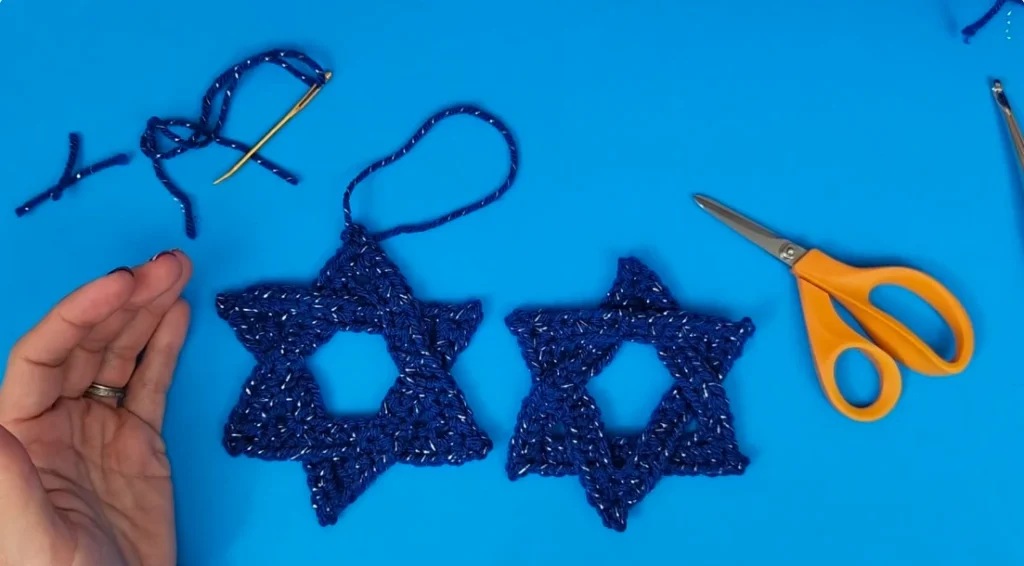
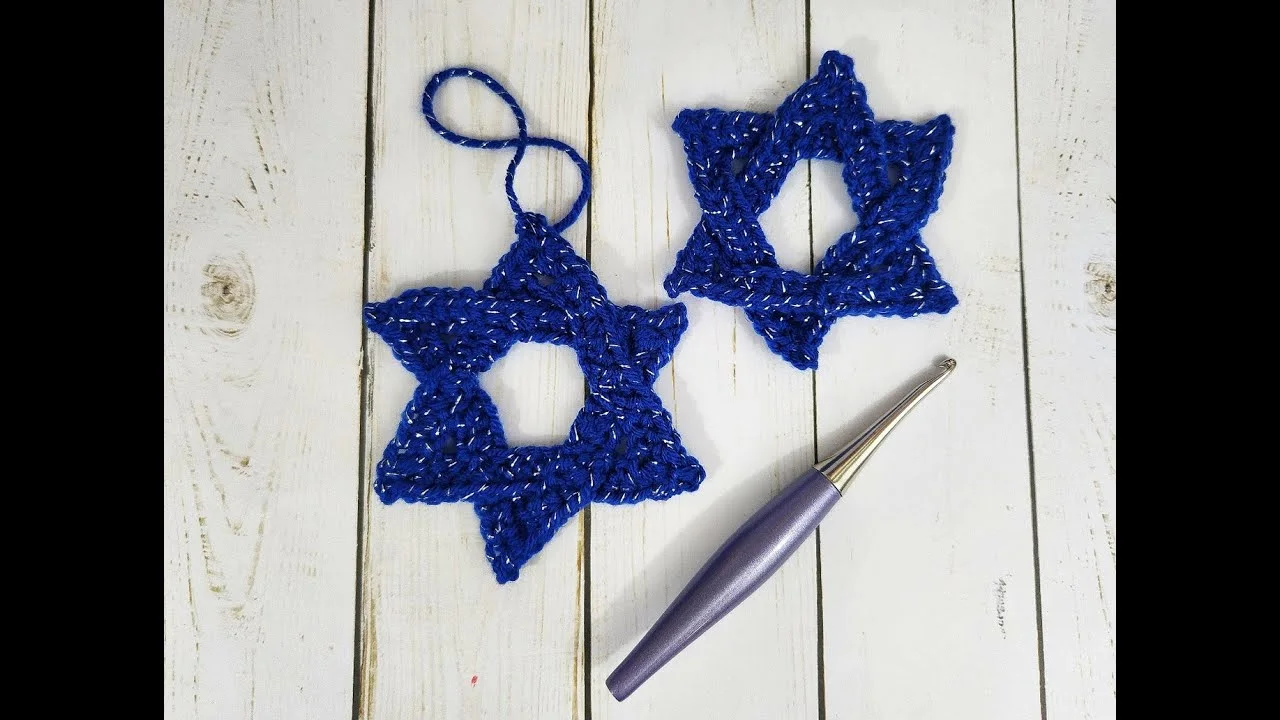
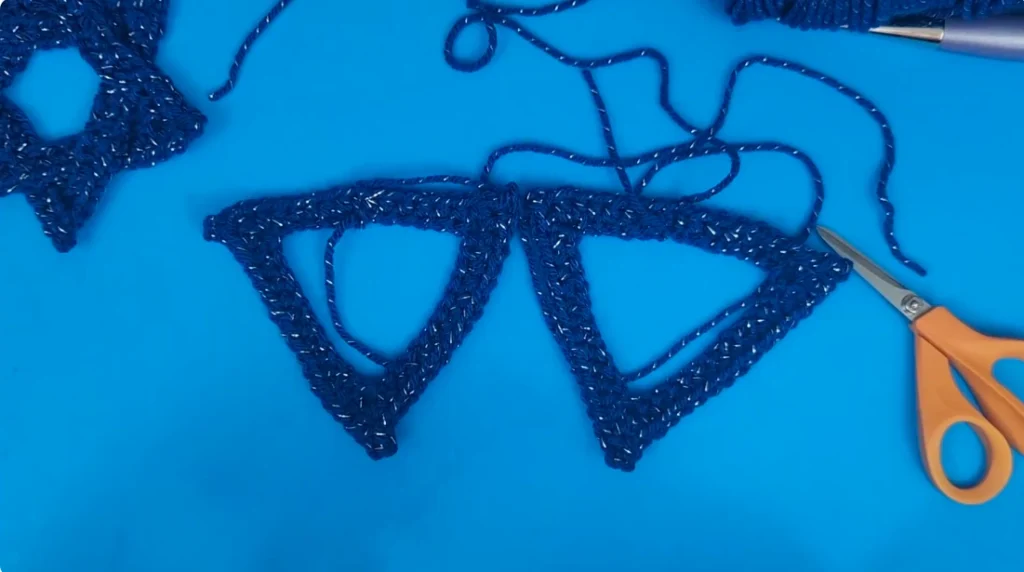
This Star of David crochet pattern is made by joining two identical crocheted triangles. Each triangle starts with a 36-chain foundation and is shaped with three pointed corners. The two completed triangles are then overlapped and interlocked to create the recognizable six-pointed Star of David.
For this project, gather the following Materials:
- Worsted-weight yarn
- Royal-blue yarn with silver metallic fiber, as used in the tutorial example
- H / 5 mm crochet hook
- Scissors
- Yarn, darning, or tapestry needle
The source does not provide a fixed yarn yardage or weight requirement, so no specific quantity is added.
The main stitches are chain, slip stitch, half double crochet, double crochet, and Pico. The abbreviations are ch for chain, sl st for slip stitch, hdc for half double crochet, and dc for double crochet. A 3-chain Pico is made by chaining 3 and slip stitching into the first chain.
Making the First Triangle
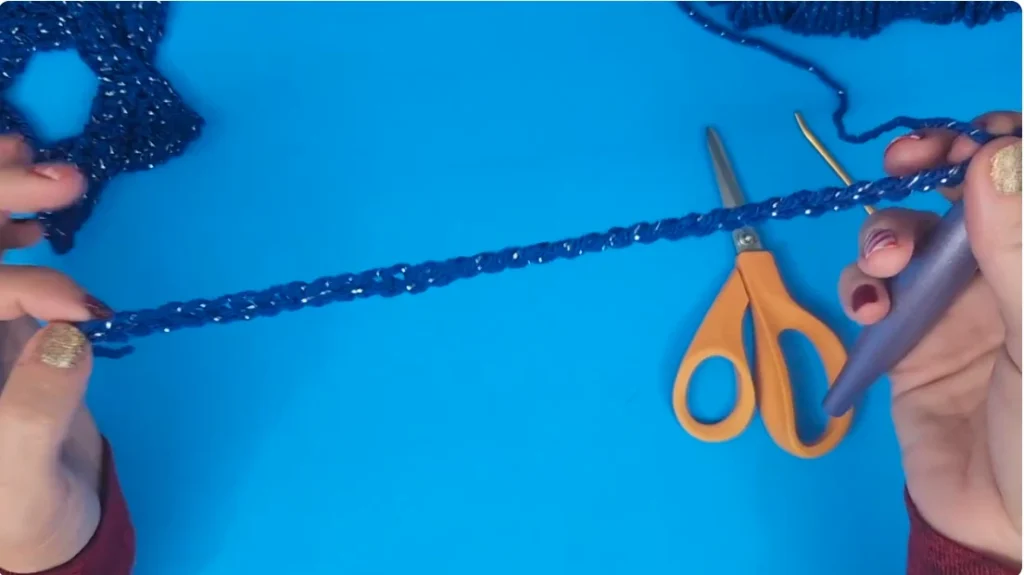
Begin with a slip knot and chain 36. Straighten the chain so it is not curled or twisted. Insert the hook into the first chain and make a slip stitch to close the chain into a ring. This 36-chain ring forms the foundation of the triangle.
After closing the ring, work the opening section:
- Chain 1.
- Make 1 hdc in the same stitch.
- Make 4 additional hdc in the next 4 stitches.
This creates the first group of 5 hdc before the first corner.
Working the Triangle Sides and Corners
The first corner is worked completely in the next stitch. Make 1 hdc, 1 dc, ch 3, slip stitch into the first chain of the 3-chain Pico, and 1 hdc in the same stitch. This creates the first pointed corner.
The corner formula is:
- 1 hdc
- 1 dc
- ch 3 Pico
- 1 hdc
After the first corner, work 11 hdc along the next side. Then make the second corner using the same formula. Work another 11 hdc for the next side, followed by the third corner using the same construction.
After the third corner, work 6 hdc to complete the remaining side. The complete triangle sequence is:
5 hdc → Corner → 11 hdc → Corner → 11 hdc → Corner → 6 hdc
The foundation can be checked as 5 + 1 + 11 + 1 + 11 + 1 + 6 = 36. The corner is worked into its designated foundation stitch, so the original foundation remains a 36-chain foundation.
Finishing Triangle One
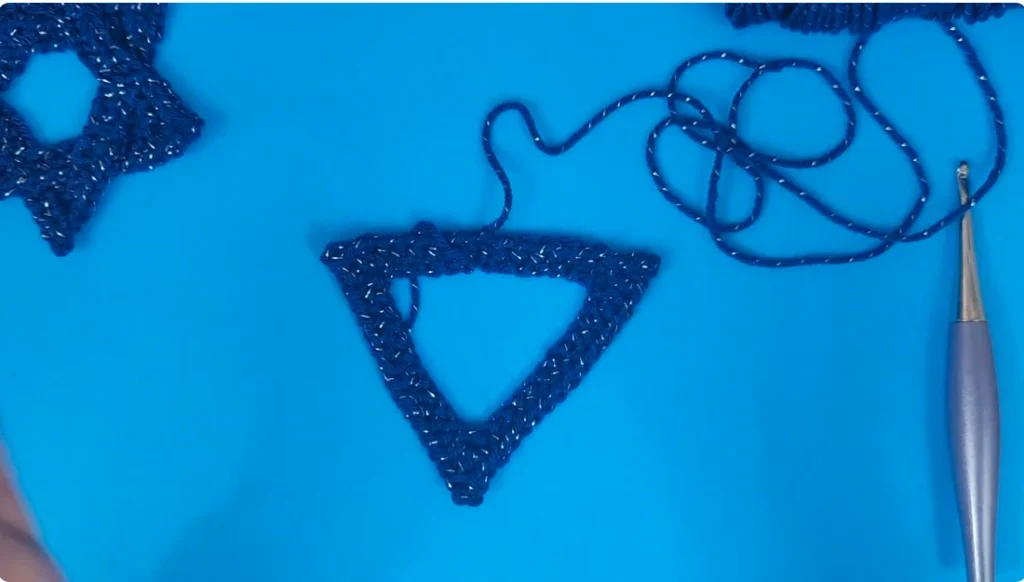
After completing the final 6 hdc, slip stitch into the first hdc of the triangle. Pull up a long yarn tail and cut the yarn. The first triangle is now ready for assembly.
Making the Second Triangle
Make the second triangle using exactly the same construction as the first. Start with a slip knot, chain 36, and close the foundation with a slip stitch.
Then repeat the same sequence:
- Chain 1 and make the opening group of 5 hdc.
- Work the first corner.
- Work 11 hdc.
- Work the second corner.
- Work 11 hdc.
- Work the third corner.
- Work 6 hdc.
- Finish the triangle.
Both triangles should have the same 36-chain foundation, side distribution, and three-corner construction.
Joining the Two Triangles
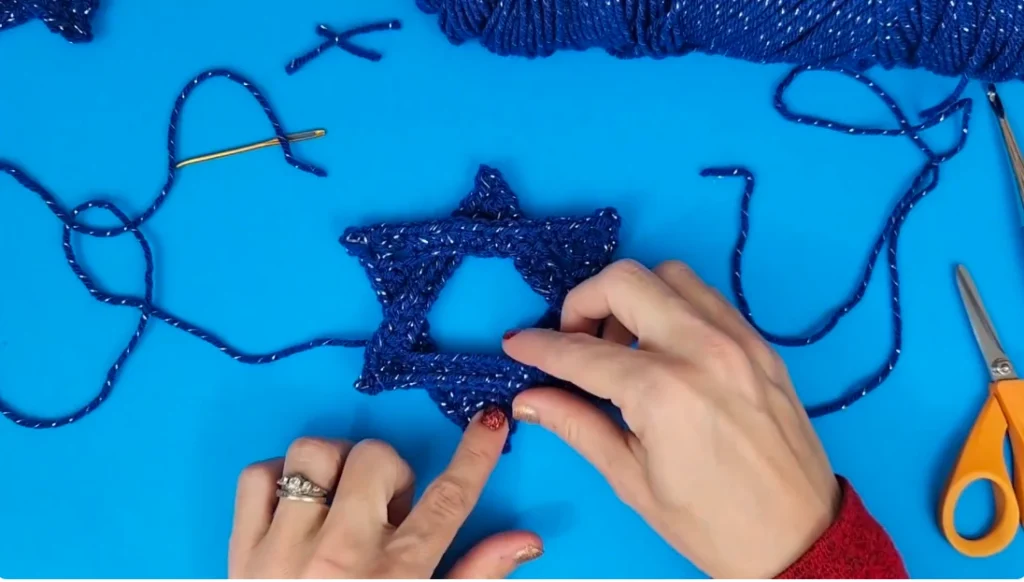
Once both triangles are complete, place one triangle over the other and position the points so they interlock. Tuck the point of the upper triangle beneath the appropriate flat section of the lower triangle, then position the opposite triangle in the corresponding overlapping direction.
Take time to adjust the pieces before sewing. The six points should be properly positioned, the two triangles should be centered, and the overlapping sections should remain straight. Do not secure the intersections until the desired Star of David shape is established.
Securing the Intersections
Use a yarn needle and one of the long yarn tails to secure the areas where the two triangles cross. At each crossing, make a few small running stitches while keeping the triangles in their correct positions.
As you move from one intersection to another, weave through the crochet stitches. Continue around the star until the overlapping triangles are securely connected. These stitches keep the two triangles from shifting apart. If an intersection feels loose, add a few additional small securing stitches.
Weaving in the Ends
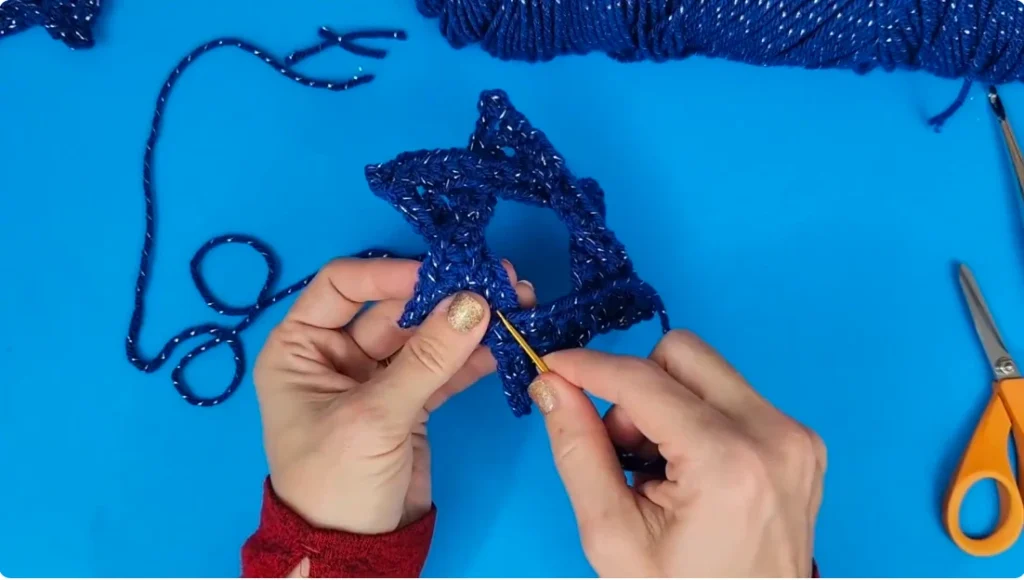
After all intersections are secure, turn the Star of David over and weave the remaining yarn ends through the back of the crochet stitches. Keeping the finishing work on the back makes it less visible from the front.
Once the ends are securely woven, trim the excess yarn close to the finished weave.
Optional Hanging Loop and Shape Refinement
For a hanging ornament, use a remaining yarn tail to form a small loop. Secure the loop with the yarn needle, tie it firmly, and trim or weave in the excess yarn.
Blocking is optional rather than part of the core construction. The supporting Winter Star source notes that a crocheted star may initially look somewhat flower-like and that blocking with pins at the tips can help define the star shape. However, the supplied tutorial does not establish blocking as a required step for this Star of David ornament.