Turtle Crochet Pattern
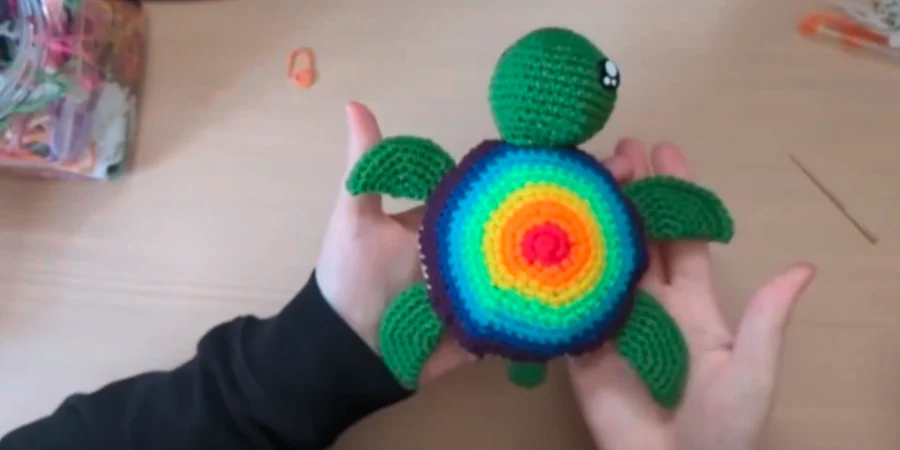
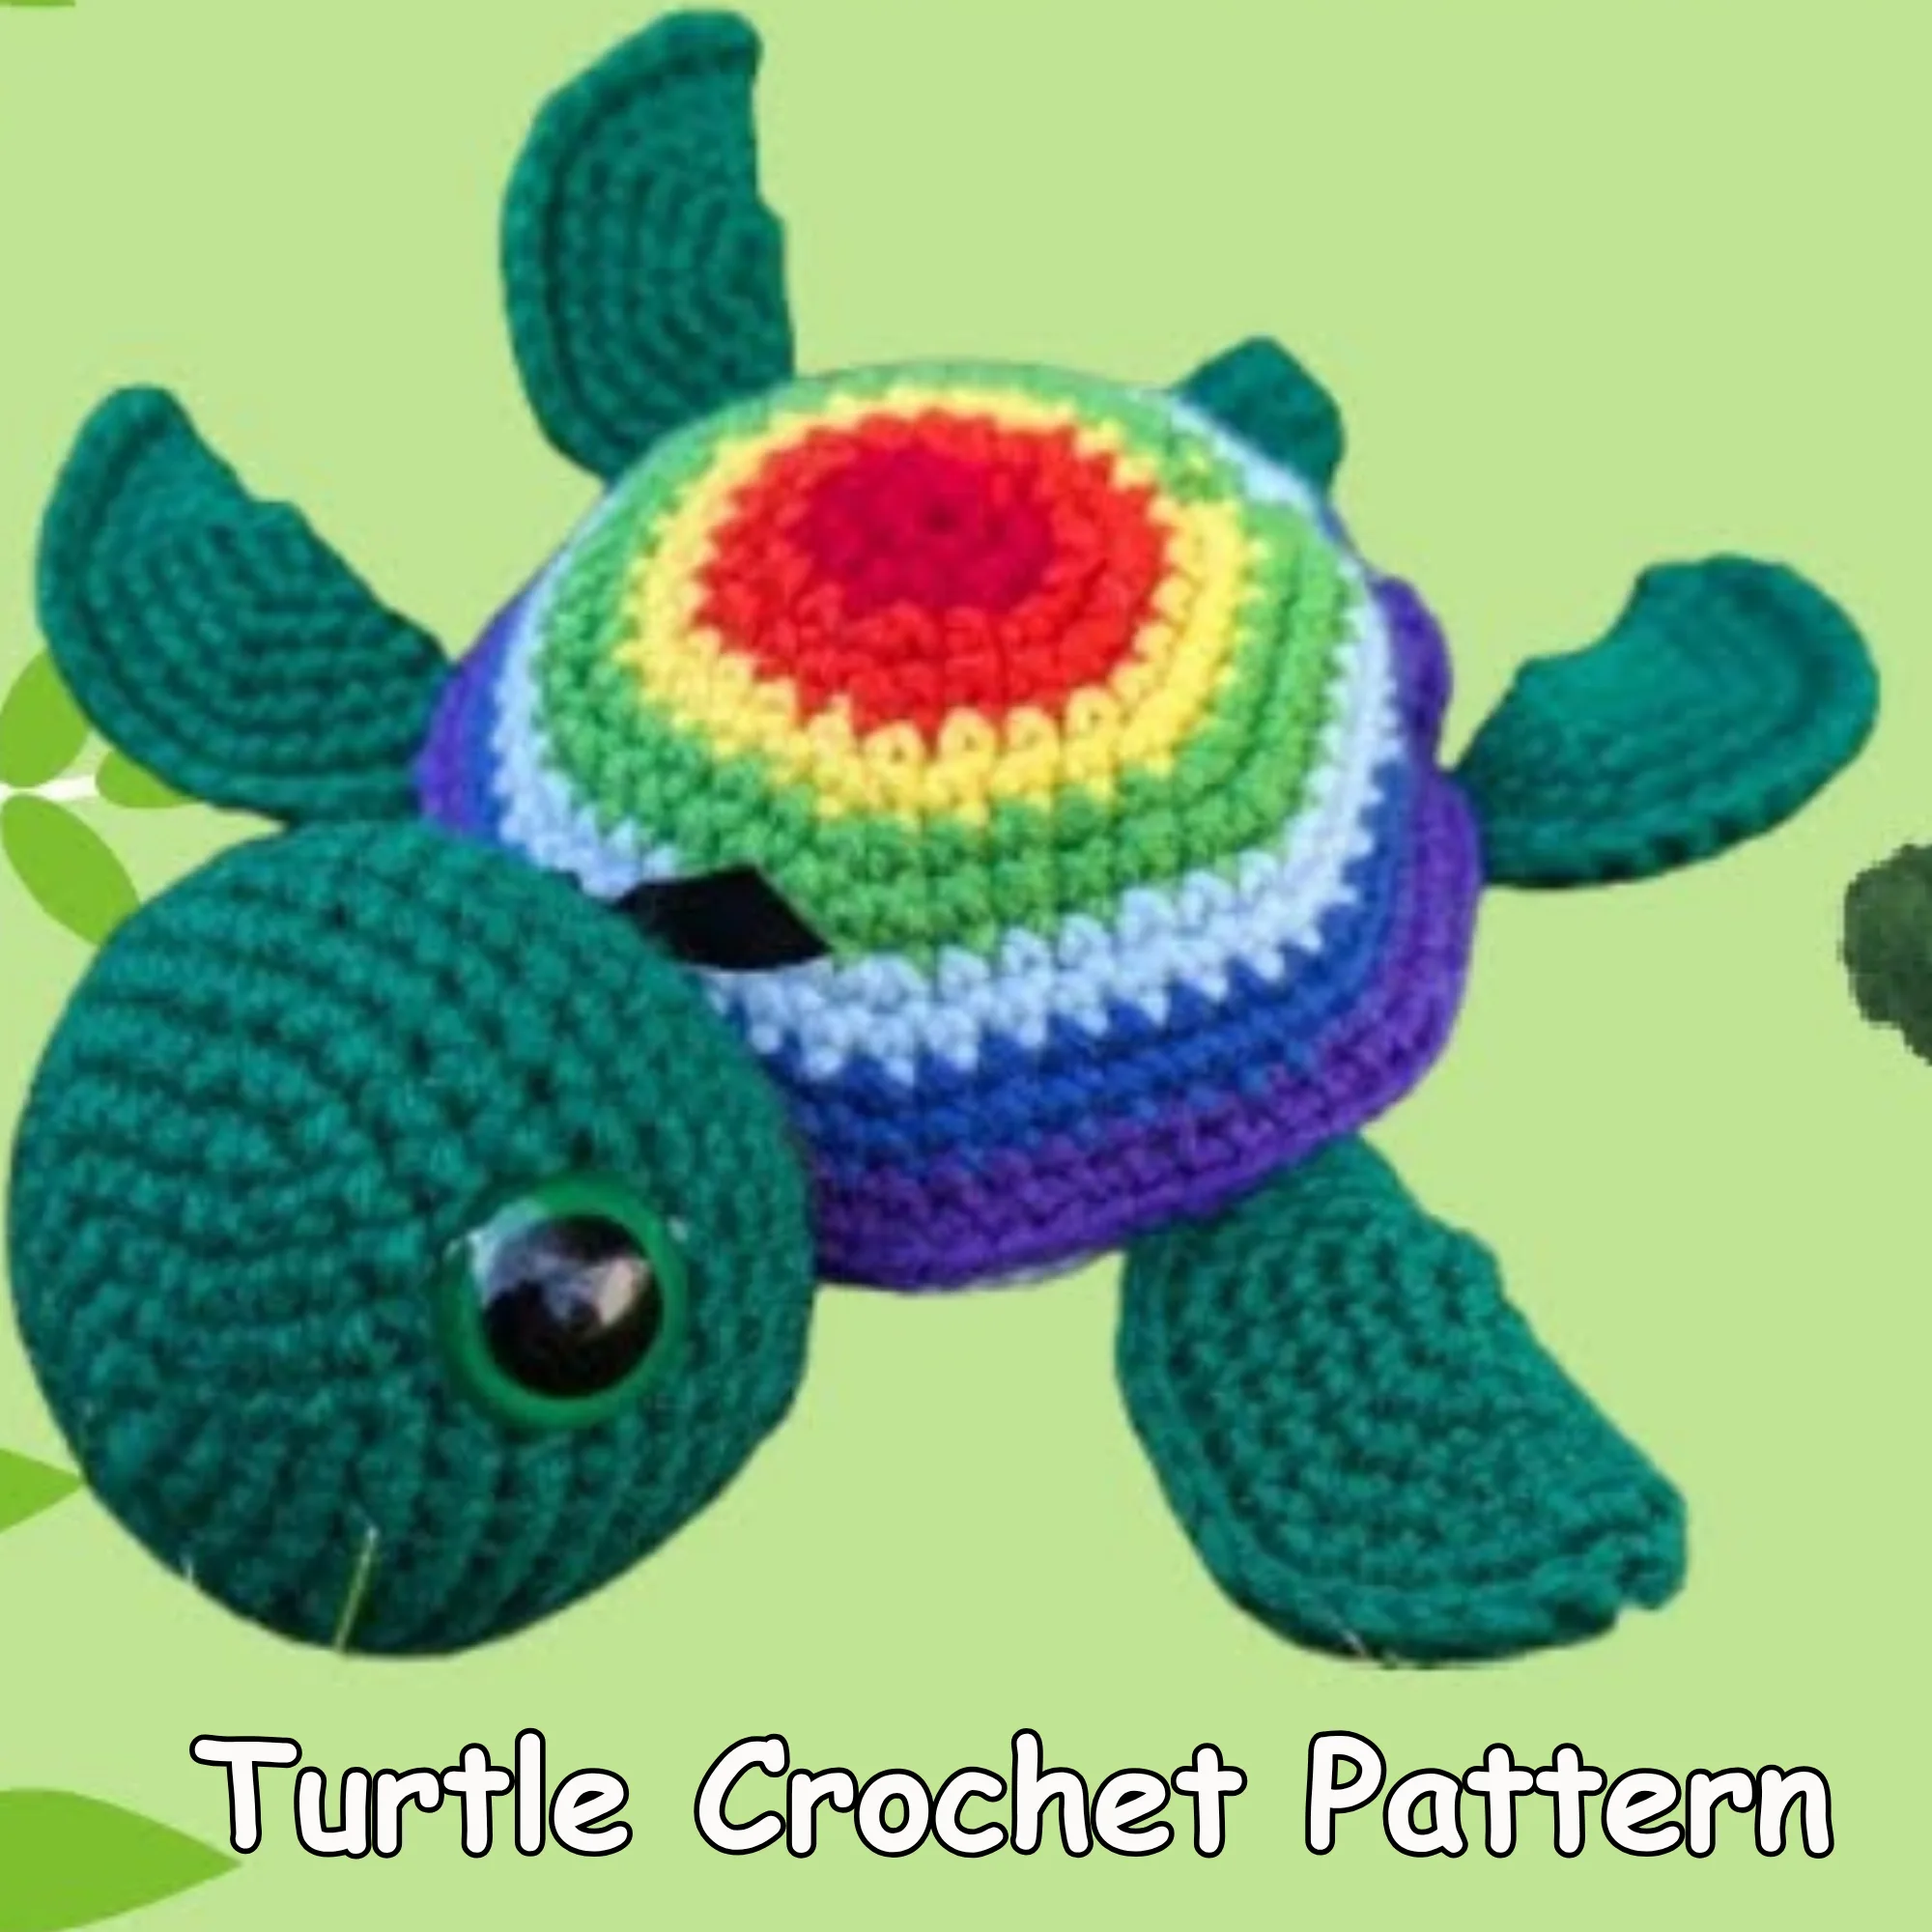
If you enjoy making colorful amigurumi, this turtle crochet pattern is a fun project with a cheerful rainbow shell and a simple dark green body. The shell is made in two separate pieces, while the fins, tail, and head are crocheted individually before everything is brought together. The finished turtle has a soft, rounded shape that comes mainly from the circular shell construction and careful stuffing.
The pattern uses US crochet terminology and relies on a few basic stitches, so the construction stays manageable throughout the project. The most distinctive part is the shell, where seven colors are worked in sequence to create the rainbow effect.
Turtle Crochet Pattern-The Short Answer
Materials
You will need rainbow-colored yarn for the shell top, dark green yarn for the turtle’s body parts, and tan yarn for the shell bottom. The original tutorial uses a 3 mm crochet hook, stuffing, a crochet or sewing needle, safety eyes, a stitch marker, and scissors.
The shell top uses red, orange, yellow, light green, light blue, dark blue, and violet. The shell bottom is tan, while the head, fins, and tail are worked in dark green.
The hook size should work well with your yarn. Keep in mind that changing yarn weight can affect the appearance of the finished shell, including how thick the rounds look and how pronounced the dome becomes.
Crochet Abbreviations
The pattern uses these US crochet terms:
- MC: Magic Circle
- SC: Single Crochet
- INC: Increase
- DEC: Decrease
- FO: Finish Off
For the color changes, the tutorial demonstrates pulling the new color through as the final yarn-over of the preceding stitch. This keeps the color transition neat and allows the next round to continue naturally.
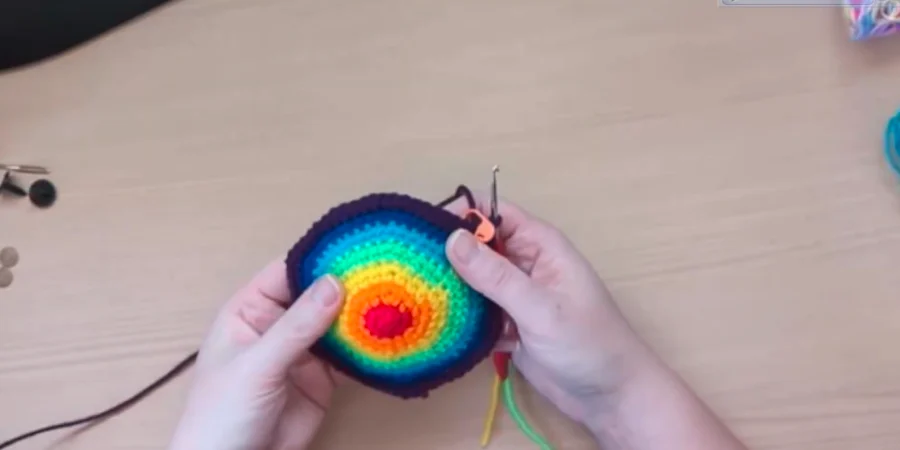
Rainbow Shell Top
The rainbow shell top is crocheted from the center outward. The increases gradually widen the piece while the color changes create the different sections of the shell.
Start with red yarn.
Round 1: Start with a Magic Circle and work 6 SC in the MC. [6]
Round 2: INC around. [12]
Change to orange at the end of the round. Leave the final stitch unfinished and pull the orange yarn through.
Round 3: [SC, INC] × 6. [18]
Round 4: [2 SC, INC] × 6. [24]
Change to yellow.
Round 5: SC around. [24]
Round 6: [3 SC, INC] × 6. [30]
Change to light green.
Round 7: [4 SC, INC] × 6. [36]
Round 8: [5 SC, INC] × 6. [42]
Change to light blue.
Round 9: [6 SC, INC] × 6. [48]
Round 10: SC around. [48]
Change to dark blue.
Round 11: [7 SC, INC] × 6. [54]
Round 12: [8 SC, INC] × 6. [60]
Change to violet.
Round 13: [9 SC, INC] × 6. [66]
Round 14: [10 SC, INC] × 6. [72]
Finish off and leave a long yarn tail. This tail is used to sew the rainbow shell top to the tan shell bottom.
The stitch count increases from 6 to 72, with the unchanged counts in Rounds 5 and 10 helping create the intended shell shape:
6 → 12 → 18 → 24 → 24 → 30 → 36 → 42 → 48 → 48 → 54 → 60 → 66 → 72.
Shell Bottom
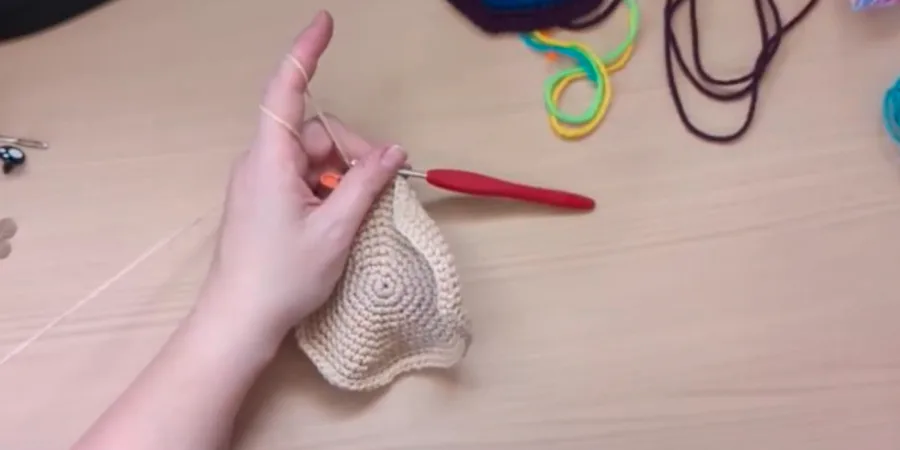
The shell bottom is worked separately in tan yarn. It forms a flat circular piece that will later be joined to the colorful shell top.
Round 1: 6 SC in MC. [6]
Round 2: INC around. [12]
Round 3: [SC, INC] × 6. [18]
Round 4: [2 SC, INC] × 6. [24]
Round 5: [3 SC, INC] × 6. [30]
Round 6: [4 SC, INC] × 6. [36]
Round 7: [5 SC, INC] × 6. [42]
Round 8: [6 SC, INC] × 6. [48]
Round 9: [7 SC, INC] × 6. [54]
Round 10: [8 SC, INC] × 6. [60]
Round 11: [9 SC, INC] × 6. [66]
Round 12: [10 SC, INC] × 6. [72]
Finish off and tuck the remaining yarn inside during assembly. The shell bottom follows a steady increase from 6 to 72 stitches.
Fins
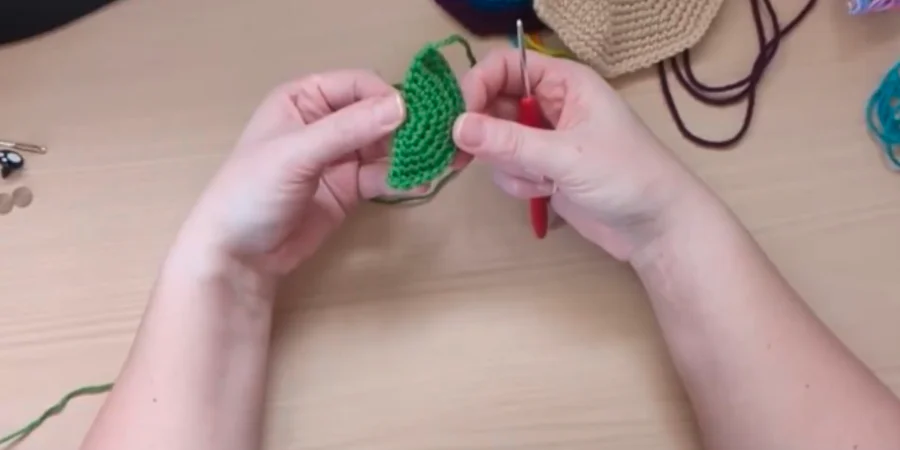
Make 4 fins in dark green yarn. Each one starts as a circular piece and is then folded in half to form the finished fin shape.
Round 1: 6 SC in MC. [6]
Round 2: INC around. [12]
Round 3: [SC, INC] × 6. [18]
Round 4: [2 SC, INC] × 6. [24]
Round 5: [3 SC, INC] × 6. [30]
Round 6: [4 SC, INC] × 6. [36]
After Round 6, fold the piece in half. Work SC through the corresponding stitches on both layers, joining the folded edge together. Continue across the edge until the joined section contains 18 stitches.
Finish off and repeat the same process for all 4 fins. The fins are not separately stuffed.
Tail
The tail is worked in dark green yarn and has a short, straightforward construction.
Round 1: 8 SC in MC. [8]
Rounds 2–5: SC around. [8]
Round 6: Fold the tail in half and SC the two sides together. [4]
Finish off. The tail is ready to be placed between the shell layers during assembly.
Head
Work the head in dark green yarn.
Round 1: 6 SC in MC. [6]
Round 2: INC around. [12]
Round 3: [SC, INC] × 6. [18]
Round 4: [2 SC, INC] × 6. [24]
Round 5: [3 SC, INC] × 6. [30]
Round 6: [4 SC, INC] × 6. [36]
Rounds 7–12: SC around. [36]
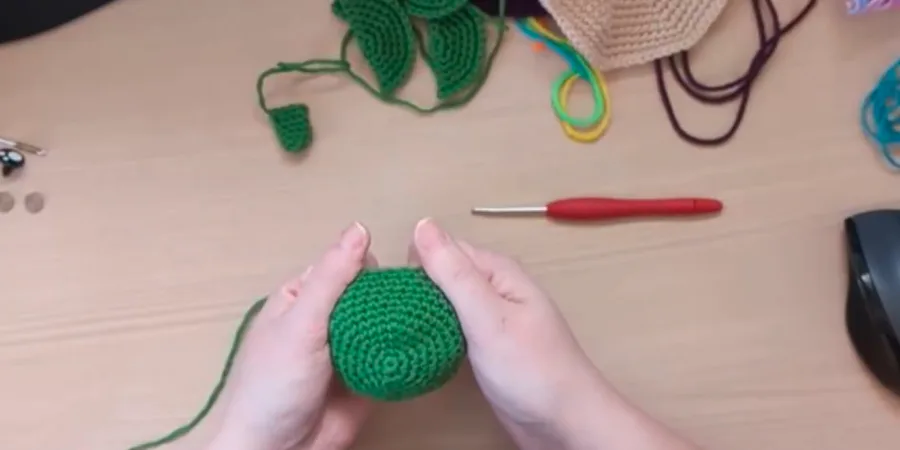
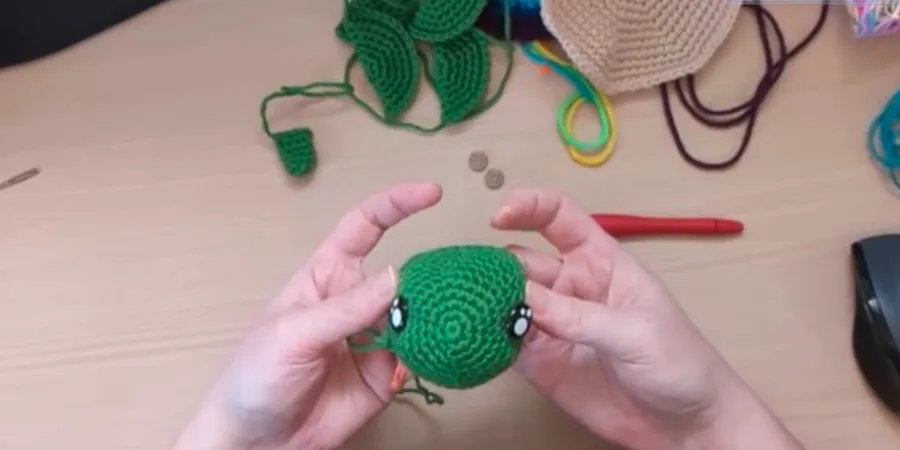
At the end of Round 12, the head has 36 stitches. The safety eyes are added before continuing with the decrease section.
Safety Eye Placement
Insert the two safety eyes between Rounds 7 and 8, with one eye on each side of the head. Check that they sit opposite one another before securing them in place.
Head Decrease Section
Round 13: [4 SC, DEC] × 6. [30]
Round 14: *Sc 3, Dec* x6 [24]
Round 15: *Sc 2, Dec* x6 [18]
Round 16: SC around. [18]
Finish off and leave a long yarn tail for sewing the head onto the finished turtle.
Shell Assembly
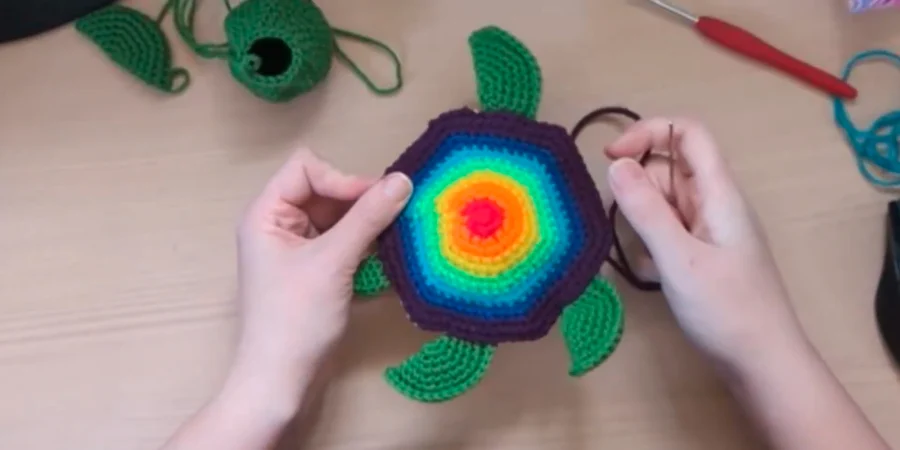
Once the shell top and shell bottom are finished, place the rainbow shell top over the tan shell bottom. Match the corresponding sections around the edge as closely as possible.
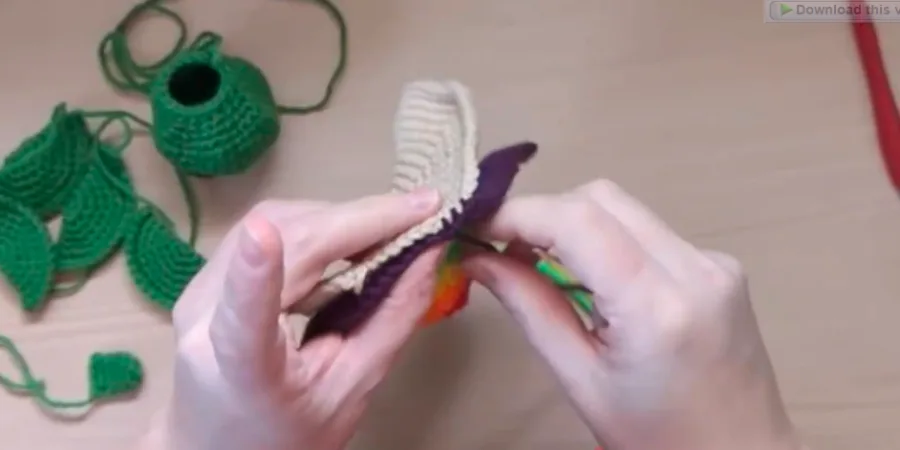
Use the long sewing tail from the shell top to join the two pieces with a whip stitch. The original tutorial notes that the alignment may not be perfectly symmetrical on the back, so concentrate on keeping the overall shell neat and evenly joined.
Adding the Tail
The tail is secured while the shell is being sewn together rather than being attached afterward.
Place the tail between the rainbow shell top and tan shell bottom. As you continue sewing, pass the needle through the bottom shell, the tail, and the top shell. Continue the whip stitch through the corresponding layers around the shell.
This places the tail securely between the two shell pieces and makes it part of the shell seam.
Adding the Fins
The four fins are attached in the same stage of assembly. Position each folded fin between the shell layers and angle it slightly backward.
Sew through the top shell, both layers of the fin, and the bottom shell. Once the fin is secure, continue the whip stitch around the shell edge.
Keeping the fins positioned evenly helps the finished turtle maintain a balanced appearance.
Stuffing
When the shell seam is nearly complete, begin adding stuffing. Add it gradually so you can control the shape instead of filling the turtle too firmly.
The bottom of the turtle should remain relatively flat, while the upper shell should have enough stuffing to hold its shape. Avoid overstuffing because too much filling can make the shell more rounded than intended.
Attaching the Head
After stuffing the turtle, position the head on the remaining open section of the shell. Check the direction of the eyes before sewing so the head sits correctly.
Keep the head’s half-circle shape while attaching it. The demonstrated technique works around the post of the stitches rather than simply sewing through the visible neck stitches. This helps reduce the visible seam and gives the head a cleaner connection to the shell.
If the head moves while you are sewing, pins can help hold it in place until the attachment is secure.
Final Assembly
The finished turtle comes together through a simple sequence. The shell pieces are joined first, with the fins and tail secured inside the seam. Stuffing is added before the shell is completely closed, and the head is attached afterward.
For a clean result, take your time with the shell alignment and check the position of each fin before sewing it permanently. The long sewing tail from the shell top is especially useful because it allows the shell layers and attachments to be secured with one continuous seam.
Pattern Accuracy
The Rainbow Turtle source confirms a 3 mm crochet hook, seven shell colors, a 72-stitch rainbow shell top, a 72-stitch tan shell bottom, four fins, a tail that closes from 8 stitches to 4, and a head that reaches 36 stitches before the decrease section.
The exact instructions for Head Rounds 14 and 15 are the only part that should remain unconfirmed until checked against the original tutorial. Keeping that limitation visible is safer than creating a stitch sequence that is not supported by the source.