Crochet Star of David Granny Square
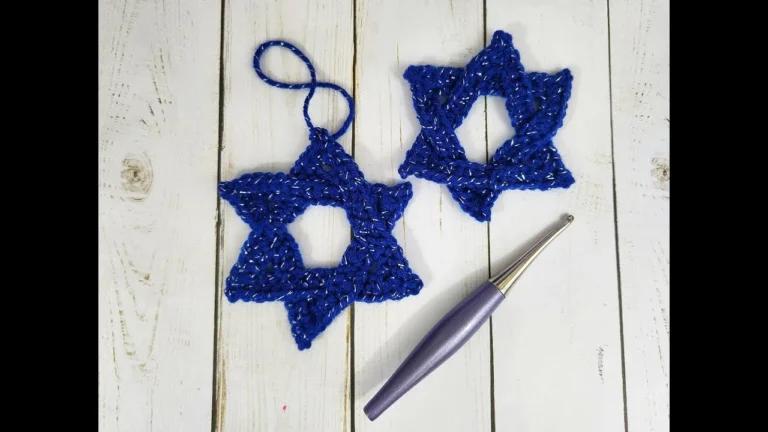
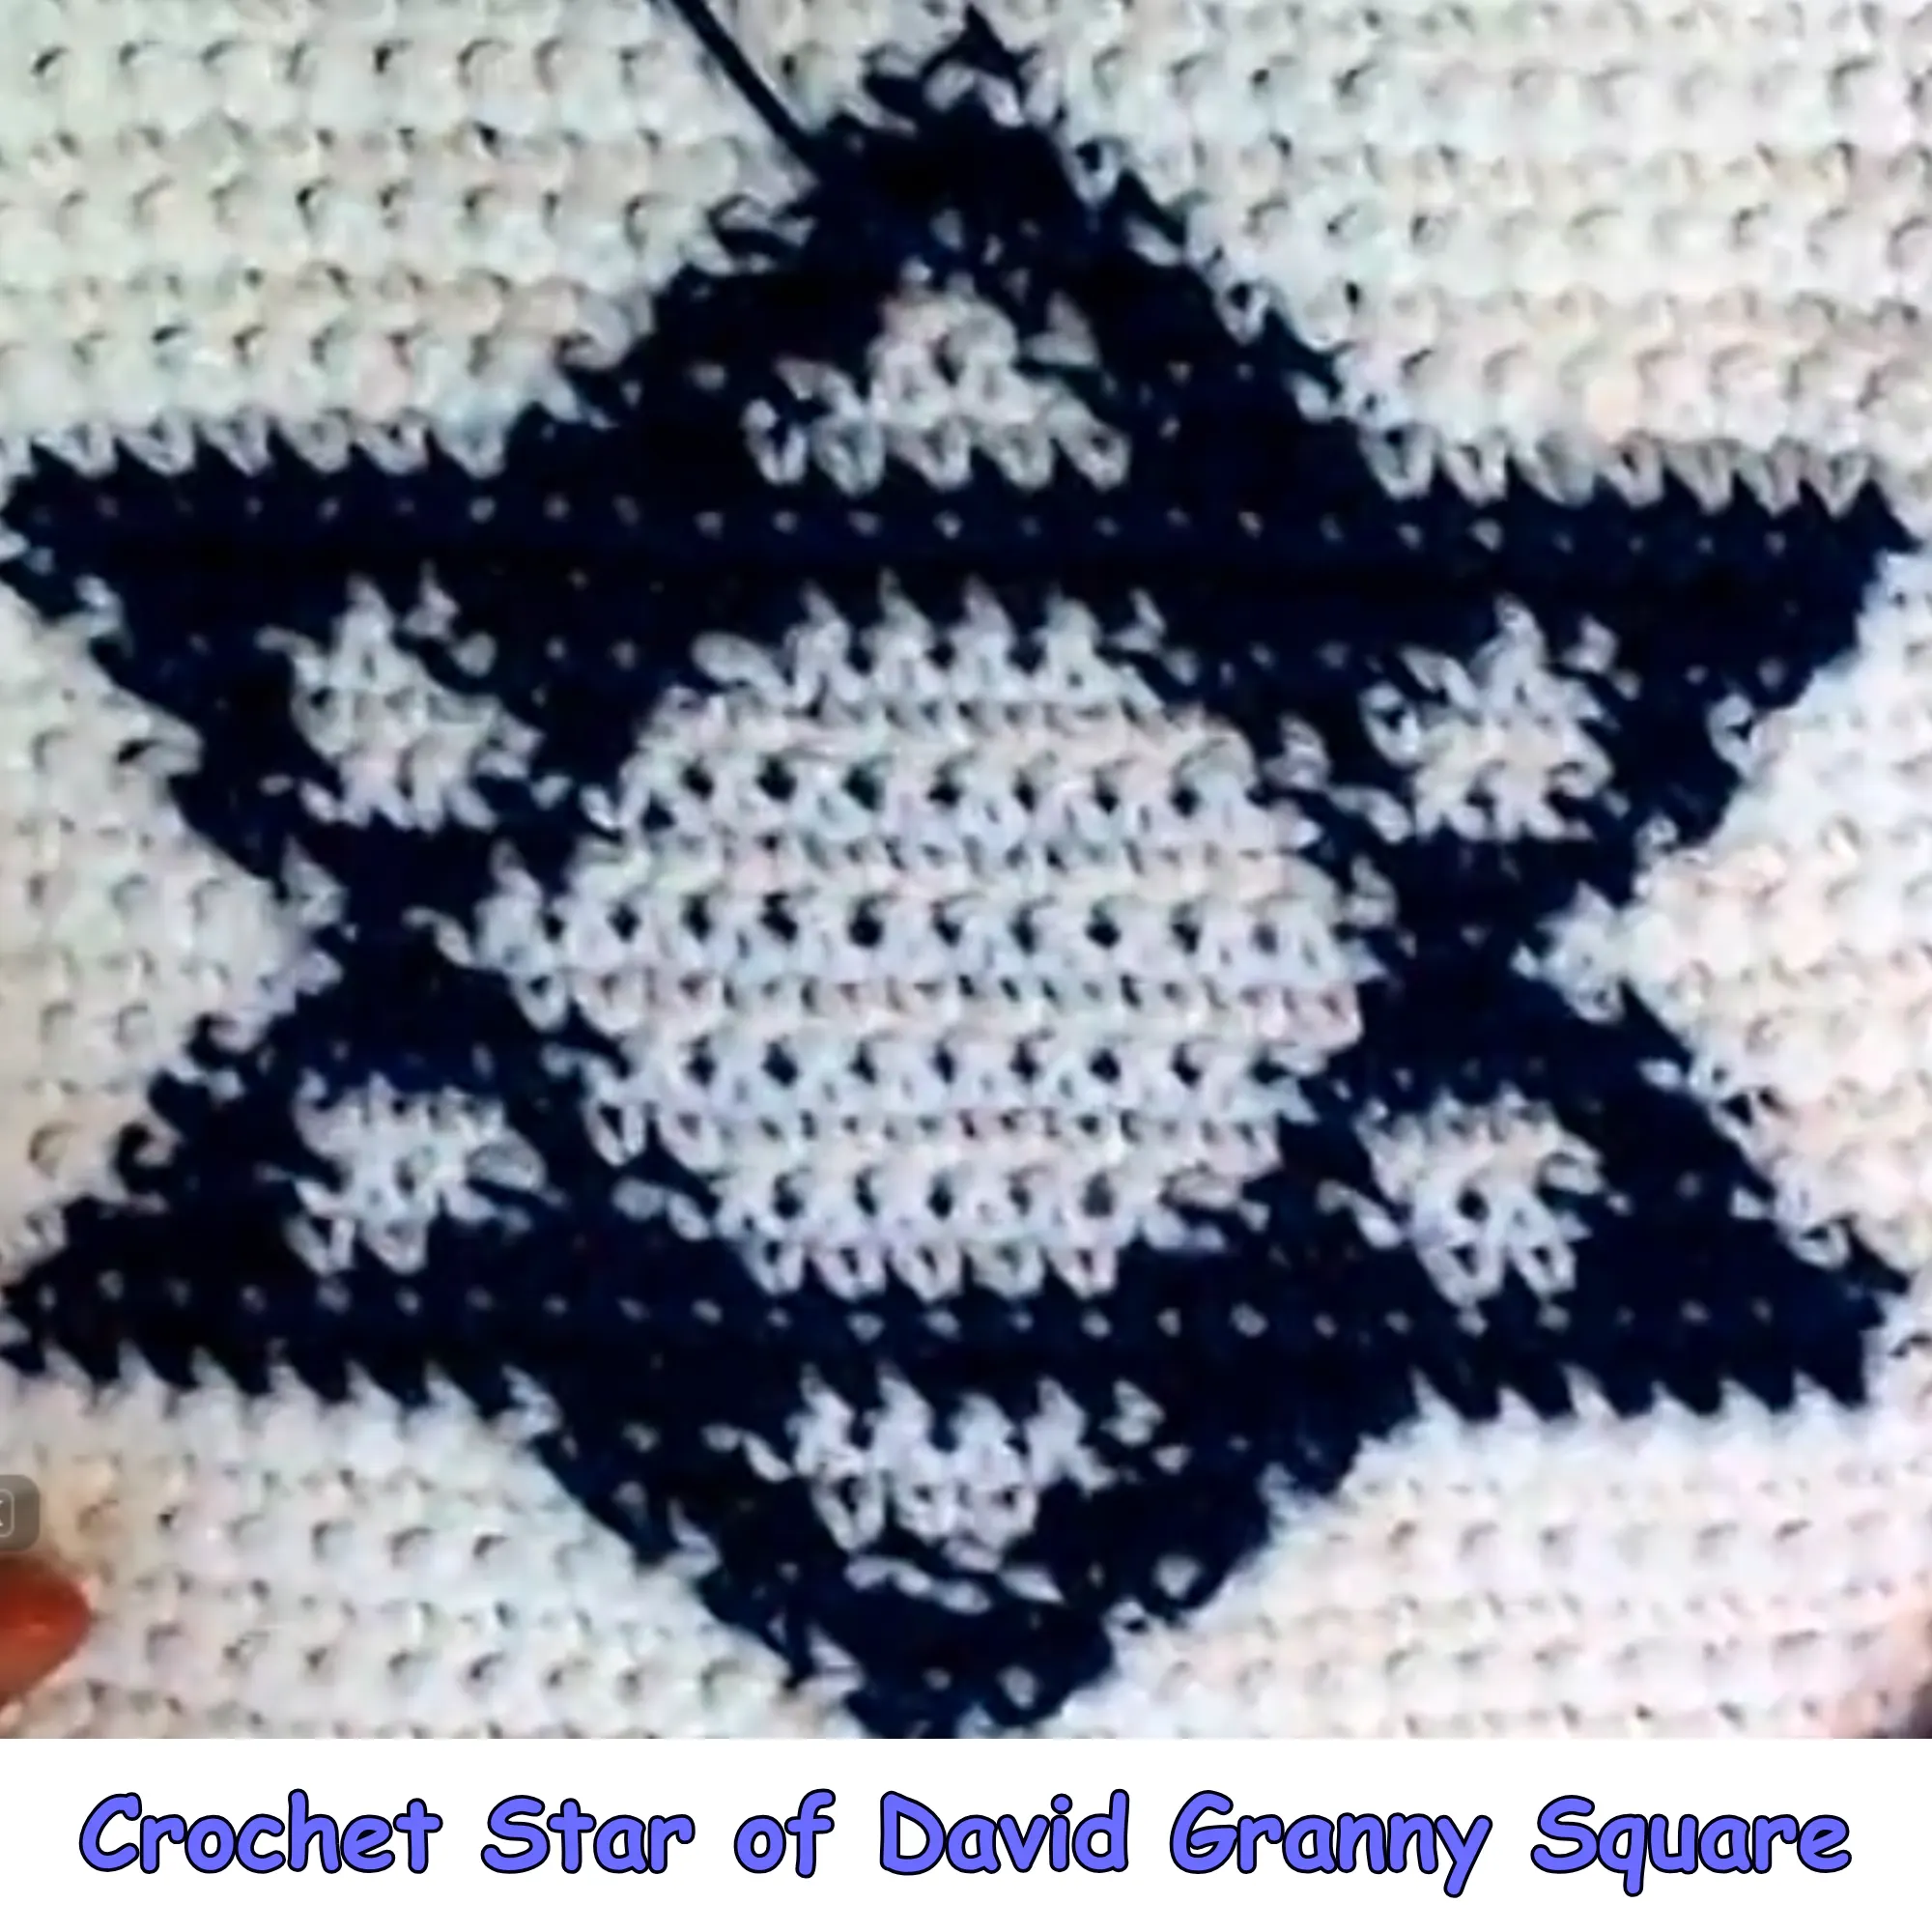
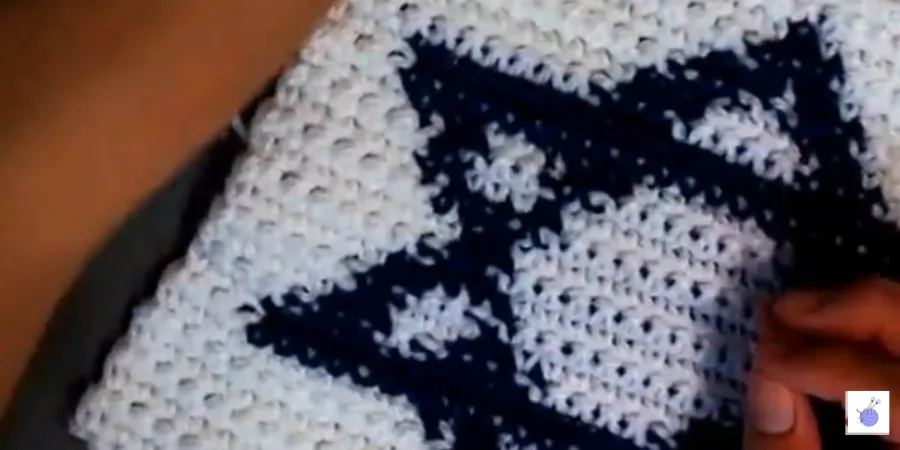
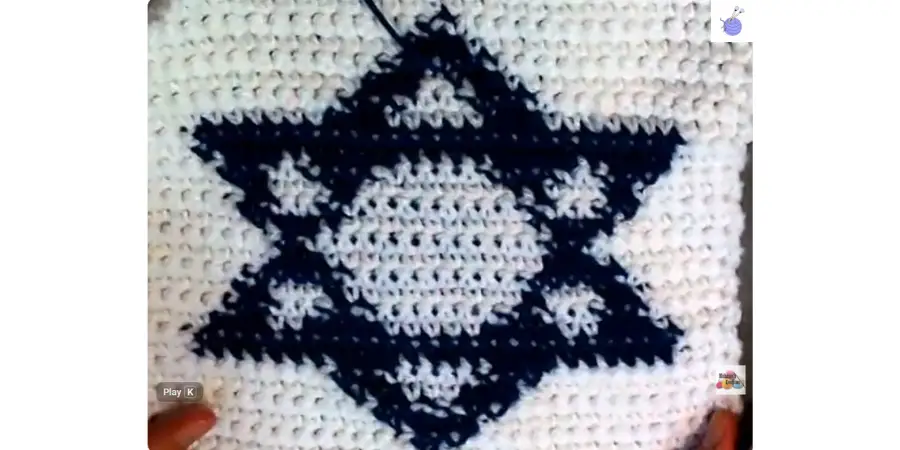
The Crochet Star of David Granny Square is a flat crochet colorwork project featuring a blue Star of David worked directly into a white single crochet background. Instead of making the Star of David separately and attaching it afterward, the motif is created as part of the crochet fabric through carefully placed color changes.
This project is worked back and forth in rows using white and blue yarn and a 5 mm / US H crochet hook. As the blue stitches change position from row to row, they gradually form the geometric Star of David. The finished panel is approximately 22 cm (8.6 in) wide and 20 cm (7.8–8 in) tall.
Although the source calls the project a “granny square,” its construction is different from a traditional round granny square. This design is a flat rectangular panel worked in rows, with no traditional granny-square corner clusters.
Crochet Star of David Granny Square – The Short Answer
Materials
You only need a few basic crochet supplies for this project:
- White yarn
- Blue yarn
- 5 mm / US H crochet hook
- Tapestry or darning needle
- Scissors
White yarn creates the background, while blue yarn forms the Star of David. The crochet hook is used for the single crochet fabric, and the tapestry needle is used to weave in the yarn tails when the panel is finished.
Crochet Abbreviations
This pattern uses American crochet terminology.
- ch — chain
- sc — single crochet
- sl st — slip stitch
- st / sts — stitch / stitches
- BLO — back loop only
- RS — right side
- WS — wrong side
- W — white
- B — blue
The abbreviations you will use most often are sc, W, and B because the Star of David is created by changing between white and blue yarn while working single crochet stitches.
How to Make the Crochet Star of David Granny Square
The panel is worked flat from the bottom upward. Every row is made with single crochet, while the changing blue sections gradually create the Star of David against the white background.
Keep the width at 31 stitches as you work. The foundation chain contains 32 chains, but the first single crochet is worked into the second chain from the hook, giving you 31 stitches across.
Make the Foundation Chain
With white yarn, chain 32.
This foundation chain will create the base for the first row of the rectangular panel.
You should have:
32 chains
Work into the second chain from the hook to begin Row 1.
Row 1: Work the White Foundation
Work 1 sc in the second chain from the hook.
Continue with 1 sc in each chain across until you reach the end.
You should have:
31 white single crochet stitches
Chain 1 and turn to begin Row 2.
Row 2: Complete the White Background
Chain 1 and turn.
Work 1 sc across all 31 stitches using white yarn.
You should have:
31 stitches
This creates the plain white base before the blue colorwork begins.
Chain 1 and turn for Row 3.
Row 3: Begin the Star of David
Work 14 white single crochet stitches.
On the next stitch, change from white to blue while completing the single crochet. Then work 1 blue stitch.
Continue with 16 white single crochet stitches across the rest of the row.
You should have:
31 stitches
The single blue stitch creates the first point of the Star of David.
Chain 1 and turn for Row 4.
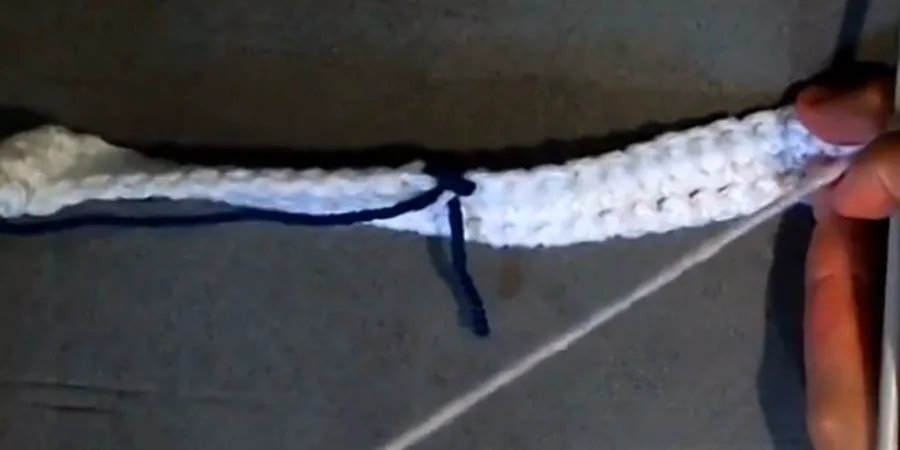
Row 4: Expand the Blue Motif
Work 13 white single crochet stitches.
Change to blue while completing the next stitch, then work the blue section across 4 stitches.
Return to white and work 14 white stitches to finish the row. The final blue stitch is completed by changing back to white.
You should have:
31 stitches
The blue section is now wider than it was in Row 3.
Chain 1 and turn for Row 5.
Row 5: Continue the Blue Section
Work 12 white single crochet stitches.
Change to blue while completing the next stitch and continue working the blue section across the center.
Return to white at the indicated color-change point and continue across the remaining stitches.
You should have:
31 stitches
The blue portion continues expanding as the Star of David develops.
Chain 1 and turn for Row 6.
Row 6: Continue the Colorwork
Work the white stitches at the beginning of the row.
Change to blue while completing the appropriate single crochet and continue through the blue section. Return to white at the opposite edge of the motif and complete the rest of the row.
You should have:
31 stitches
Keep the unused yarn relaxed behind the work while carrying it through the colorwork.
Chain 1 and turn for Row 7.
Row 7: Create the Separated Blue Sections
Work 10 full white stitches.
Change to blue while completing the next stitch, then work 2 full blue stitches.
Return to white and continue through the white section. When the next blue section is reached, change to blue again and work the required blue stitches before returning to white.
Finish the row with the remaining white stitches.
You should have:
31 stitches
The blue colorwork is now beginning to divide into separate sections, creating the stepped geometry of the motif.
Chain 1 and turn for Row 8.
Row 8: Continue the Stepped Colorwork
Work 9 full white single crochet stitches.
On the 10th stitch, pull up a loop with white yarn, then grab the blue yarn and pull it through to complete the color change.
Carry the white yarn along with you and work 2 full blue single crochet stitches. On the third blue stitch, pull up the loop and change back to white.
Continue carrying the blue yarn while working 4 full white stitches.
On the fifth white stitch, pull up a loop and change to blue.
Carry the white yarn along with you and work 2 full blue stitches. On the third blue stitch, change back to white.
Continue working with white yarn to the end of the row.
You should have:
31 stitches
At this point, cut the blue yarn, leaving a tail to be worked in later. Chain 1 and turn for Row 9.
Note: The supplied transcript initially calls this “row nine” but later identifies the completed section as “row eight.” Based on the later numbering in the transcript, this section is treated here as Row 8.
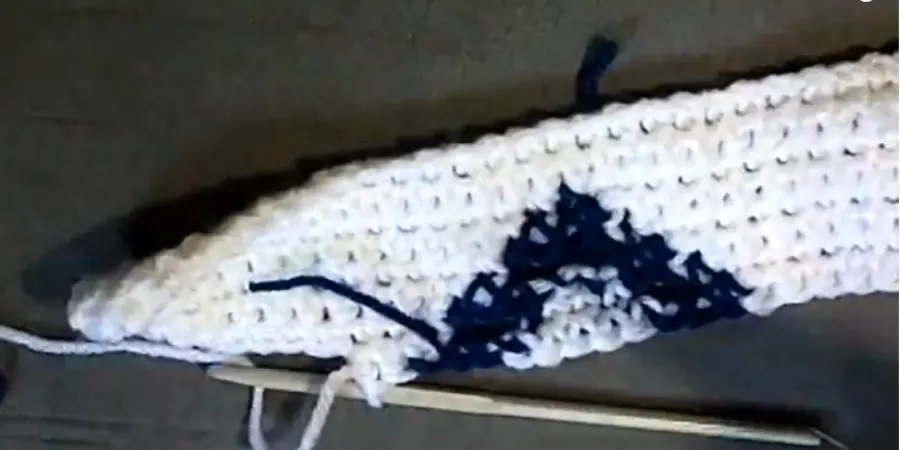
Row 9: Continue the Blue Sections
Work 9 full white single crochet stitches.
On the 10th stitch, pull up a loop with white, grab the blue yarn, and pull it through to complete the color change.
Carry the white yarn along with you and work 2 full blue stitches. On the third stitch, pull up with white and change back to white.
Continue carrying the blue yarn while working 4 full white stitches.
On the fifth white stitch, change to blue and carry the white yarn along with you. Work 2 full blue stitches, then change back to white on the third stitch.
Continue with white to the end of the row.
You should have:
31 stitches
Cut the blue yarn after the colorwork section, leaving a tail for finishing, then complete the row with white.
Chain 1 and turn for Row 10.
Row 10: Build the Broad Blue Section
Work 2 white single crochet stitches.
On the third stitch, pull up a loop with white and change to blue.
Carry the white yarn along the back and work 24 full blue stitches.
On the 25th blue stitch, change back to white while completing the stitch.
Drop the blue yarn and finish with 4 white stitches.
You should have:
31 stitches
This broad blue section forms an important central area of the Star of David.
Chain 1 and turn for Row 11.
Row 11: Continue the Central Colorwork
Begin with 3 white stitches.
Change to blue on the fourth stitch, then continue through the blue and white sections described by the source.
Work through the smaller blue sections, returning to white where indicated, and finish the row with the remaining white stitches.
You should have:
31 stitches
Keep each color change in its intended position because even a small change can affect the shape of the geometric motif.
Chain 1 and turn for Row 12.
Row 12: Work the Short Blue Sections
Continue the row with white single crochet stitches and the short blue sections described by the source.
The blue sections are separated by white stitches, continuing the geometric colorwork through the middle of the Star of David.
The supplied source has a spoken stitch-count inconsistency in this row, so the exact color placement should be checked against the original graph or tutorial rather than silently changing the source instructions.
Maintain the established:
31-stitch row width
Chain 1 and turn for Row 13.
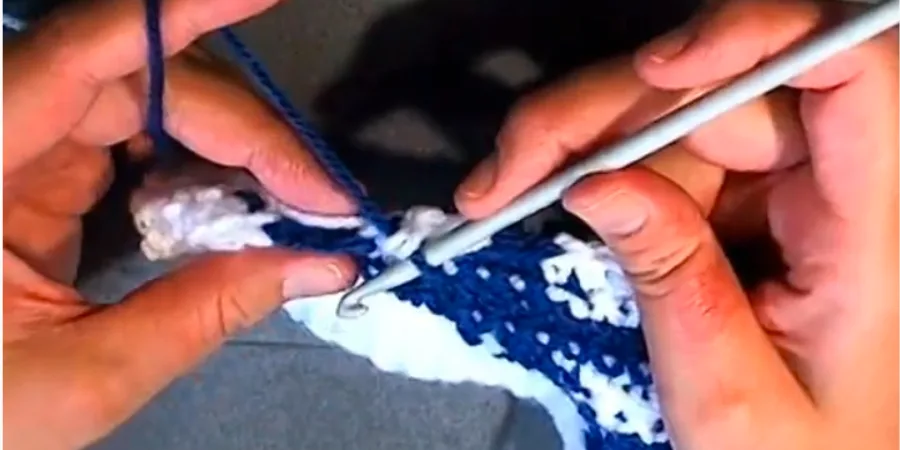
Row 13: Continue the Color Changes
Continue working the white and blue single crochet sections according to the source.
This row uses several short color changes, including stitches where the new color is introduced while completing the current single crochet.
The source notes inconsistencies in the spoken instructions for this row. Use the original graph or tutorial to verify the exact placement if you are preparing a fully standalone written pattern.
You should maintain:
31 stitches
Chain 1 and turn for Row 14.
Row 14: Complete the First Major Section
Work 5 white stitches.
Change to blue while completing the sixth stitch, then work 4 full blue stitches.
Return to white and work 8 white stitches.
Change to blue and work 4 blue stitches, then return to white and complete the remaining stitches.
You should have:
31 stitches
This completes the first major section of the Star of David colorwork.
Chain 1 and turn for Row 15.
Row 15: Continue the Star Motif
Work 6 white stitches.
Change to blue while completing the seventh stitch, then work 2 blue stitches.
Return to white and continue through the central white section before changing back to blue for the next short blue section.
Return to white and finish the row.
The source’s spoken ending count does not fully reconcile with the established 31-stitch width, so verify the final white section against the original graph or tutorial.
You should maintain:
31 stitches
Chain 1 and turn for Row 16.
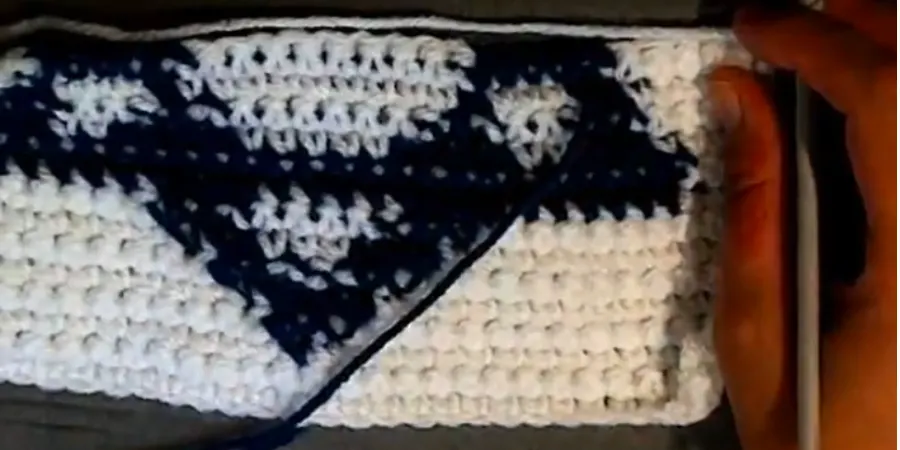
Row 16: Shape the Next Blue Sections
Work 6 white stitches, followed by 1 blue stitch.
Return to white and continue through the central white section. Change to blue again for the next short blue section, then return to white.
The source describes the second white section as reaching the 12th white stitch before the next color change.
You should have:
31 stitches
Chain 1 and turn for Row 17.
Row 17: Continue the Stepped Motif
Work 5 white stitches.
Work 4 blue stitches, then return to white.
Continue with 8 white stitches, followed by another 4 blue stitches.
Return to white and finish the remaining stitches.
You should have:
31 stitches
The white sections separate the blue colorwork and help define the geometric shape of the Star of David.
Chain 1 and turn for Row 18.
Row 18: Work the Short Color Sections
Continue with the white background and the multiple short blue sections described by the source.
When changing colors, remember that the stitch being completed in the new color belongs to that new color section.
Keep the carried yarn relaxed behind the work.
You should have:
31 stitches
Chain 1 and turn for Row 19.
Row 19: Continue the Stepped Edges
Work the white section at the beginning of the row, followed by the first blue section.
Continue with 2 white stitches, then work the next short blue section.
Work 6 white stitches, followed by the next blue section, then 2 white stitches and another blue section.
Finish the remaining stitches in white.
You should have:
31 stitches
The changing positions of the blue stitches continue forming the stepped edges of the Star of David.
Chain 1 and turn for Row 20.
Row 20: Shape the Central Motif
Work 3 white stitches, followed by 2 blue stitches.
Continue with white, then work 3 blue stitches.
Work the required white section, followed by another 3 blue stitches.
Return to white, work 2 blue stitches, and finish the row in white.
You should have:
31 stitches
The blue sections continue shaping the geometric center of the motif.
Chain 1 and turn for Row 21.
Row 21: Work the Broad Blue Center
Work 2 white stitches.
Change to blue and work 25 blue stitches.
Complete the 25th blue stitch by changing back to white.
Finish the row with 4 white stitches.
You should have:
31 stitches
This creates the broad central blue section of the design.
Chain 1 and turn for Row 22.
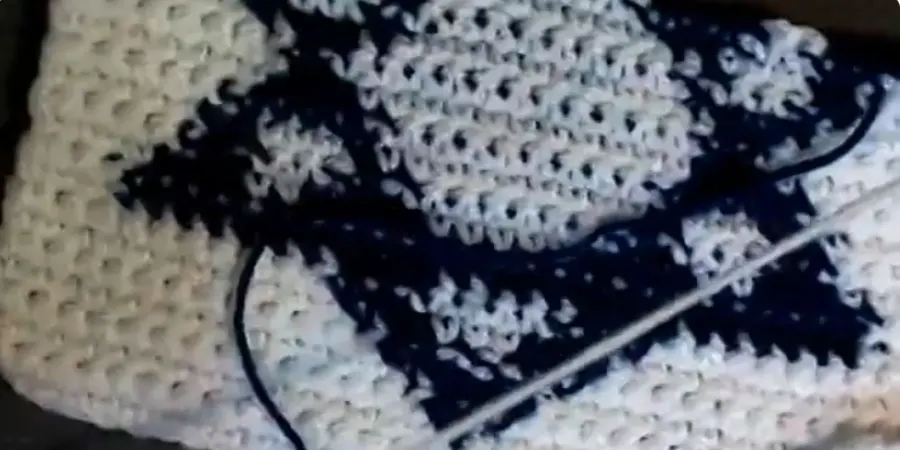
Row 22: Repeat the Broad Blue Section
Work 2 white stitches.
Work 25 blue stitches, then change back to white.
Finish with 4 white stitches.
You should have:
31 stitches
The two broad blue rows create the strong central area before the Star of David begins narrowing again.
Chain 1 and turn for Row 23.
Row 23: Begin Narrowing the Star
Work 9 white stitches.
Change to blue and work the short blue section.
Return to white and continue with the required white stitches before beginning the next blue section.
Work the second blue section and return to white to finish the row.
You should have:
31 stitches
The blue areas are now becoming smaller as the motif moves toward its upper point.
Chain 1 and turn for Row 24.
Row 24: Continue Narrowing the Motif
Work 10 white stitches.
Work 2 blue stitches, followed by 2 white stitches.
Work the next 2 blue stitches, then return to white and complete the remaining stitches.
You should have:
31 stitches
The separated blue sections continue reducing the width of the motif.
Chain 1 and turn for Row 25.
Row 25: Shape the Upper Colorwork
Work 11 white stitches.
Continue with the short blue sections described by the source, changing back to white at the indicated points.
Finish the remaining stitches in white.
You should have:
31 stitches
The exact color transitions in this row should be checked against the original graph because the spoken instructions are difficult to map precisely.
Chain 1 and turn for Row 26.
Row 26: Reduce the Blue Section
Work 12 white stitches.
Change to blue and work 4 blue stitches.
Change back to white, drop the blue yarn, and finish the remaining stitches in white.
You should have:
31 stitches
The blue motif is now much narrower than the broad central section.
Chain 1 and turn for Row 27.
Row 27: Continue the Final Narrowing
Work 13 white stitches.
Work 2 blue stitches, then return to white.
Drop the blue yarn when it is no longer needed and finish the remaining stitches in white.
You should have:
31 stitches
Only a small blue section remains as the Star of David approaches its final point.
Chain 1 and turn for Row 28.
Row 28: Complete the Blue Motif
Work 14 white stitches.
Work the 15th stitch in blue, then change back to white for the next stitch.
The blue yarn is no longer needed, so cut it and leave a tail for weaving in later.
Finish the row with white single crochet stitches.
You should have:
31 stitches
This final blue stitch completes the visible Star of David colorwork.
Chain 1 and turn for Row 29.
Row 29: Work the First Final White Row
Work 1 white single crochet across all 31 stitches.
Keep the stitches even across the row so the upper portion of the rectangular panel stays consistent.
You should have:
31 white stitches
Chain 1 and turn for Row 30.
Row 30: Complete the Panel
Work 1 white single crochet across all 31 stitches.
You should have:
31 stitches
These final white rows complete the 30-row height of the panel and leave the Star of David surrounded by the white background.
Finish the Crochet Star of David Panel
After Row 30, chain 1 and cut the white yarn, leaving a long tail if you plan to sew the panel onto another project.
Thread the remaining yarn tails onto a tapestry or darning needle and weave them securely through nearby crochet stitches.
The tutorial also demonstrates feeding the tails through nearby stitches and securing them before weaving them into the fabric. A smaller hook can also help when working with the yarn tails.
Finishing is especially important in this colorwork design because the changes between white and blue create yarn ends that need to be secured.
How to Change Colors in Single Crochet
Begin the single crochet with the current yarn color.
Insert the hook into the stitch and pull up a loop. Before completing the single crochet, introduce the new yarn color.
Pull the new color through the two loops on the hook to complete the stitch.
The new color is now ready for the following stitches. Use the same technique when changing from blue back to white.
Changing color while completing the stitch allows the new yarn color to appear in the correct stitch position and keeps the colorwork clean.
How to Carry the Unused Yarn
When you need the unused color again shortly after changing colors, carry it behind the work.
The active yarn forms the visible stitches while the unused yarn travels along the back until it is needed again.
Keep the carried yarn relaxed. Pulling it too tightly can cause the crochet fabric to pucker and may reduce the intended width of the panel.
Carry the unused color within the active colorwork area and drop it when it is no longer needed instead of carrying it across long sections of the white background.
Common Mistakes to Avoid
- Losing the 31-stitch width: Adding or skipping a stitch can change the shape of the panel.
- Changing colors too late: Make the color change while completing the appropriate single crochet.
- Pulling the carried yarn too tightly: Keep the unused yarn relaxed behind the stitches.
- Carrying yarn outside the motif: Drop the unused color when it is no longer needed.
- Leaving short tails: Leave enough yarn to weave the ends in securely.
- Letting the carried yarn twist: Keep the yarn relaxed and untwisted behind the work.
These details matter because the Star of David depends on the exact relationship between stitch position, color, and row progression.
Finished Size
The completed panel measures approximately:
- Width: 22 cm / 8.6 inches
- Height: 20 cm / approximately 7.8–8 inches
- Width: 31 stitches
- Height: 30 rows
The finished size is based on the source’s 5 mm / US H crochet hook, 31-stitch row width, and 30-row construction.