Totoro Crochet Pattern
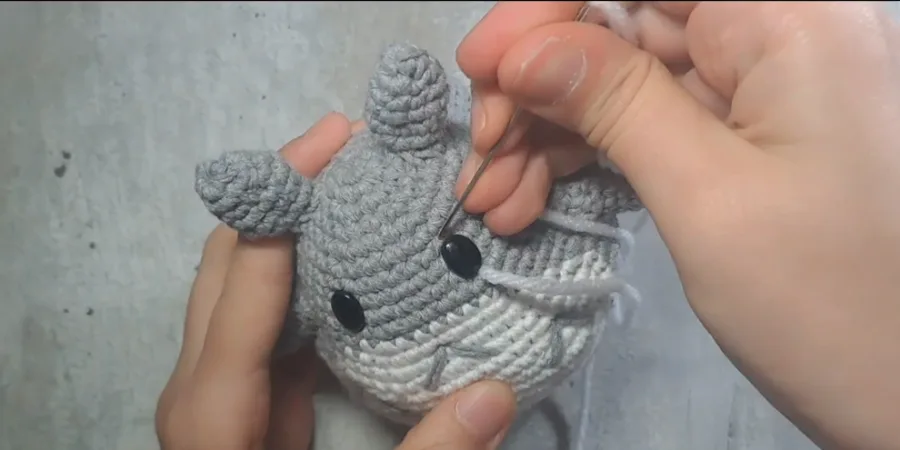
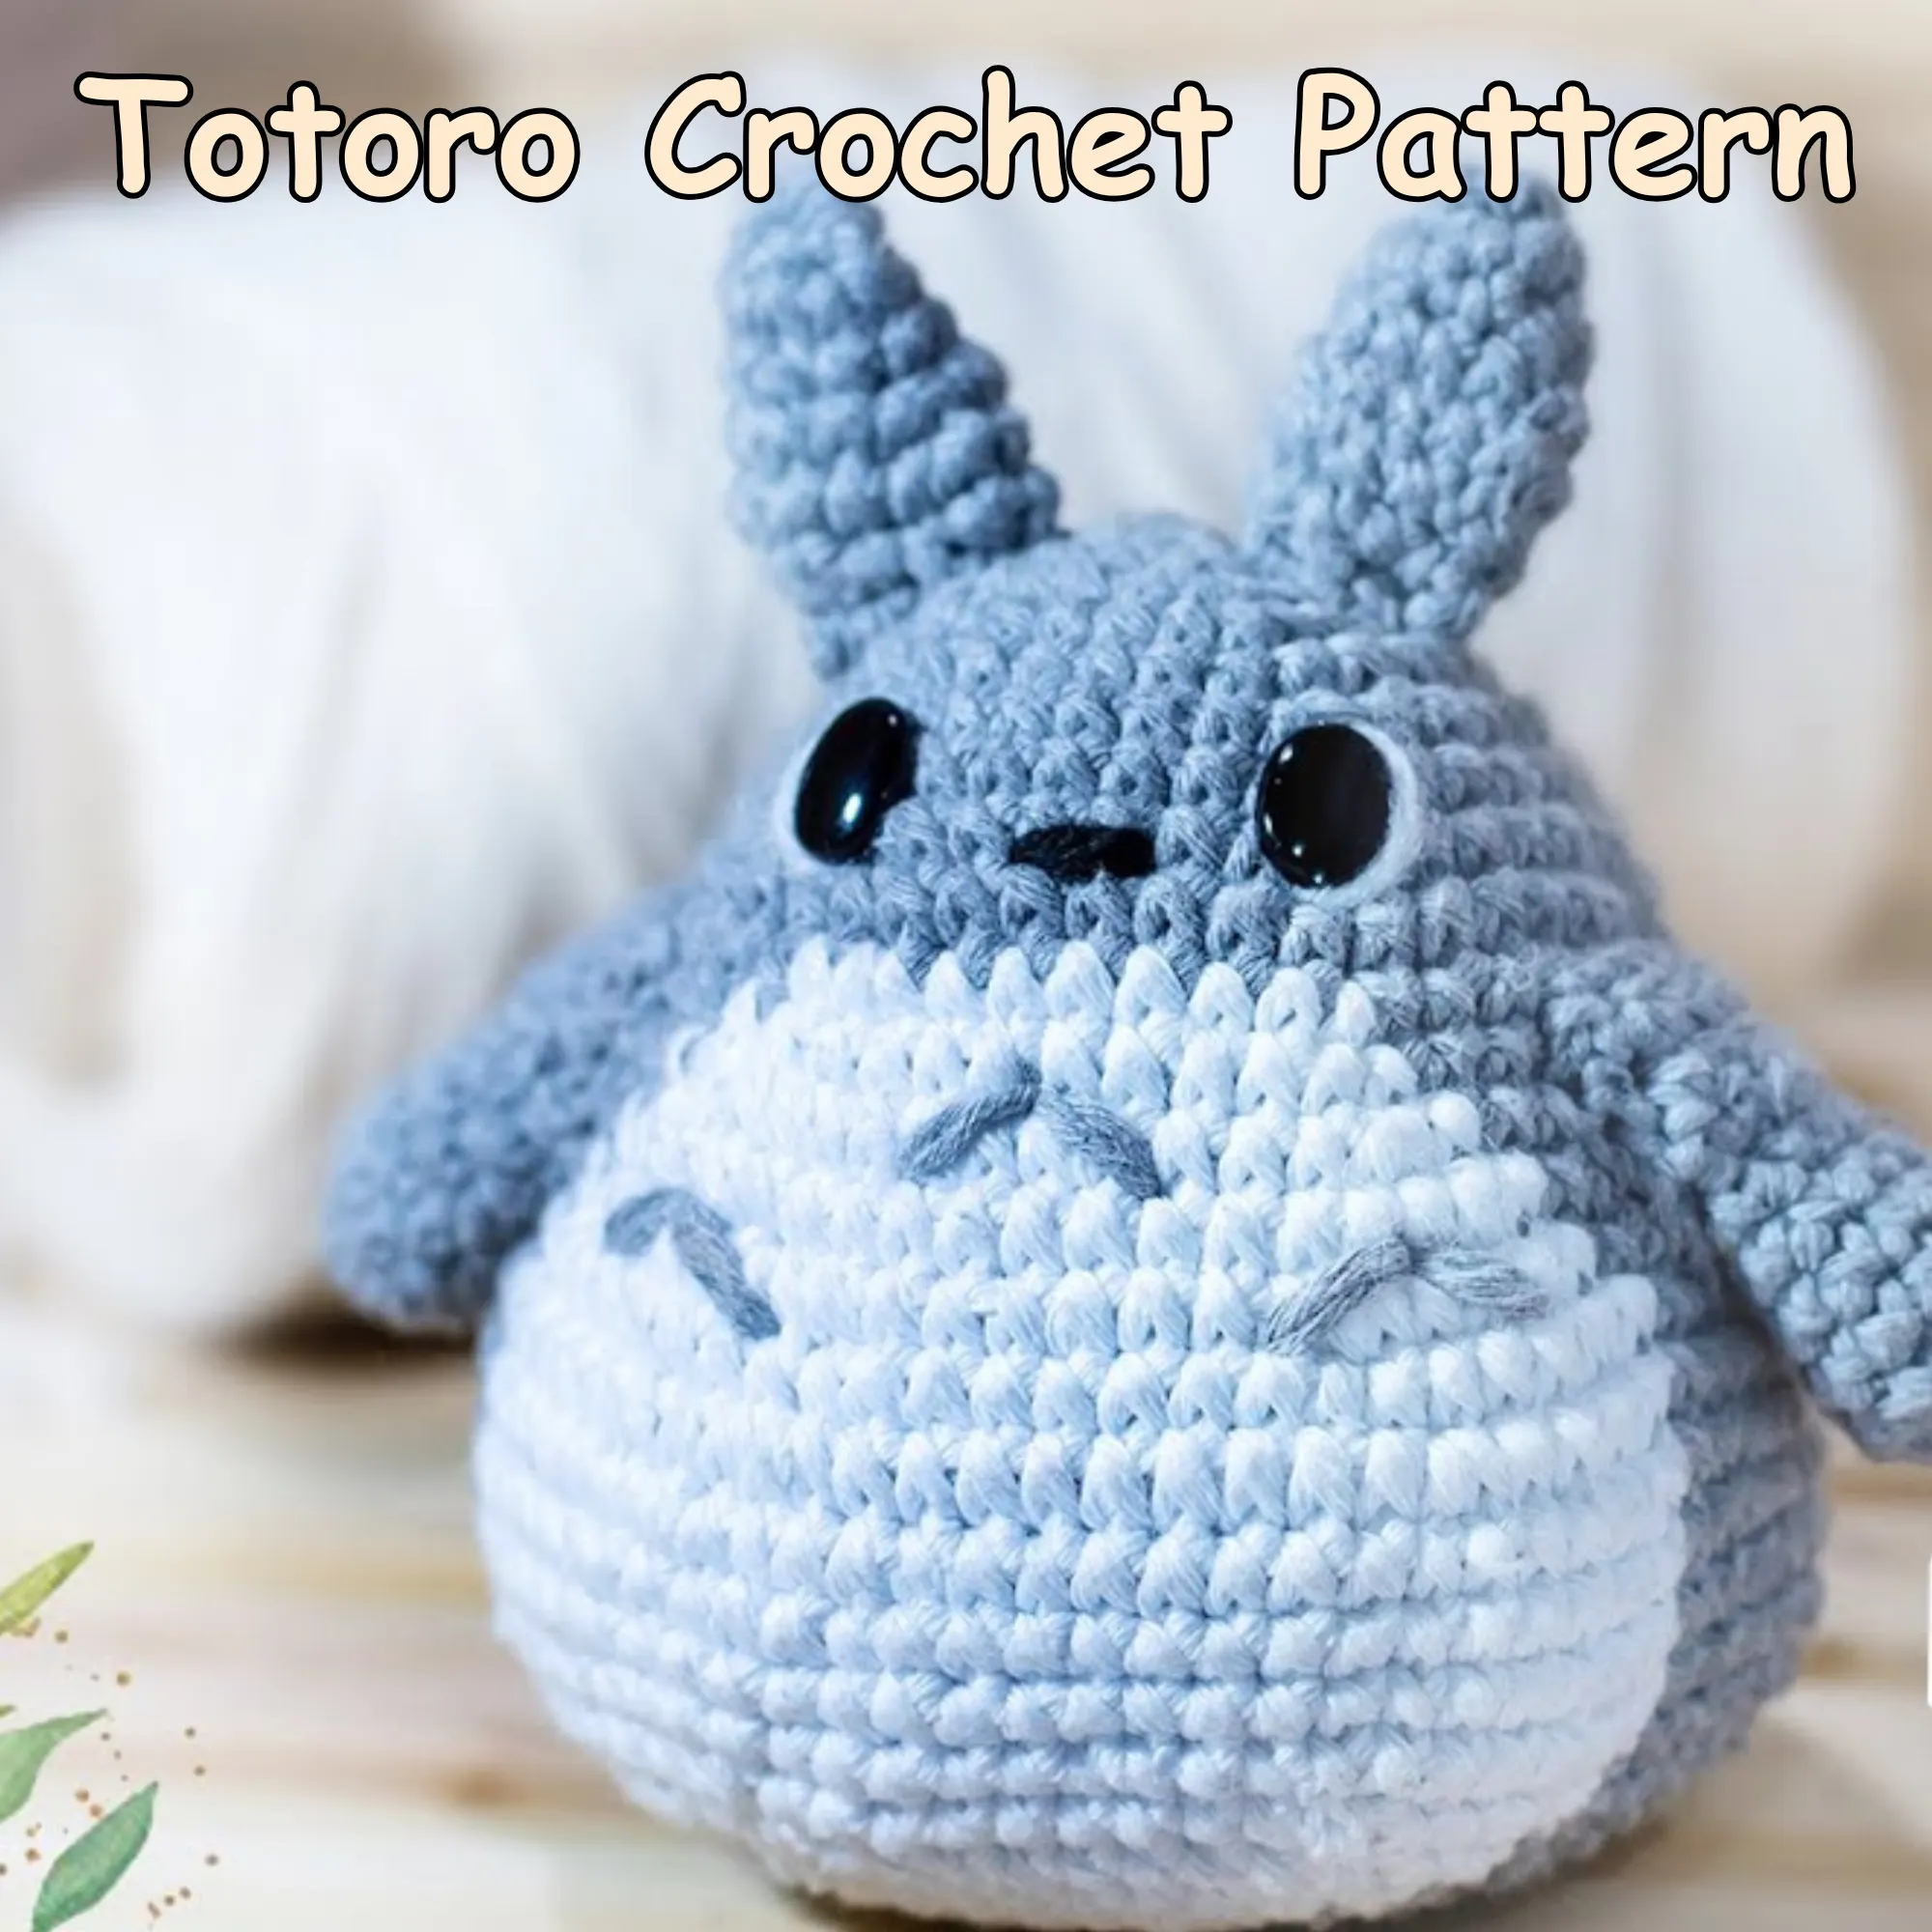
This Totoro is made as a soft amigurumi with a rounded body, a white belly worked directly into the body, separate ears, arms, and tail, and simple embroidered facial and belly details. The head and body are crocheted as one continuous piece, so there is no separate chest or stomach piece to sew on afterward.
Totoro Crochet Pattern-The Short Answer
Materials
You will need:
- Grey yarn
- White yarn
- Black yarn
- Safety eyes
- Polyester fiberfill
- Yarn needle
- Scissors
- Stitch marker
- Sewing pins or removable markers
- A small amount of adhesive for the white eye details
The source does not specify a fixed hook size or finished measurement, so those details are best determined by the yarn and tension you use.
Crochet Abbreviations
- MR — Magic Ring
- HDC — Half Double Crochet
- SC — Single Crochet
- INC — Increase
- DEC — Decrease
- SL ST — Slip Stitch
- CH — Chain
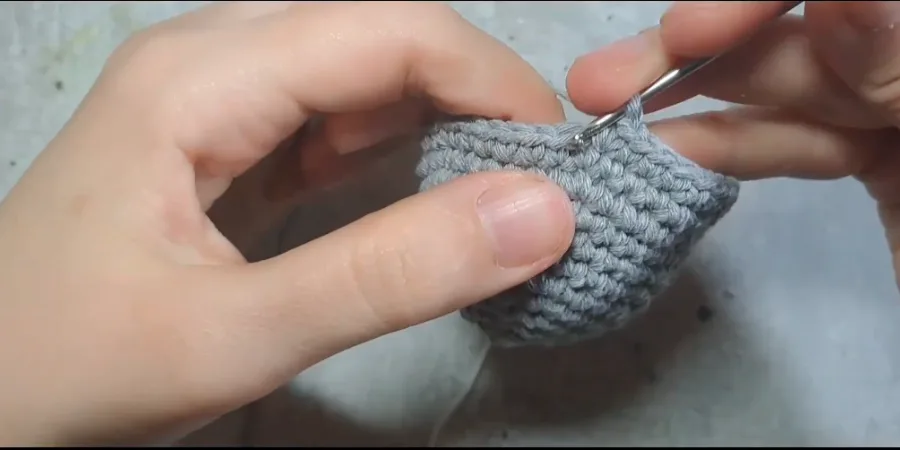
The main body is worked in continuous rounds. Keep a stitch marker at the beginning of the round so it is easy to keep track of your position.
Main Body and Head
The head and body are worked together in grey yarn. The opening begins small and gradually expands through increases, creating the rounded upper body.
- R1: 6 HDC in a MR (6)
- R2: 6 INC (12)
- R3: [HDC, INC] × 6 (18)
- R4: [2 HDC, INC] × 6 (24)
- R5: [3 HDC, INC] × 6 (30)
- R6: 30 HDC (30)
- R7: [4 HDC, INC] × 6 (36)
- R8: 36 HDC (36)
- R9: [5 HDC, INC] × 6 (42)
- R10: 42 HDC (42)
By the end of R10, you should have 42 stitches.
White Belly Colorwork
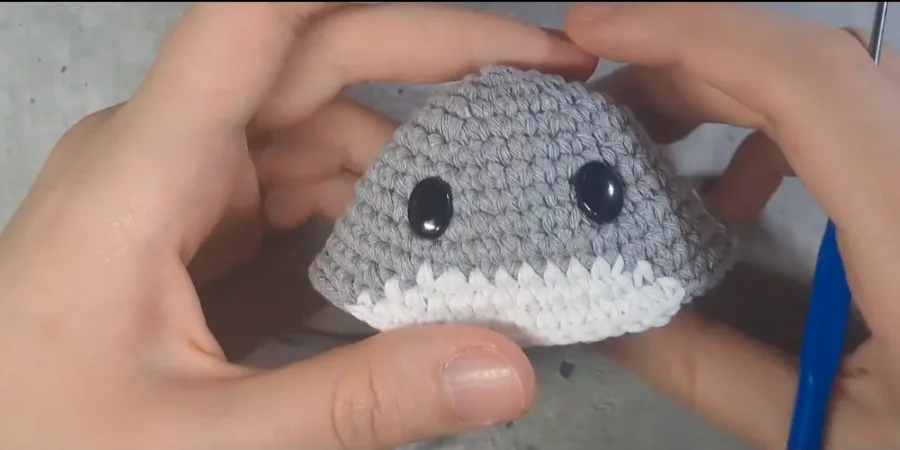
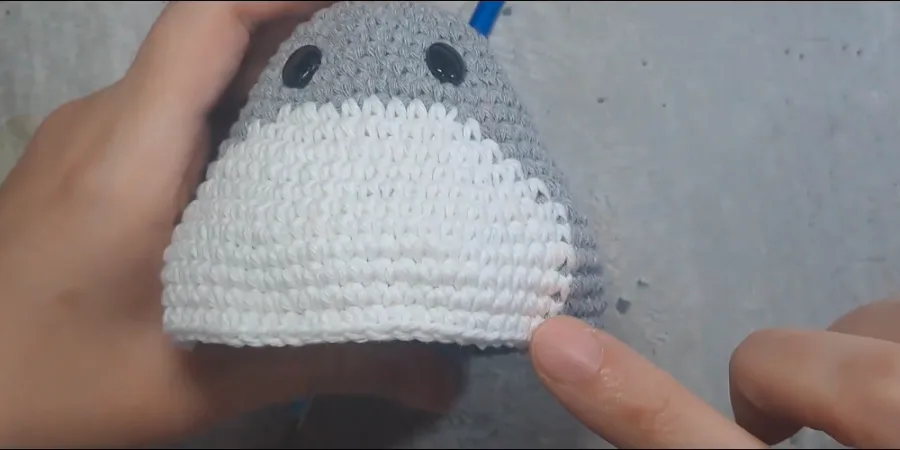
The white belly is worked directly into the main body rather than crocheted separately. The body continues to grow while the grey and white sections create the belly design.
- R11: Work the increase round to reach 48 stitches, following the grey-and-white color placement shown in the source. (48)
- R12: 48 HDC, maintaining the established grey-and-white color placement. (48)
- R13: [7 HDC, INC] × 6 (54), continuing the established belly colorwork. (54)
The source demonstrates the color placement visually but does not provide a complete written stitch-by-stitch color sequence for every color change in these rounds. For that reason, an exact sequence has not been added here rather than guessing at missing instructions.
Safety Eye Placement
After R13, when the body has reached 54 stitches, place the safety eyes before continuing with the next rounds.
Use the beginning of the white belly as a visual reference. Position both eyes temporarily first and look at the face from the front. The demonstrated placement has approximately 6 HDC between the eyes.
Once the eyes appear even in height and spacing, secure them and continue crocheting the body.
Continuing the Body
The body continues to expand until it reaches its widest point.
- R14: 54 HDC (54)
- R15: [8 HDC, INC] × 6 (60)
- R16: 60 HDC (60)
- R17: [9 HDC, INC] × 6 (66)
- R18: 66 HDC (66)
- R19: 66 HDC (66)
- R20: 66 HDC (66)
- R21: 66 HDC (66)
R18 through R21 remain at 66 stitches. This gives the body its full rounded width before the decreases begin.
Shaping the Lower Body
From R22, begin decreasing the stitch count. Continue the established grey-and-white colorwork through R26. After R26, the remaining body is worked in grey.
- R22: [9 HDC, DEC] × 6 (60)
- R23: [8 HDC, DEC] × 6 (54)
- R24: [7 HDC, DEC] × 6 (48)
- R25: [6 HDC, DEC] × 6 (42)
- R26: [5 HDC, DEC] × 6 (36)
- R27: [4 HDC, DEC] × 6 (30)
- R28: [3 HDC, DEC] × 6 (24)
- R29: [2 HDC, DEC] × 6 (18)
The stitch count now reaches 18, leaving enough room to add the stuffing before closing the body.
Stuffing and Closing
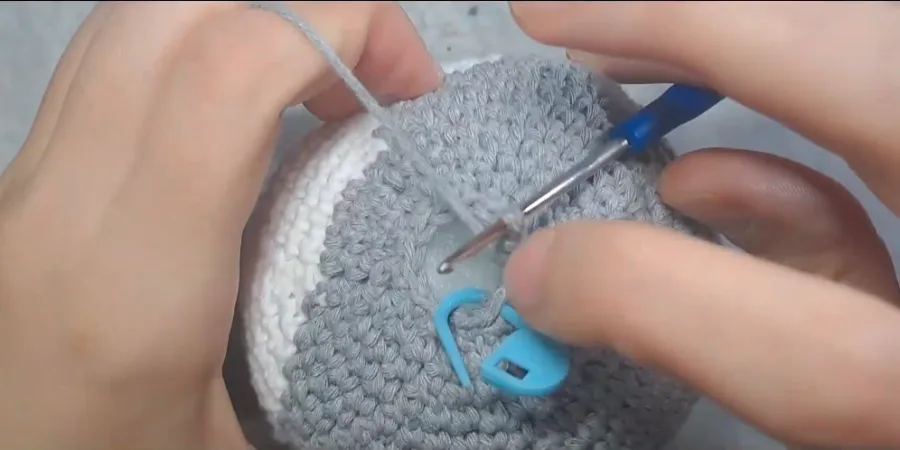
Begin adding polyester fiberfill after R29. Add it gradually and distribute it throughout the continuous body so the head and lower section remain evenly filled. Avoid packing the stuffing so tightly that it stretches the stitches.
Finish the body with:
- R30: [HDC, DEC] × 6 (12)
- R31: 6 DEC (6)
After R31, cut the yarn and leave a long tail. Thread the tail onto a yarn needle and pass it through the front loop of each of the remaining 6 stitches. Pull gently to close the opening, secure the yarn, and hide the remaining tail inside the body.
Ears
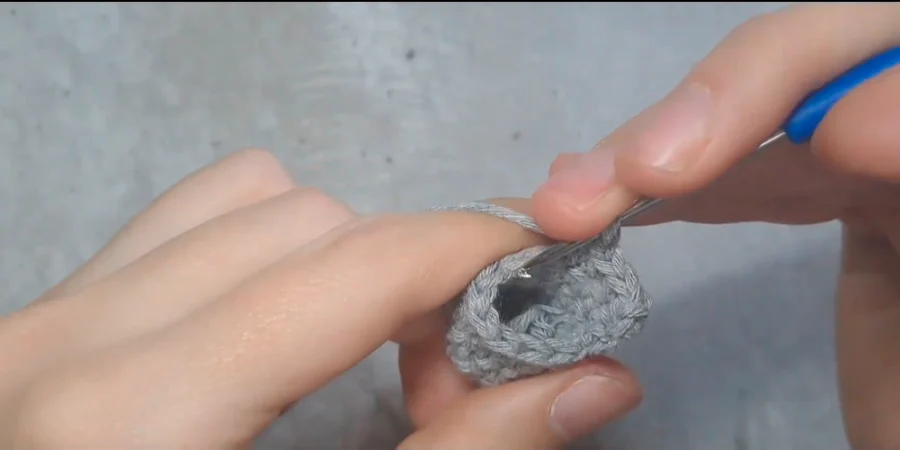
The ears are made separately in grey yarn. Make 2 matching pieces and leave a long sewing tail on each one.
- R1: 4 HDC in a MR (4)
- R2: 4 INC (8)
- R3: 8 HDC (8)
- R4: [HDC, INC] × 4 (12)
- R5: 12 HDC (12)
- R6: [HDC, DEC] × 4 (8)
- R7: 8 HDC (8)
- R8: 8 HDC (8)
Finish off each ear while keeping the sewing tail. The ears will be attached to the top of the head during assembly.
Arms
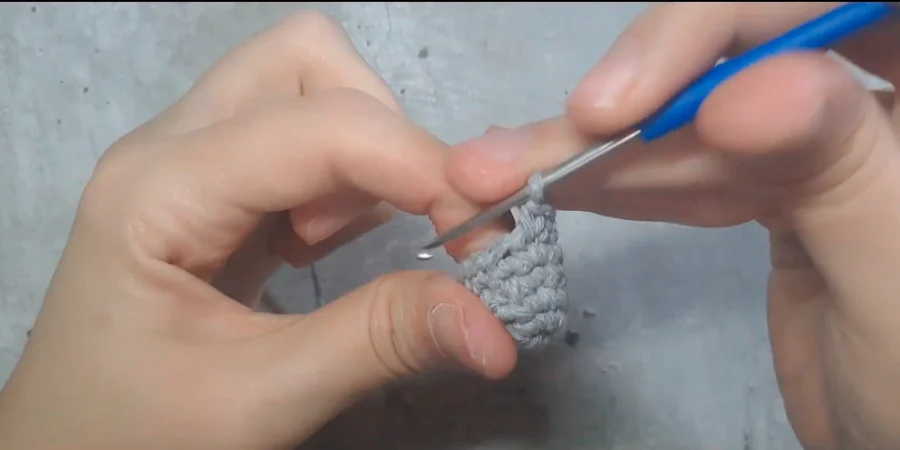
Make 2 arms in grey yarn. The first part is worked in rounds, followed by a short flat section.
Round Section
- R1: 6 HDC in a MR (6)
- R2: 6 INC (12)
- R3–R6: 12 HDC (12)
Flat Section
After R6, work the following rows:
- Row 1: CH 1, turn, 6 SC across (6)
- Row 2: CH 1, turn, 6 SC across (6)
- Row 3: CH 1, turn, 6 SC across (6)
Finish with a SL ST and leave a long sewing tail. Repeat the same instructions to make the second arm.
Tail
The tail is crocheted separately in grey yarn. It stays rounded and is lightly stuffed before being attached to the back of the body.
- R1: 6 HDC in a MR (6)
- R2: 6 INC (12)
- R3: [HDC, INC] × 6 (18)
- R4: [2 HDC, INC] × 6 (24)
- R5–R8: 24 HDC (24)
- R9: [2 HDC, DEC] × 6 (18)
Finish with a SL ST, cut the yarn, and leave a long sewing tail. Add a small amount of stuffing before attaching the tail.
Assembly
Before sewing the pieces permanently, pin them in place and check their positions from the front and side. This is especially helpful for keeping the ears and arms balanced.
Attach the pieces in this order:
- Ears
- Arms
- Tail
- Belly markings
- Eye details
- Nose
Place the ears at the top of the head. Compare them from the front to make sure they sit at a similar height, then sew around their bases using the remaining yarn tails.
Place the arms at the sides of the body. The beginning of the white belly provides a useful height reference. Pin each arm first, then sew it securely to the body. Check the front view before finishing the second arm so both sides sit evenly.
For the tail, locate the center of the back and position the tail there. Check its angle from the side before pinning it. Sew around the attachment edge and hide the remaining yarn inside the body.
Belly Markings
The belly markings are embroidered after the main crocheted pieces have been attached. Use grey yarn to create 5 chevrons on the white belly.
- 3 upward-pointing chevrons across the upper belly
- 2 chevrons underneath the first row
Use pins or removable markers to plan their positions before stitching. Start with the center chevron, then place the two outer chevrons. Add the remaining two underneath the first row. Marking the positions first makes it easier to keep the spacing even and avoid running out of room.
White Eye Details
Add the white details around the safety eyes after the main body has been assembled. Use white yarn and bring it up from underneath the eye, working around the eye area.
Take a moment to compare both eyes from the front. Keeping the white details similar in size and position helps the finished face look balanced. Secure the yarn and hide the remaining tail inside the head.
A small amount of adhesive may be used to help hold the white eye detail in place, as demonstrated in the source.
Nose
The nose is one of the final facial details. Use black yarn and position it in relation to the two safety eyes so it sits centrally on the face.
Check the placement from the front before securing the embroidery. Once it is positioned correctly, secure the black yarn inside the head and hide the remaining end.
Finishing
Once the body is closed and the ears, arms, tail, belly markings, eye details, and nose are secured, the Totoro is complete.
The rounded shape comes from the gradual increases, the four-round section at 66 stitches, and the controlled decreases toward the final 6 stitches. Even distribution of polyester fiberfill helps maintain that shape without making the stitches overly tight.