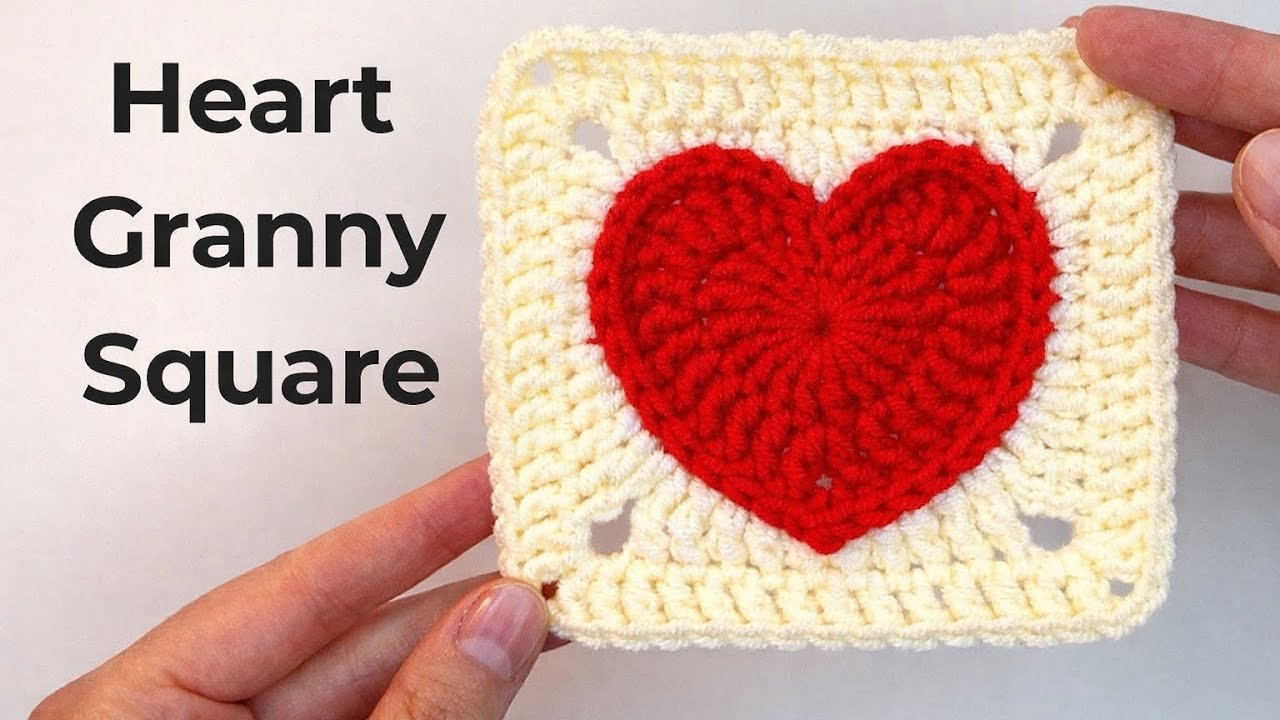
Heart Granny Square
Looking for a sweet crochet motif for your next handmade project? This solid heart granny square combines a lovely heart shape with a classic square border. It’s a beautiful choice for blankets, cushion covers, crochet bags, and other creative projects.
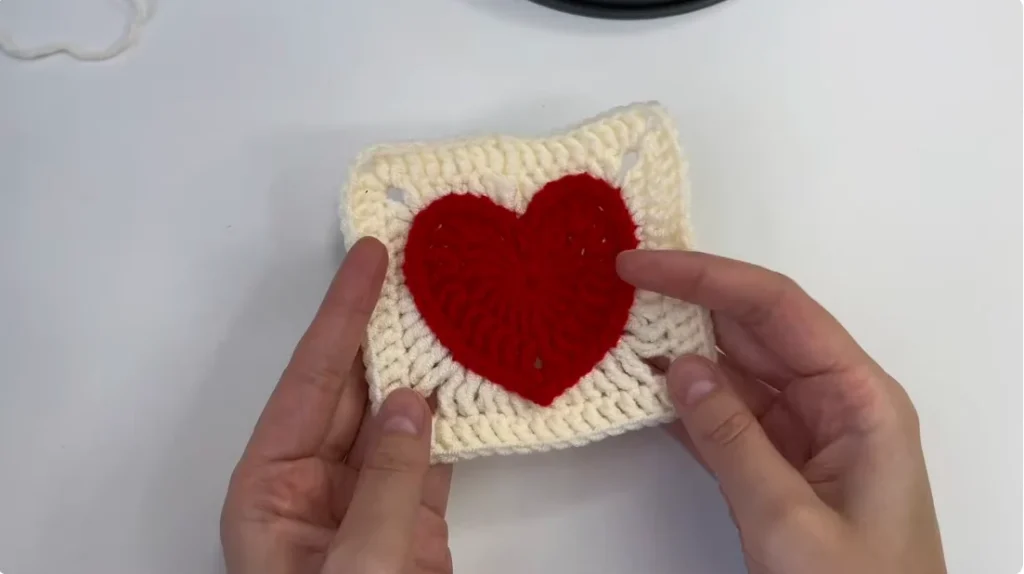
The motif is worked in five rounds. The first three rounds create the heart, while the last two rounds turn it into a square. Both shapes are worked together, so you don’t need to make a separate heart and sew it onto the finished square.
With a few basic crochet supplies and some patience, you can create this charming heart motif for your favorite handmade projects.
Heart Granny Square – The Short Answer?
Finished Size
The finished size depends on your yarn, crochet hook, and individual tension. Since an exact measurement and gauge aren’t available for this pattern, make one motif first and measure it before planning a larger project.
If you’re making a blanket or cushion cover with multiple squares, try to keep your yarn and tension consistent so the motifs are similar in size.
Materials
Gather these basic crochet supplies before you begin:
- Yarn suitable for your chosen crochet hook
- Crochet hook appropriate for your yarn
- Scissors
- Yarn or tapestry needle for weaving in ends
You can choose your preferred yarn and hook based on the project you’re making. The finished motif may look slightly different depending on the yarn texture and thickness.
Abbreviations
This pattern uses US crochet terminology.
| Abbreviation | Meaning |
|---|---|
| MR | Magic ring |
| ch | Chain |
| sl st | Slip stitch |
| sc | Single crochet |
| hdc | Half double crochet |
| dc | Double crochet |
| tr | Treble crochet |
| dtr | Double treble crochet |
| inc | Increase |
| dec | Decrease |
| ch-sp | Chain space |
| st | Stitch |
| sk | Skip |
| rep | Repeat |
Before You Begin
The first three rounds form the heart, and the final two rounds build the square around it.
Here are a few techniques you’ll use throughout the pattern:
- Magic ring: An adjustable loop that creates a neat center for the heart.
- Increase: Work the specified stitches into the same stitch to create a fuller shape.
- Third-loop crochet: Insert your hook into the third loop behind the usual top loops when instructed.
- Picot: A small decorative loop made with chains and a joining stitch.
Take your time with the stitch placement, especially when shaping the heart and forming the square’s corners.
Part 1: Crochet the Heart
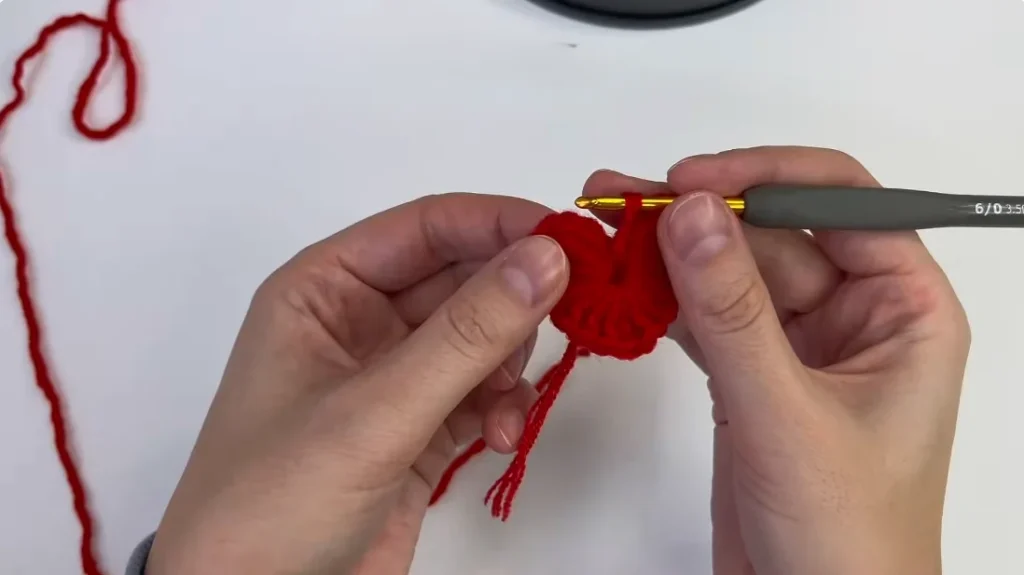
Round 1: Create the Heart
Begin with a magic ring.
- Chain 3.
- Work 3 treble crochets into the ring.
- Work 4 double crochets into the ring.
- Work 1 treble crochet into the ring.
- Work 4 double crochets into the ring.
- Work 3 treble crochets into the ring.
- Chain 3.
- Slip stitch into the magic ring to close.
Gently pull the yarn tail to tighten the ring and bring the stitches together. This creates the center of your heart.
Round 2: Shape the Heart
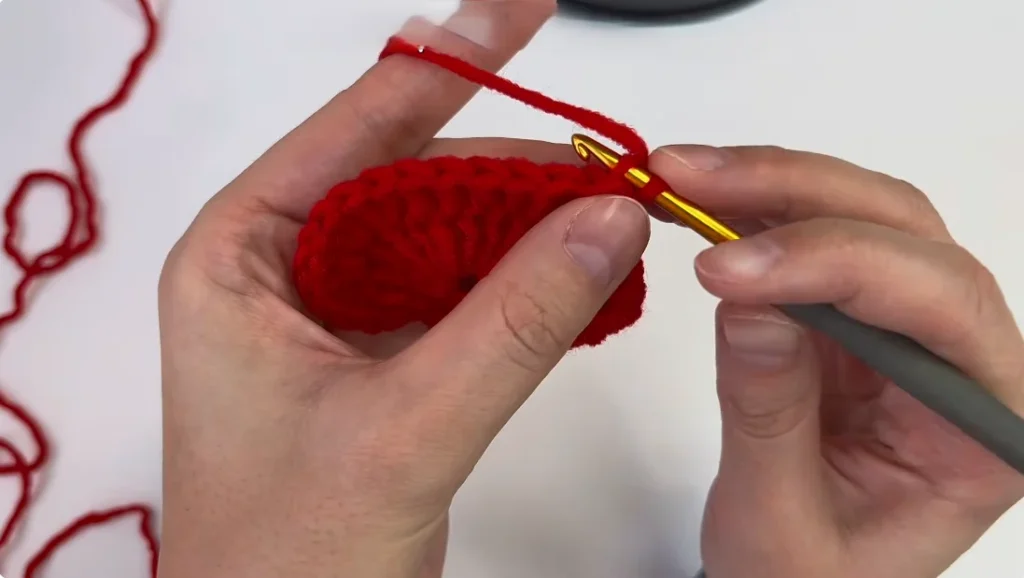
Chain 3 to begin the round.
- In the third chain of the first chain-3 group from the previous round, work 1 single crochet and 1 half double crochet.
- Work double crochet increases in each of the next 3 stitches.
- Work 4 double crochets, one in each stitch.
- In the next stitch, work 1 double crochet, chain 1, and 1 double crochet into the same stitch.
- Work 4 double crochets, one in each stitch.
- Work double crochet increases in each of the next 3 stitches.
- In the first chain of the final chain-3 group, work 1 half double crochet and 1 single crochet.
- Chain 3 and slip stitch into the previous round’s slip stitch to close.
The increases help shape the sides of the heart, while the chain-1 space creates a small opening near the center.
Round 3: Add the Heart Border
Chain 2 to begin the round.
- Skip the chain space as directed in the pattern and begin working into the stitches.
- Work 2 single crochets.
- Work single crochet increases in each of the next 4 stitches.
- Work 7 single crochets.
- In the chain-1 space, work 1 single crochet, make the picot, and work 1 more single crochet into the same space.
- Work 7 single crochets.
- Work single crochet increases in each of the next 4 stitches.
- Work the final 2 single crochets.
- Chain 2 and slip stitch into the last chain of the previous chain-3 group to close.
- Fasten off and cut the yarn.
- Tighten the magic ring if needed, then weave in the loose ends.
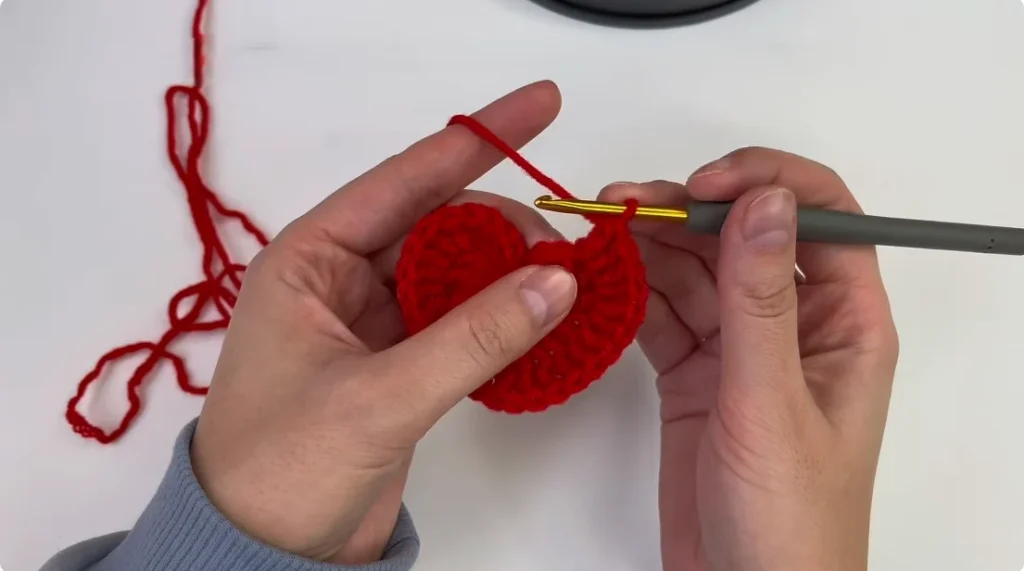
The single crochet border helps define the heart’s outline, while the picot adds a small decorative detail near the center. Once this round is complete, the heart portion is ready for the square border.
Part 2: Turn the Heart into a Square
Round 4: Shape the Square
This round adds the square border around the heart. Work into the third loop of the stitches throughout this round, as described in the pattern.
- Join the yarn in the second chain of the previous round’s chain-2 group.
- Chain 3.
- Begin a treble crochet and a double crochet in the first stitch, then join them at the top to form the starting combined stitch.
- Work 1 half double crochet, 2 single crochets, and 1 half double crochet.
- At the first corner, work 1 double crochet, chain 2, and 1 double crochet into the designated stitch.
- Continue with the double crochet, half double crochet, and single crochet stitches along the next section.
- Work the half double crochet and double crochet increases in their designated stitches.
- At the next corner, work 1 treble crochet, chain 2, and 1 treble crochet into the designated stitch.
- Continue around the heart, forming the remaining corners and working the corresponding stitches.
- Complete the final combined decrease, skip the picot where required, and slip stitch to the top of the starting combined stitch to close.
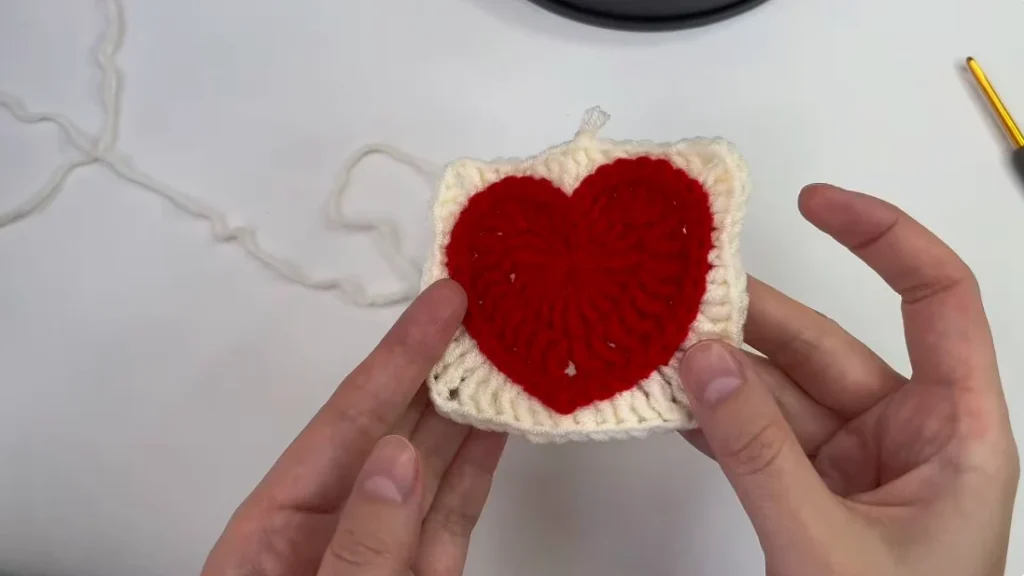
The different stitch heights help shape the border around the heart, while the four chain-2 spaces form the corners of the square.
Round 5: Finish the Square
Chain 2 to begin the final round.
- Work 6 double crochets along the first side.
- In the corner chain space, work 2 double crochets, chain 2, and 2 more double crochets.
- Work 6 double crochets along the next side.
- Continue around the square, repeating the same side-and-corner sequence until all four sides and corners are worked.
- Slip stitch into the first double crochet of the round to join.
- Fasten off and cut the yarn.
Each corner follows the same formula: 2 double crochets, chain 2, and 2 more double crochets in the corner space. These chain-2 spaces give the square room to turn at each corner.
You may notice a small gap near the finishing point. Don’t worry—this is normal, and weaving in the yarn end will help close it neatly.
Finishing Your Heart Granny Square
Once you’ve completed the square, take a moment to tidy up the motif.
- Tighten the magic ring if the center is still loose.
- Weave in all remaining yarn ends with a tapestry needle.
- Check that the heart outline is clearly visible.
- Make sure the motif has four defined corners.
- Lay the square flat and check that the sides sit evenly.
If the square needs help lying flat, you can consider blocking it, depending on the yarn you’ve used.
Tips for a Neat Finish
Keep Your Stitches Even
Try to maintain consistent tension throughout the pattern. Even stitches help the heart look balanced and make the square easier to shape.
Pay Attention to Round 4
The third-loop technique gives this round its particular texture. Working into the usual top loops instead may change the appearance of the finished motif.
Check the Corners
Keep the corner spaces consistent as you work around the square. If the motif looks uneven, check the stitch placement before adding or removing stitches.
Weave in the Ends Neatly
A small gap near the joining point can often be closed as you weave in the yarn tail. This helps give the finished square a tidy appearance.
What Can You Make with a Solid Heart Granny Square?
This heart motif can be used in many handmade projects. Here are a few ideas to inspire your next crochet creation.
- Blankets and afghans: Join several heart squares to create a decorative blanket.
- Cushion covers: Use the motif to add a handmade touch to your home.
- Crochet bags: Incorporate the square into a bag panel.
- Cardigans: Combine motifs to create a decorative garment.
- Decorative panels: Add the heart square to other flat crochet projects.
The final size will depend on your yarn, hook, and tension, so measure a sample first if you’re making a project that needs specific dimensions.
Final Thoughts
This solid heart granny square brings together the charm of a heart and the versatility of a classic square. Once you’ve finished the motif, you can use it on its own as a decorative piece or combine it with other squares for a larger crochet project.
Choose your favorite yarn, enjoy the process, and turn this little heart into something special.