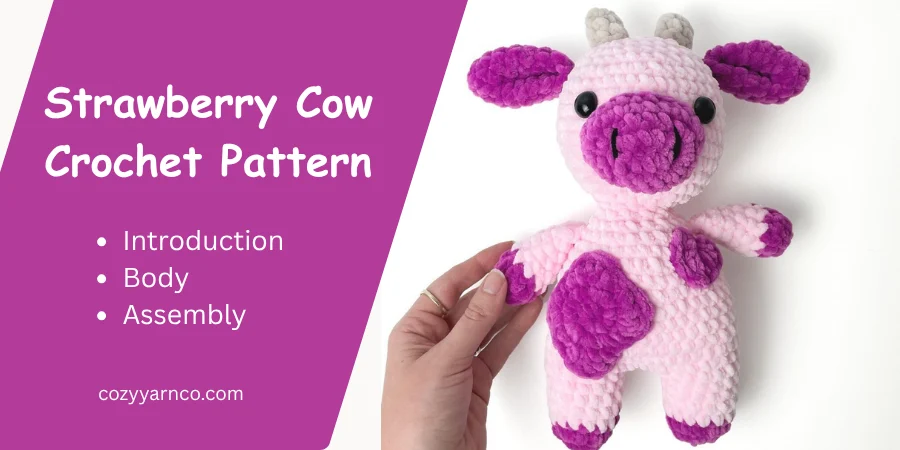
Strawberry Cow Crochet Pattern
This strawberry cow crochet pattern creates a soft amigurumi plush with a simple piece-by-piece construction. You will crochet the legs first, join them to form the body, continue into the neck and head, and then make the smaller pieces separately.
The strawberry-inspired design comes together with pink details, two large strawberry spots, a heart patch, little horns, a snout, and a tail. The finished plush makes a charming special gift or a cuddly addition to an amigurumi collection.
Strawberry Cow Crochet Pattern-The short answer
Materials
Gather your essential supplies before starting. The pattern uses:
- Super chunky plush yarn in three colors: a main color, a secondary color, and a horn color
- A small amount of medium-weight black yarn for the nostrils
- 12–15 mm safety eyes
- US G /4.25 mm crochet hook
- Yarn needle
- Scissors
- Poly-fil or other stuffing material
- Stitch markers
The primary pattern does not specify exact yarn yardage, skein quantities, or a finished size, so those measurements should not be added to the pattern. Your finished toy may also become smaller or larger if you use different yarn or hook sizes.
Before you begin, make sure you are comfortable with these basic crochet terms:
- MR = magic ring
- ch = chain
- sc = single crochet
- inc = increase
- dec = invisible decrease
- sl st = slip stitch
- hdc = half double crochet
- dc = double crochet
You will also need to know how to change color and work basic sewing during assembly.
Legs
Make two legs. The first leg is finished separately, while the second leg stays connected so you can join both legs and begin the body.
First leg
Work the first leg in the secondary color, then change to the main color at the specified point.
- Round 1: 6 sc in MR — 6
- Round 2: 6 inc — 12
- Round 3: (3 sc, inc) × 3 — 15
- Change color at the end of Round 3.
- Rounds 4–7: 15 sc in each round — 15
Close the first leg with a slip stitch, fasten off, and cut the yarn.
Second leg
Make the second leg using the same beginning:
- Round 1: 6 sc in MR — 6
- Round 2: 6 inc — 12
- Round 3: (3 sc, inc) × 3 — 15
- Change to the main color.
- Rounds 4–6: 15 sc
- Round 7: 15 sc, then ch 3
Do not cut the yarn. The second leg is intentionally left connected so it can be joined to the first leg.
Body and Neck
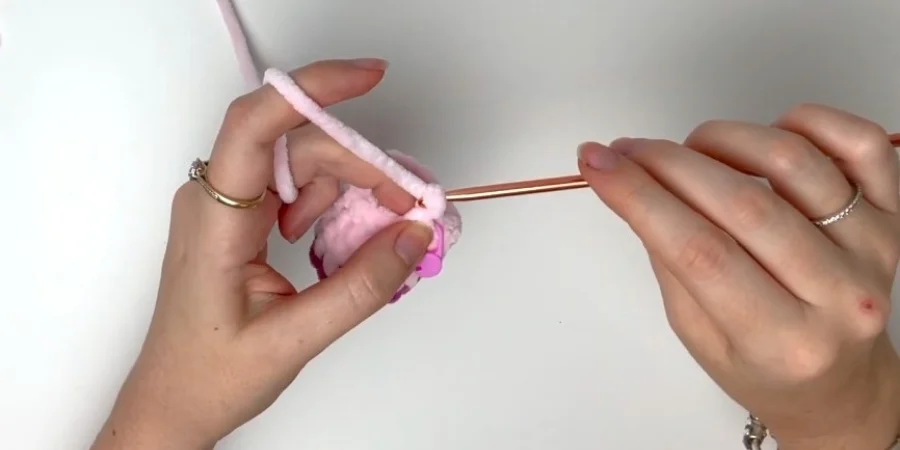
Now join the two legs to create the lower part of the cow. This joining round is important because it establishes the body’s correct stitch count.
Work:
- 1 sc into the first leg
- 14 additional sc around the first leg
- 3 sc across the chain
- 15 sc around the second leg
- 3 sc across the other side of the chain
This gives a total of 36 stitches for the joining round.
Continue with the body:
- Round 2: (5 sc, inc) × 6 — 42
- Rounds 3–7: 42 sc in each round — 42
- Round 8: (5 sc, dec) × 6 — 36
- Round 9: 36 sc
- Round 10: (4 sc, dec) × 6 — 30
- Round 11: 30 sc
- Round 12: (3 sc, dec) × 6 — 24
- Round 13: (2 sc, dec) × 6 — 18
- Round 14: (1 sc, dec) × 6 — 12
Stuff the legs and body after Round 14, keeping the filling even rather than packing it too tightly.
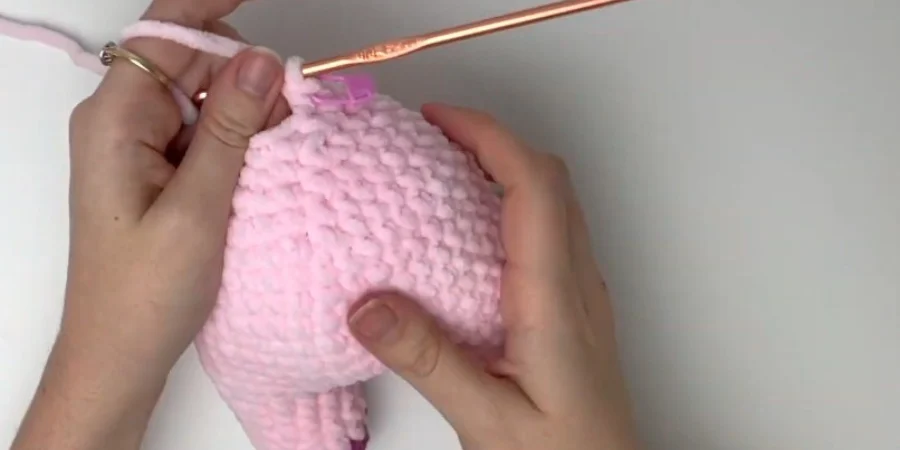
The neck continues directly from the body:
- Round 15: 12 sc — 12
At this point, you have a narrow neck ready for the head.
Head
The head grows from the 12-stitch neck into its widest point before the decreases begin.
Work:
- Round 16: 12 inc — 24
- Round 17: (1 sc, inc) × 12 — 36
- Round 18: (5 sc, inc) × 6 — 42
- Round 19: (6 sc, inc) × 6 — 48
- Rounds 20–24: 48 sc in each round
Place the safety eyes between Rounds 23 and 24, approximately 10 stitches apart.
Continue shaping the head with decreases:
- Round 25: (6 sc, dec) × 6 — 42
- Round 26: (5 sc, dec) × 6 — 36
- Round 27: (4 sc, dec) × 6 — 30
- Round 28: (3 sc, dec) × 6 — 24
- Round 29: (2 sc, dec) × 6 — 18
- Round 30: (1 sc, dec) × 6 — 12
- Round 31: 6 dec — 6
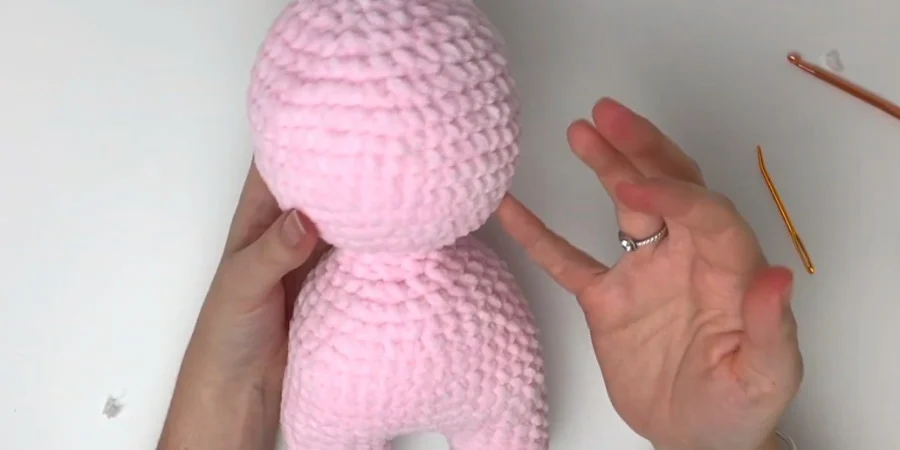
Add stuffing as the head takes shape, making sure the filling reaches into the neck. This helps the finished head stay supported instead of becoming loose or wobbly.
After Round 31, close the remaining opening through the front loops and pull the yarn tight. Hide the yarn end inside the head.
Arms
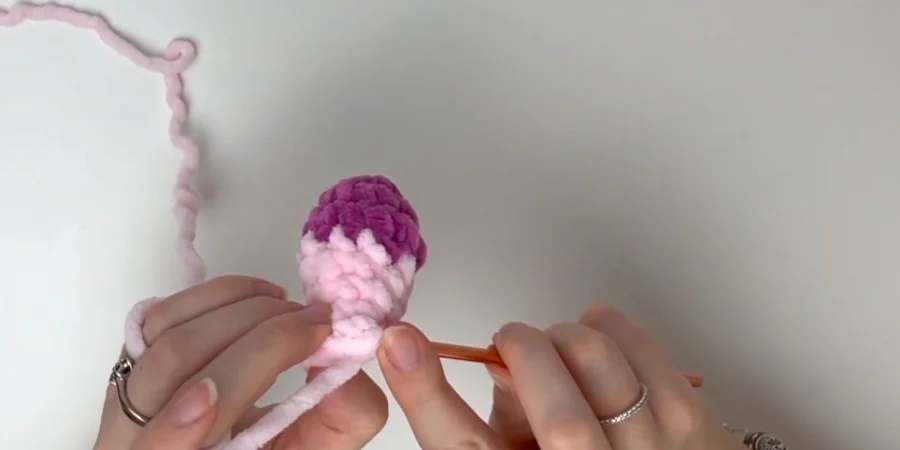
Make two arms.
- Round 1: 6 sc in MR — 6
- Round 2: 6 inc — 12
- Round 3: 12 sc — 12
- Change to the main color.
- Round 4: (2 sc, dec) × 3 — 9
- Rounds 5–8: 9 sc in each round
Add stuffing to approximately halfway up each arm. Flatten the top, fold it in half, and crochet through both sides with sc to close it.
Fasten off and leave a sewing tail for attaching the arm to the body. Make the second arm in the same way.
Snout
The snout is worked separately in the secondary color.
Start with ch 6.
Round 1:
- Start in the second chain from the hook.
- Work 1 sc.
- Work 3 sc.
- Work 3 sc in the final chain.
- Continue along the underside with 3 sc.
- Finish with an increase.
Total: 12 stitches.
Round 2:
- 3 sc
- 3 inc
- 3 sc
- 3 inc
Total: 18 stitches.
Round 3:
- (3 sc, (1 sc, inc) × 3) × 2
Total: 24 stitches.
Round 4: 24 sc.
Close and cut the yarn, leaving a tail for sewing.
Ears
Make two ears in the secondary color.
- Round 1: 6 sc in MR — 6
- Round 2: (1 sc, inc) × 3 — 9
- Round 3: (2 sc, inc) × 3 — 12
- Round 4: (3 sc, inc) × 3 — 15
- Rounds 5–7: 15 sc in each round
- Round 8: (3 sc, dec) × 3 — 12
Fold the top flat and crochet across both sides to close it. Leave a sewing tail for attaching the ear to the head.
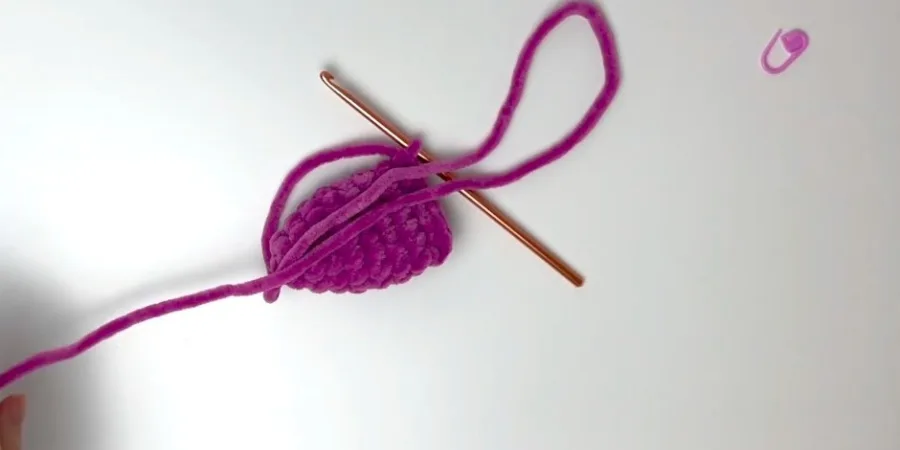
Heart Patch
The heart patch is a small decorative piece that adds to the strawberry-inspired design.
Work:
- ch 2
- 2 dc
- 2 hdc
- 1 dc
- 2 hdc
- 2 dc
- ch 2
- sl st back into the same chain
Pull the tail gently to shape the piece into a heart, then leave the tail ready for sewing onto the body.
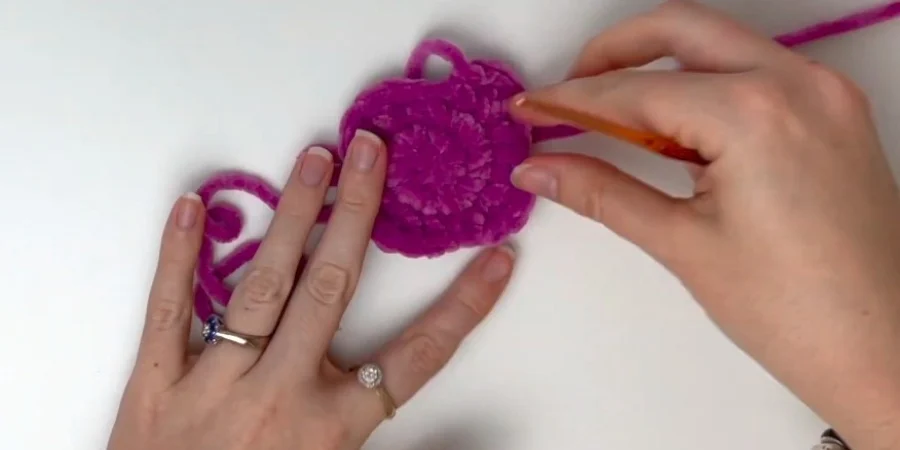
Strawberry Spots
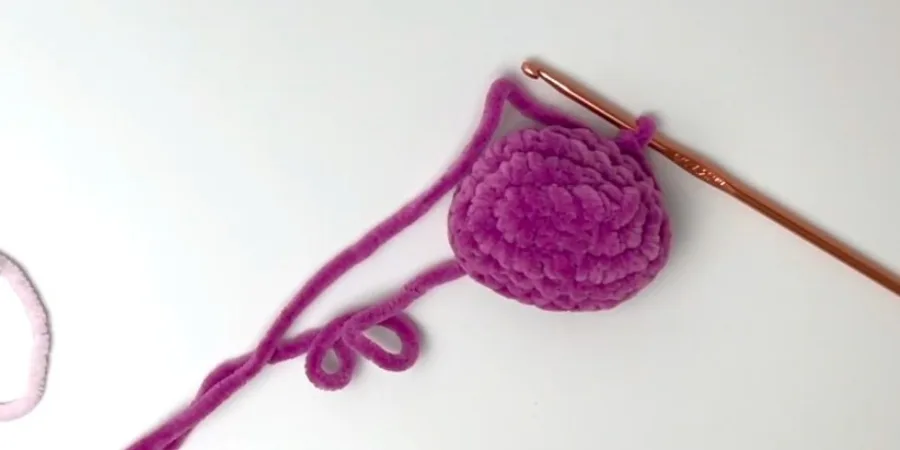
Make two large strawberry spots in the secondary color.
- Round 1: 8 sc in MR — 8
- Round 2: 8 inc — 16
- Round 3: (hdc, 3 dc in next stitch, hdc, sl st) × 4
The final round creates four rounded bumps around each spot. Sew one large spot onto the front of the body and the other onto the back.
Horns
Make two horns in the horn color.
- Round 1: 4 sc in MR — 4
- Round 2: (1 sc, inc) × 2 — 6
- Rounds 3–4: 6 sc
Close with a slip stitch and leave a sewing tail.
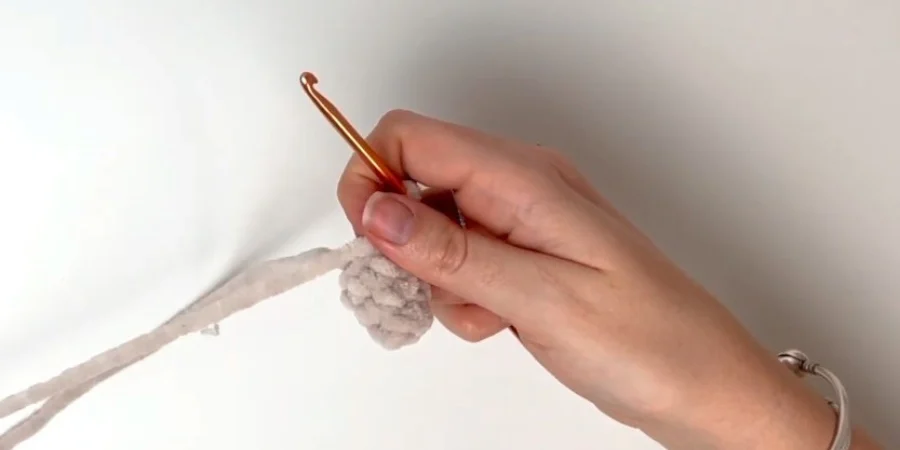
Assembly
Once all the crocheted pieces are complete, arrange them before sewing. Using pins temporarily can make it easier to check the placement and keep the finished cow balanced.
- Arms: place them approximately 1–2 rounds below the neck and angle them slightly forward. Sew through the arm and body stitches several times for a secure attachment.
- Snout: position it below the eyes. Sew around the snout and add stuffing before closing the final stitches.
- Horns: place them near the top of the head, approximately 1–2 rounds below the center.
- Ears: place them approximately 1–2 rounds below the horns. Pinch the end before securing it to the head.
- Spots: attach one large spot to the front and one to the back.
- Heart patch: sew it onto the body as a decorative detail.
Facial Details
Use black yarn to add the facial details after the main pieces are securely attached.
The pattern specifies two black yarn stripes for the nostrils. Keep the facial stitches neat and avoid pulling them too tightly, so the details remain visible on the plush surface.
Before permanently securing the eyes, check that they are level and that the face looks centered from the front. A small adjustment at this stage can make a noticeable difference in the finished expression.
Tail
The tail is crocheted directly onto the finished body, rather than made as a separate piece.
Insert the hook at the back of the body where you want the tail to sit and pull through a loop. Then:
- ch 6
- Starting in the second chain from the hook, work 5 sc
- Cut the yarn
- Tie the two yarn tails together
- Thread the tails onto a needle
- Pull the knot into the body to conceal it
This gives the tail a simple curved finish while keeping the attachment neat.
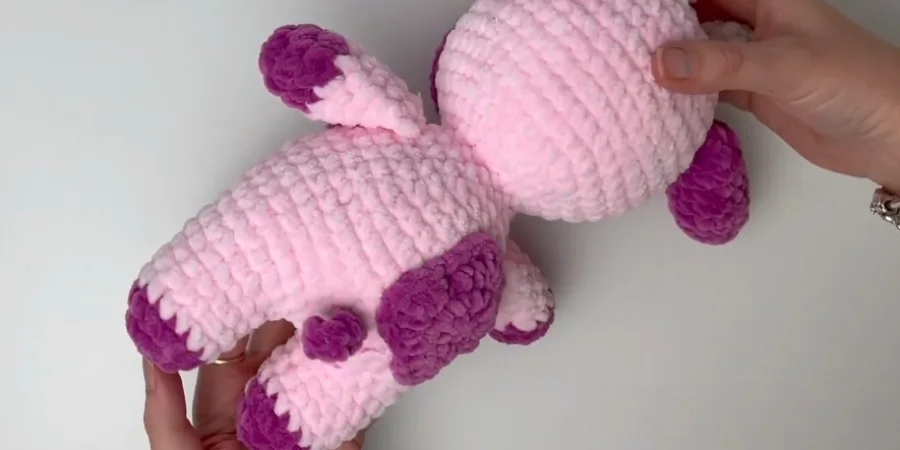
Final Finishing
Before calling the plush finished, check the arms, ears, horns, snout, heart patch, spots, facial details, and tail. Make sure each sewn piece is secure and that the yarn ends are tucked inside the body.