Crochet Star Amigurumi Pattern
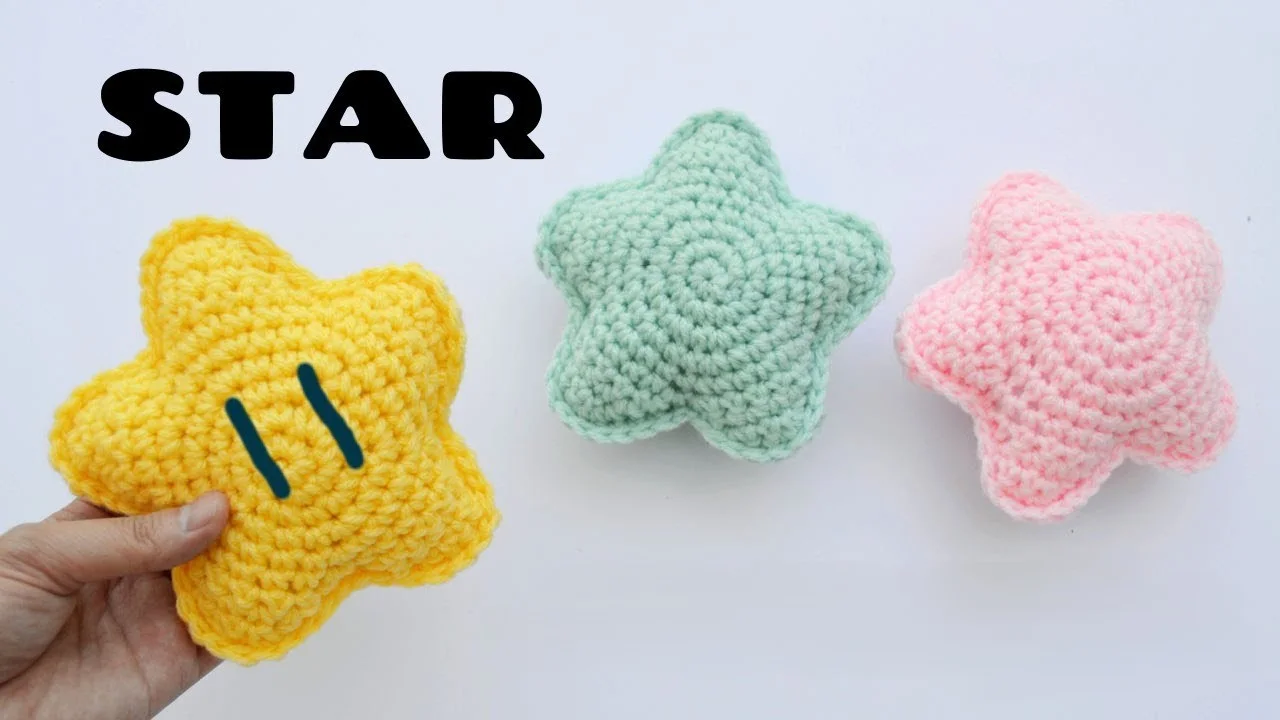
If you’re looking for a fun and beginner-friendly crochet project, this Crochet Star Amigurumi is a lovely one to try. It’s a soft, three-dimensional star made by joining two matching crochet pieces, with five points and a little fiberfill stuffing inside.
Each star piece begins with a circular centre. Instead of making the five points separately, you’ll shape them directly from the circle using simple single crochet rows. Once both pieces are ready, join them with a single crochet border and add the stuffing before closing the opening.
This project is a great way to practice basic crochet stitches while making a cute handmade decoration or soft toy. A cheerful yellow star is a lovely choice, but you can use any yarn color you like.
Crochet Star Amigurumi Pattern – The Short Answer?
Materials for the Crochet Star
Gather these supplies before you begin:
- Worsted-weight acrylic yarn
- 5.0 mm crochet hook
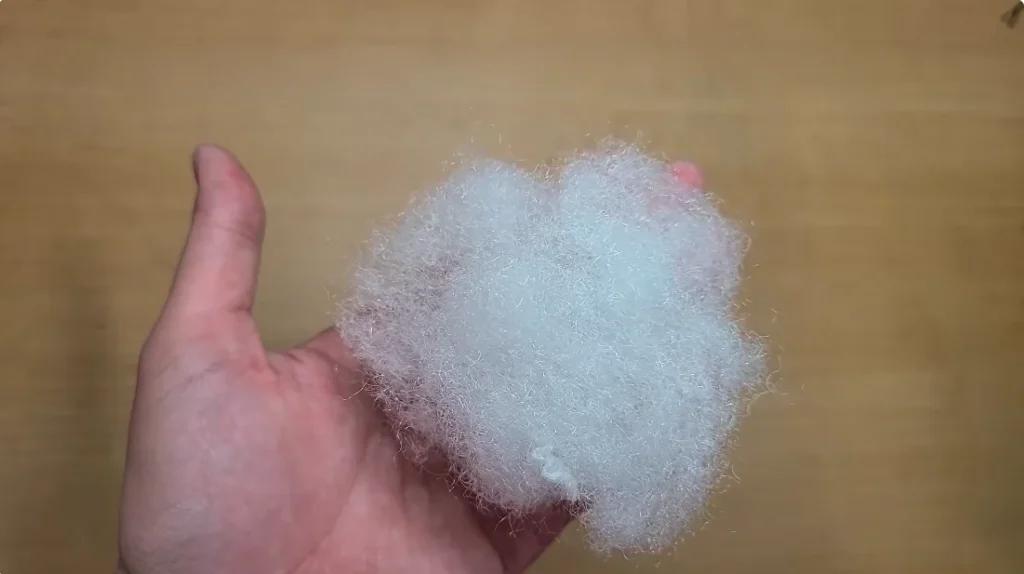
- Fiberfill stuffing
- Yarn needle
- Stitch marker
- Bobby pin (optional, as an alternative stitch marker)
- Scissors
Yellow yarn gives the star a classic look, but feel free to choose another color to match your style. The exact yarn quantity and finished measurements are not specified.
Crochet Abbreviations
This pattern uses basic US crochet terminology.
| Abbreviation | Meaning |
|---|---|
| ch | Chain |
| sc | Single Crochet |
| sl st | Slip Stitch |
| st/sts | Stitch/Stitches |
| FO | Fasten Off |
Here are a few instructions to keep in mind as you work:
- Increase: Work 2 single crochet stitches into the same stitch.
- Chain and Turn: Chain 1, turn your work, and skip the first stitch before starting the next row.
- Single Crochet Border: Work single crochet stitches through both layers to join the front and back star pieces.
Make the First Star Piece
You’ll need two identical flat star pieces to create your finished amigurumi. Start with the circular centre of the first piece. Once the circle is complete, you’ll shape its five points one at a time.
Round 1: Start the Circular Centre
Begin with a slip knot on your crochet hook.
- Chain 2.
- Insert your hook into the first chain.
- Work 6 single crochet stitches into that chain.
- Pull the starting yarn tail to close the centre hole.
Stitch count: 6
Place a stitch marker in the last stitch to mark the end of the round. If you don’t have a stitch marker, a bobby pin works as an alternative.
Round 2: Increase in Every Stitch
Work 2 single crochet stitches into each stitch around the circle. Repeat the increase in all 6 stitches.
Stitch count: 12
Move your stitch marker to the final stitch.
Round 3: Increase Every Second Stitch
Repeat this sequence around the circle:
- Work 2 sc into the next stitch.
- Work 1 sc into the following stitch.
Continue repeating the 2-1 sequence until the round is complete.
Stitch count: 18
Round 4: Increase Every Third Stitch
Repeat the following sequence around:
- Work 2 sc into the next stitch.
- Work 1 sc into each of the next 2 stitches.
Continue around the circle.
Stitch count: 24
Round 5: Increase Every Fourth Stitch
For the final circular round, repeat:
- Work 2 sc into the next stitch.
- Work 1 sc into each of the next 3 stitches.
Continue until you reach the end of the round.
Stitch count: 30
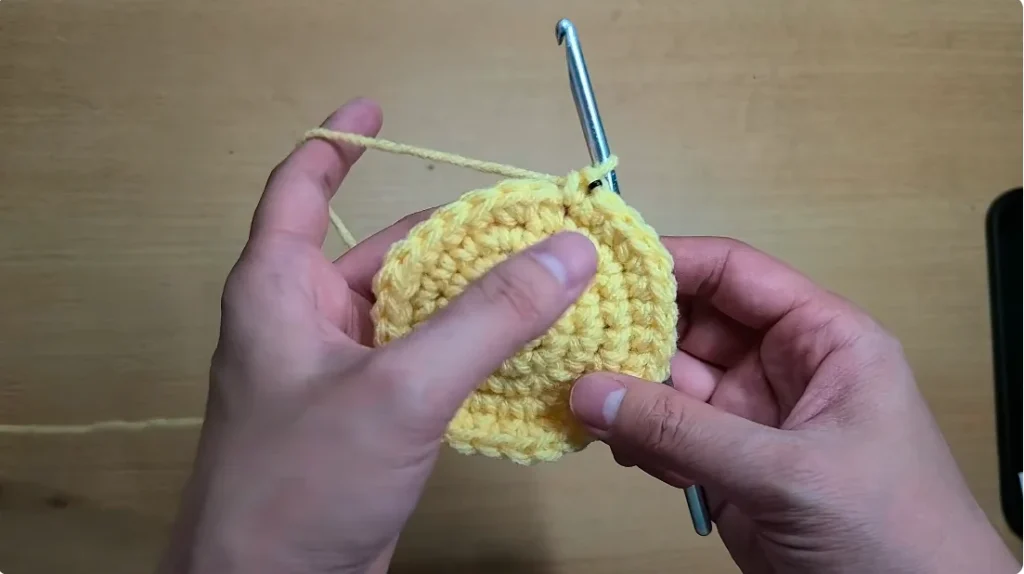
Your circular centre is now complete. From here, you’ll stop working in continuous rounds and begin working back and forth in rows to form the five star points.
Shape the Five Star Points
Each star applique has five points, all worked directly from the circular centre. You’ll use the same row sequence for every point.
Start each point with 6 single crochet stitches. For the following rows, chain 1, turn your work, skip the first stitch, and crochet into the remaining stitches. This gradually reduces the row until only 2 stitches remain.
First Star Point
Row 6: Work 1 single crochet into each of the next 6 stitches.
Stitch count: 6
Row 7: Chain 1 and turn. Skip the first stitch, then work 1 sc into each of the next 5 stitches.
Stitch count: 5
Row 8: Chain 1 and turn. Skip the first stitch, then work 1 sc into each of the next 4 stitches.
Stitch count: 4
Row 9: Chain 1 and turn. Skip the first stitch, then work 1 sc into each of the next 3 stitches.
Stitch count: 3
Row 10: Chain 1 and turn. Skip the first stitch, then work 1 sc into each of the next 2 stitches.
Stitch count: 2
Your first star point is complete!
Return to the Circular Centre
After finishing the point, work single crochet stitches down its side until you reach the circular centre.
Work approximately 5 single crochet stitches along this side, then continue to the next section of the circular base to begin another point.
Make the Remaining Four Points
Repeat the same construction sequence for the remaining four points. Each time, begin with 6 sc across the next section of the circular base, then work the following rows:
| Row | Instruction | Stitch count |
|---|---|---|
| Row 6 | 6 sc | 6 |
| Row 7 | Chain 1, turn, skip first stitch, 5 sc | 5 |
| Row 8 | Chain 1, turn, skip first stitch, 4 sc | 4 |
| Row 9 | Chain 1, turn, skip first stitch, 3 sc | 3 |
| Row 10 | Chain 1, turn, skip first stitch, 2 sc | 2 |
After completing each point, work approximately 5 sc down its side to return to the circular centre. Move to the next section and repeat the same steps.
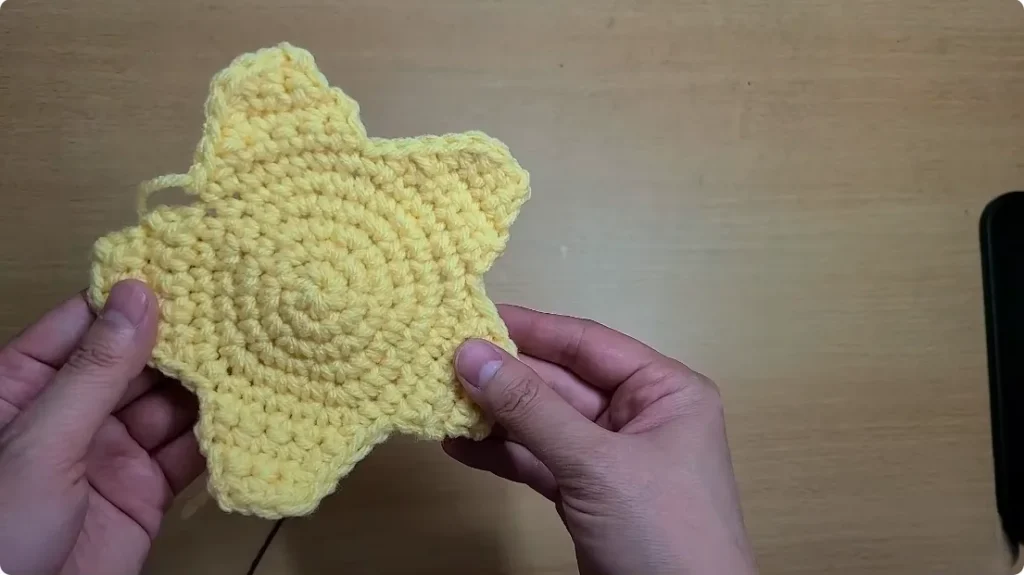
Continue until all five points are formed. Keeping the same row sequence for each point helps give your star a consistent shape. All five points are worked from the circular base rather than made as separate pieces.
Finish the First Star Applique
Once all five points are complete:
- Cut the yarn.
- Leave a short yarn tail.
- Fasten off to secure the final stitch.
Your first flat star applique is ready! Set it aside while you make the second piece. There’s no need to add stuffing yet because both pieces will be joined first.
Make the Second Star Applique
Make another star by following the same instructions. Complete all five circular rounds, then shape the five points using the same row sequence.
Before joining the pieces, check that both appliques have matching shapes and sizes.
Important: After completing the final point of the second star, don’t cut the yarn. Keep the working yarn attached because you’ll use it to join the two pieces.
Join the Two Star Pieces
Place the two crochet stars together with their back sides facing each other. The front side of each applique should face outward so both finished sides remain visible.
Use the working yarn attached to the second piece to begin the joining border.
- Insert your hook through both layers at the corresponding edge stitches.
- Work a single crochet stitch through both layers.
- Continue joining the pieces around the star.
- Keep your stitch placement consistent along the sides and points.
Leave an opening for stuffing instead of closing the entire border. You’ll fill the star before working the final joining stitches.
Stuff the Star Before Closing
When you get close to the final point, pause your joining stitches and add fiberfill through the remaining opening.
- Push the stuffing into each of the five points.
- Distribute it evenly throughout the star.
- Check that none of the points are left empty.
- Add small amounts at a time as the opening gets smaller.
Take your time with this step. Each point needs enough fiberfill to hold its shape, and the stuffing should be evenly distributed before you close the star.
Complete the Border and Close the Star
Once your star is sufficiently stuffed, continue working single crochet stitches through both layers until the remaining opening is closed.
Finish the border with a slip stitch. Cut the yarn, leaving a long tail, and fasten off. Use your yarn needle to secure the yarn end.
Your Crochet Star Amigurumi is now complete, with two visible star faces, five stuffed points, and a joined outer border.
Optional Embroidered Details
Want to give your star a little personality? You can use black yarn to embroider eyes and create a cute, playful look.
This detail is completely optional. You can leave your star plain or add embroidered facial features to suit your preference.
How to Use Your Finished Crochet Star
Once your star is finished, there are several ways to enjoy it:
- Display it as a small handmade decoration.
- Add it to a nursery décor collection.
- Use it as a festive holiday decoration.
- Give it as a handmade present to friends or loved ones.
- Make stars in different colors for a coordinated decorative set.
This simple crochet project makes a lovely addition to a handmade collection. It’s also a fun way to practice single crochet, increases, turning, shaping, and joining while creating something you can enjoy or give as a gift.