
crochet santa hat free pattern
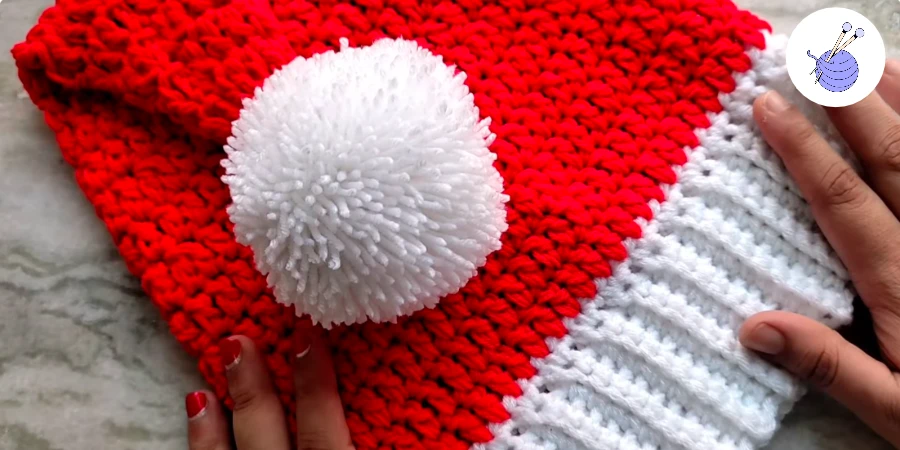
Make a festive crochet Santa hat with a soft ribbed brim, a classic red body, and a fluffy pom-pom. The hat is worked from the brim upward, using back-loop-only single crochet for the ribbing and double crochet stitches to shape the body.
Crochet santa Hat Free Pattern – The Short Answer?
Materials
- Thin yarn, held double throughout the project
- 7 mm crochet hook
- White yarn for the brim
- Red yarn for the hat body
- Scissors
- Yarn needle
- Pom-pom
Abbreviations
- ch: Chain
- sc: Single crochet
- dc: Double crochet
- dc2tog: Double crochet two together
- sl st: Slip stitch
- BLO: Back loop only
- st(s): Stitch(es)
Part 1: Crochet the Ribbed Brim
Foundation Chain
Using two strands of thin yarn held together, make a slip knot and chain 10. Chain 1 more for the turning chain.
Row 1
Skip the turning chain and work 1 single crochet into each of the 10 foundation chains. You should have 10 single crochet stitches.
Row 2
Chain 1 and turn your work. Work 1 single crochet into the back loop only of each stitch across. Keep all the stitches in the back loops to create the ribbed texture.
Rows 3–54
Repeat Row 2, chaining 1 and turning at the end of each row. Continue until you have 54 rows. The brim in this version measures approximately 18 inches long.
You can adjust the number of rows to suit the desired fit. Keeping the total number of rows a multiple of six helps when shaping the hat body.
Join the Brim
Fold the brim in half, bringing the short edges together. Join the edges with slip stitches, working through the corresponding stitches on both sides. Turn the brim so the seam is on the inside.
Part 2: Work Around the Brim
Using the white yarn, work 1 single crochet into the top of each rib around the brim. With 54 rows, you should have 54 single crochet stitches.
Slip stitch into the first single crochet to join the round. Fasten off the white yarn.
Part 3: Crochet the Red Hat Body
Attach the red yarn to any single crochet stitch around the brim.
Round 2
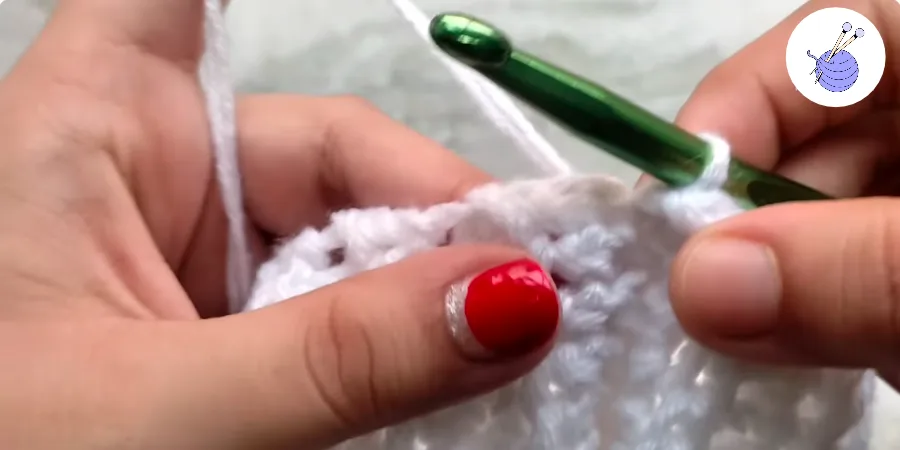
Chain 3; this counts as the first double crochet. Work 1 double crochet into each remaining stitch around. You should have 54 double crochet stitches in total.
Slip stitch into the top of the beginning chain 3 to join.
Rounds 3–6
Chain 3 and work 1 double crochet into each stitch around. Join each round with a slip stitch into the top of the beginning chain 3.
Repeat this round four more times, for five red double-crochet rounds in total. Each round should contain 54 stitches.
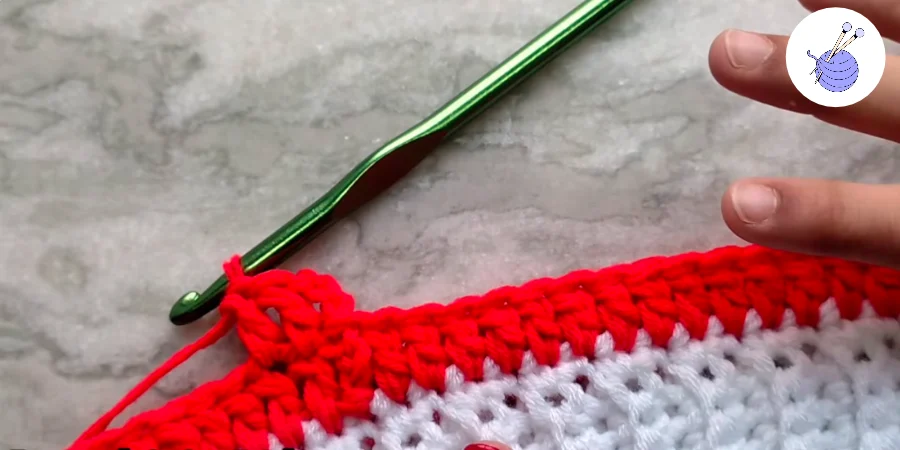
Part 4: Shape the Hat with Decreases
The decrease rounds reduce the stitch count by six each time. Work a regular double-crochet round between decrease rounds.
For each decrease, work a double crochet two together across the next two stitches. This combines two stitches into one.
Round 7 — First Decrease Round
Chain 3, counting it as the first double crochet. Work 6 more double crochets, then work 1 dc2tog across the next 2 stitches.
Repeat this sequence around: 7 double crochets, then 1 dc2tog, working the decrease across the next two stitches each time. You should complete six decrease sections.
At the end of the round, you should have 48 stitches. Join with a slip stitch into the top of the beginning chain 3.
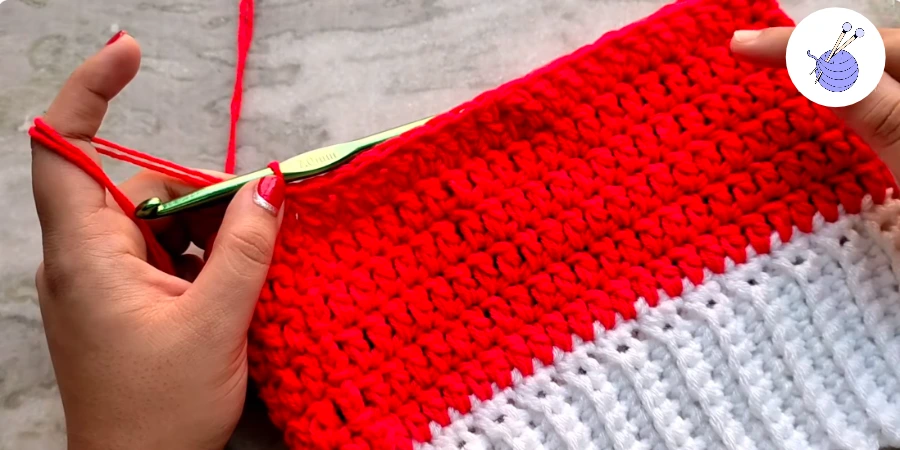
Round 8 — Regular Round
Chain 3 and work 1 double crochet into each stitch around. Join. You should have 48 stitches.
Round 9 — Decrease Round
Chain 3, then work 5 more double crochets, followed by 1 dc2tog across the next 2 stitches.
Repeat 6 double crochets, then 1 dc2tog around, counting the beginning chain 3 as the first double crochet in the first section.
You should have 42 stitches. Join.
Round 10 — Regular Round
Chain 3 and work 1 double crochet into each stitch around. Join. You should have 42 stitches.
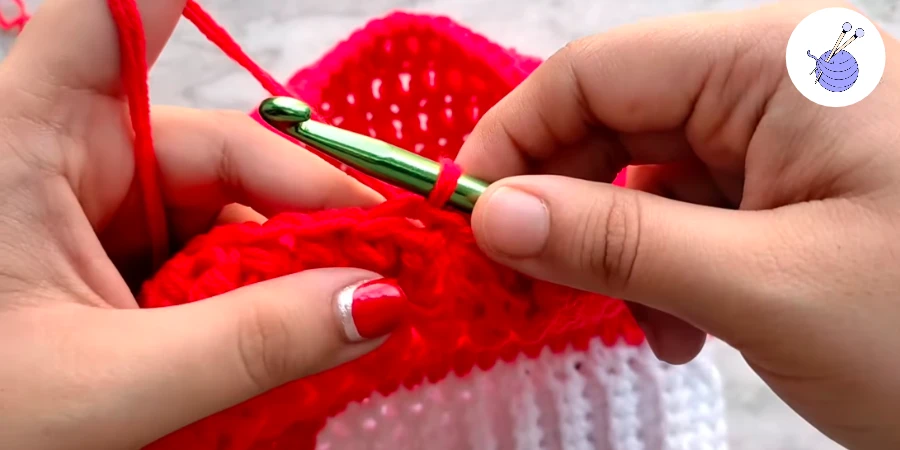
Round 11 — Decrease Round
Chain 3, then work 4 more double crochets, followed by 1 dc2tog across the next 2 stitches.
Repeat 5 double crochets, then 1 dc2tog around. You should have 36 stitches. Join.
Round 12 — Regular Round
Chain 3 and work 1 double crochet into each stitch around. Join. You should have 36 stitches.
Round 13 — Decrease Round
Chain 3, then work 3 more double crochets, followed by 1 dc2tog across the next 2 stitches.
Repeat 4 double crochets, then 1 dc2tog around. You should have 30 stitches. Join.
Round 14 — Regular Round
Chain 3 and work 1 double crochet into each stitch around. Join. You should have 30 stitches.
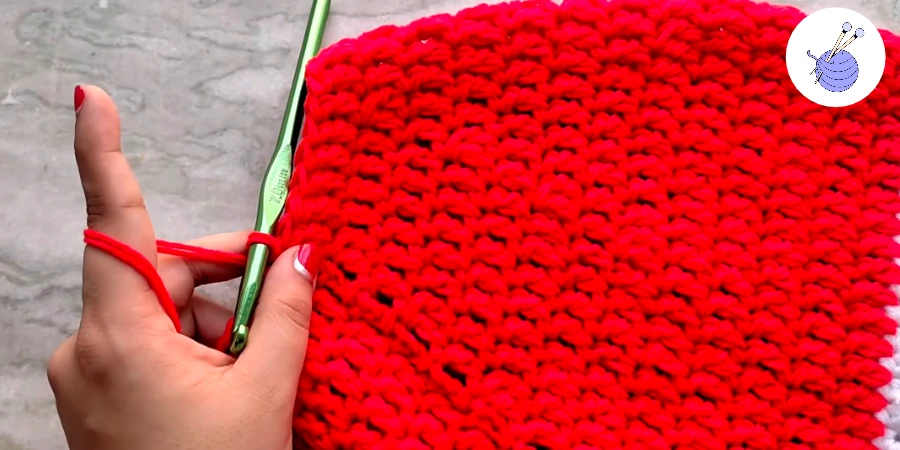
Round 15 — Decrease Round
Chain 3, then work 2 more double crochets, followed by 1 dc2tog across the next 2 stitches.
Repeat 3 double crochets, then 1 dc2tog around. You should have 24 stitches. Join.
Round 16 — Regular Round
Chain 3 and work 1 double crochet into each stitch around. Join. You should have 24 stitches.
Round 17 — Decrease Round
Chain 3, then work 1 more double crochet, followed by 1 dc2tog across the next 2 stitches.
Repeat 2 double crochets, then 1 dc2tog around. You should have 18 stitches. Join.
Round 18 — Regular Round
Chain 3 and work 1 double crochet into each stitch around. Join. You should have 18 stitches.
Round 19 — Decrease Round
Chain 3, then work 1 dc2tog across the next 2 stitches.
Repeat 1 double crochet, then 1 dc2tog around. You should have 12 stitches. Join.
Round 20 — Regular Round
Chain 3 and work 1 double crochet into each stitch around. Join. You should have 12 stitches.
Round 21 — Final Decrease Round
Chain 2 for height; do not count it as a stitch. Work 1 dc2tog across the next 2 stitches, then continue working dc2tog across each pair of stitches around.
You should complete six decreases and finish with 6 stitches. Join the round at the top of the first decrease stitch.
Note: This final round is written as six double-crochet decreases to make the stitch count consistent. The exact chain-2 technique described in the original instructions needs to be checked against a physical sample.
Round 22 — Final Round
Chain 3, counting it as the first double crochet. Work 1 double crochet into each of the remaining 5 stitches. You should have 6 stitches in total. Slip stitch into the top of the beginning chain 3 to join.
Fasten off, leaving a long yarn tail for closing the top.
Part 5: Close the Top and Add the Pom-Pom
Thread the yarn tail onto a yarn needle. Weave it through the stitches around the final opening, then pull the tail gently to cinch the top closed.
Secure the closure with a few stitches if needed. Attach the pom-pom to the top of the hat, weave in the remaining yarn ends, and trim any excess.
Your crochet Santa hat is complete!
Tips for a Neat Finish
- Keep the brim rows consistent and work into the back loop only after the first row.
- Count the stitches after every decrease round to make sure the shaping stays on track.
- Work one double crochet into every stitch during regular rounds.
- Keep the decrease sections evenly spaced around the hat.
- Adjust the brim length to change the fit, and remember that a longer brim will also affect the overall hat length.