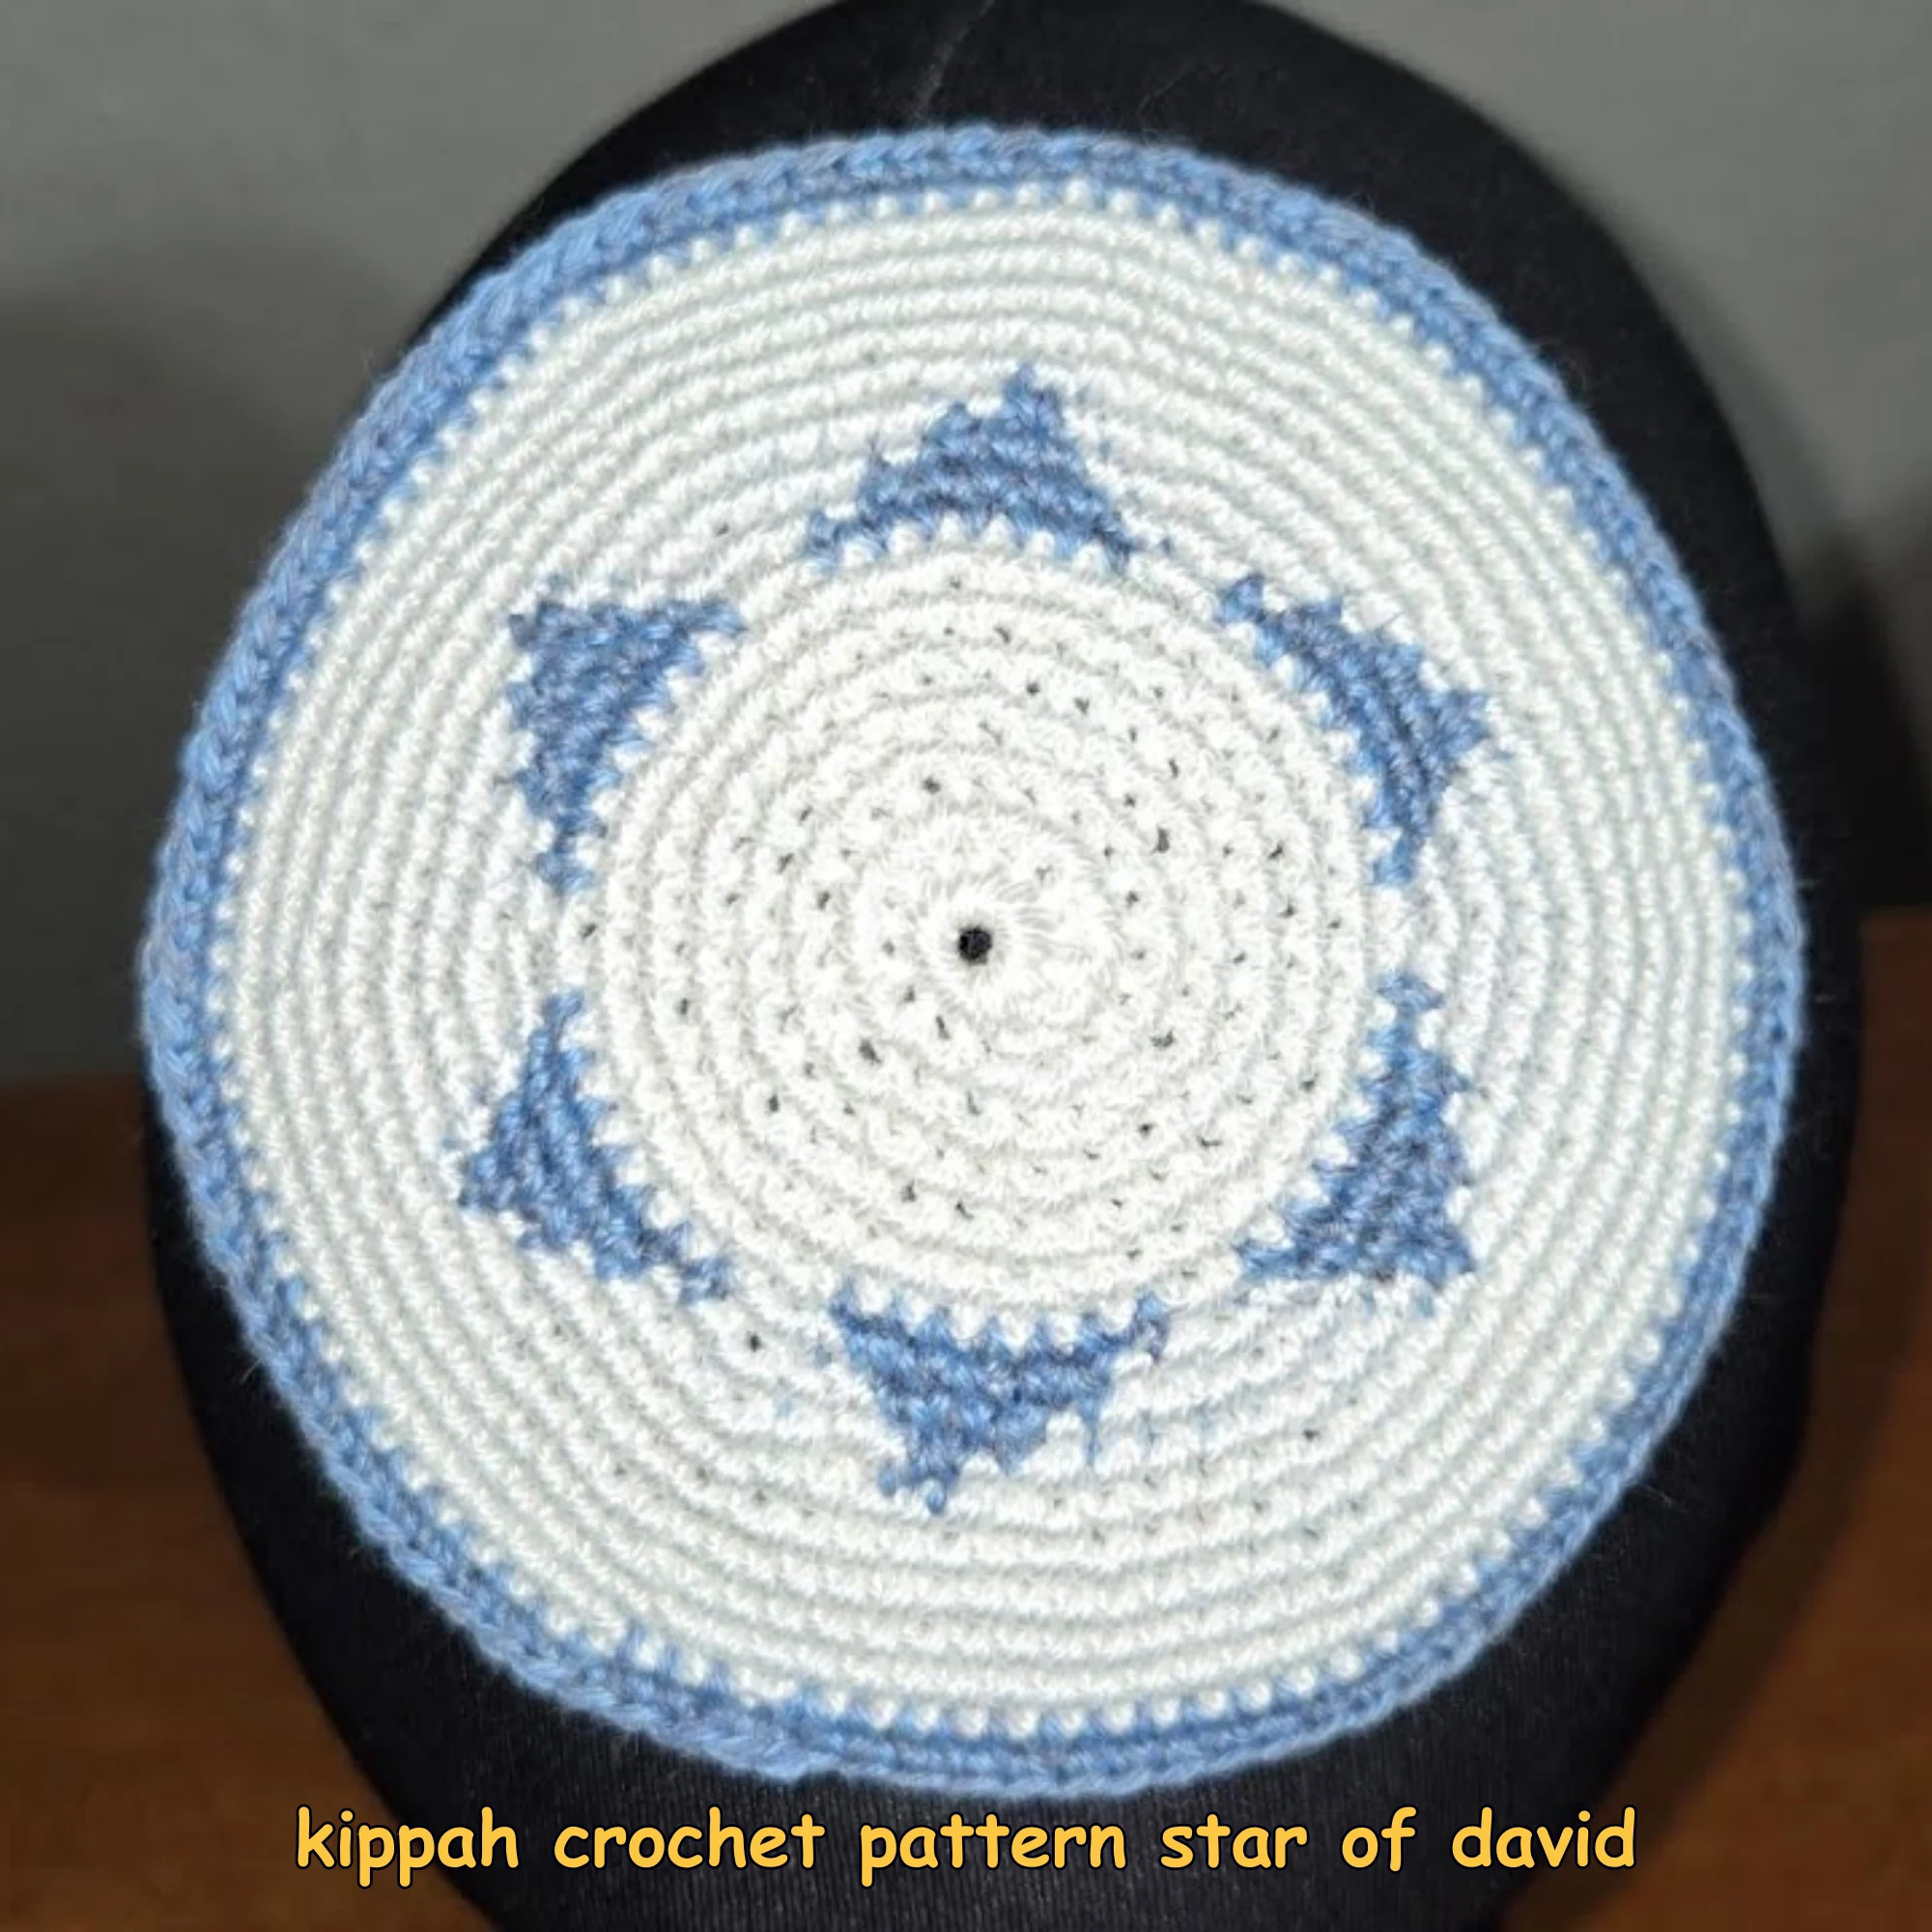
Kippah Crochet Pattern Star of David
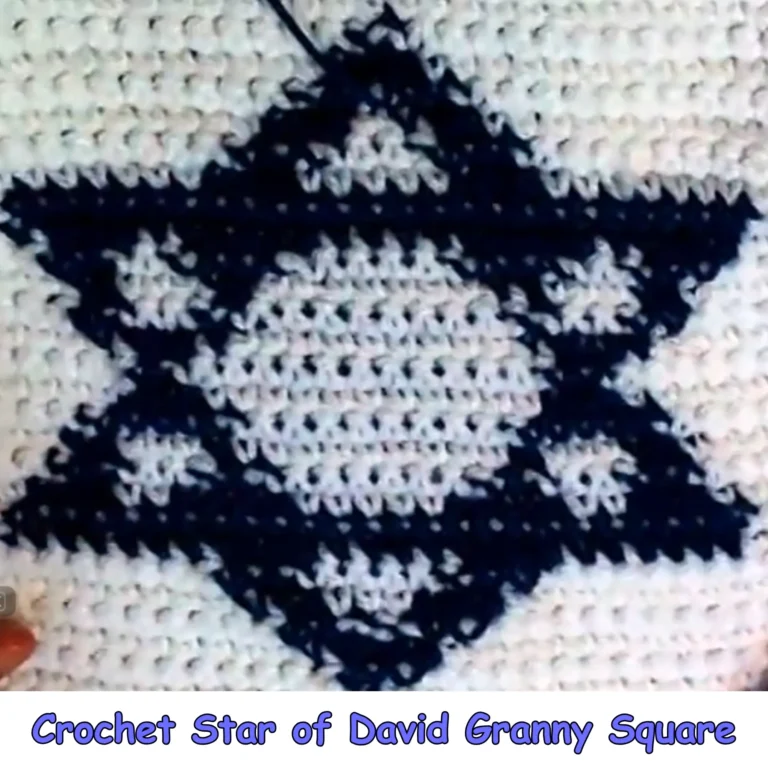
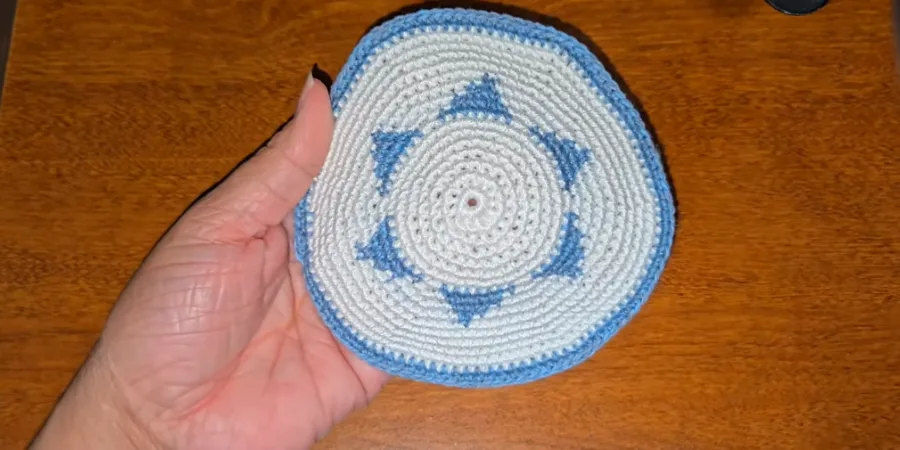
This Star of David kippah is crocheted from the center outward in joined rounds. You will first create a small circular base with regular increases, then add the two-color Star of David design. After the colorwork is complete, the kippah continues in the main color with gradually spaced increases until you reach the size you want.
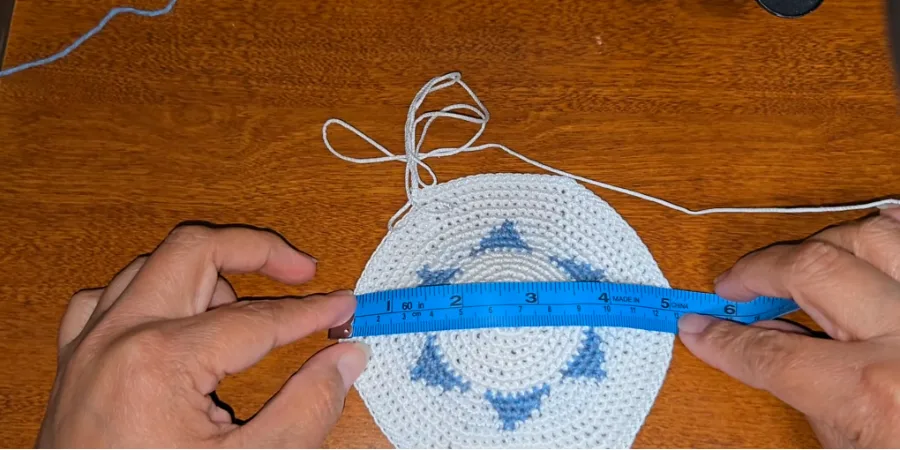
The original demonstrated kippah is a small version measuring approximately 13 cm in diameter. If you want a larger kippah, you can continue the increase rounds until the desired width is reached and then work additional rounds without increases.
Kippah Crochet Pattern Star of David – The Short Answer
Materials
You only need a few basic crochet supplies for this project:
- Two colors of yarn in approximately the same thickness
- 2.5 mm crochet hook
- Scissors
- A small piece of contrasting yarn to use as a temporary round marker
The marker helps you identify the beginning of each round and is removed when the kippah is finished.
Crochet Abbreviations
This pattern uses the following abbreviations:
- ch — chain
- sc — single crochet
- sl st — slip stitch
- st — stitch
- inc — increase
- rnd — round
An increase means working 2 single crochets into the same stitch.
How to Crochet the Star of David Kippah
The kippah is worked in joined rounds. Keep track of the first stitch of every round with the temporary yarn marker so that you know exactly where each round begins and ends.
Round 1 — Create the Center
Start with a magic ring.
Work 12 sc into the ring. Pull the starting loop to tighten the center, then join the round with a slip stitch.
You should have:
12 sc
This small circle forms the center of the kippah.
Round 2 — Begin Increasing
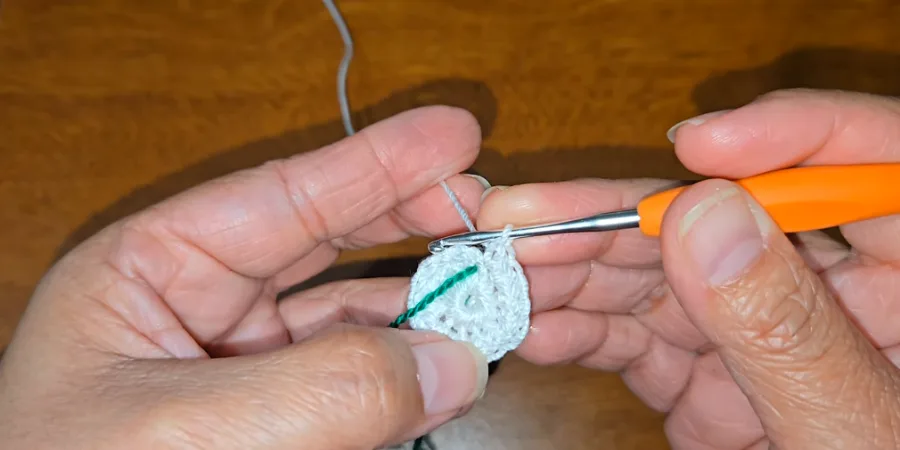
Before starting the round, place your small piece of contrasting yarn through the first stitch. This will make the beginning of the round easier to recognize.
Work:
1 sc, 1 inc around.
An increase means placing 2 sc into the same stitch.
At the end of the round, you should have:
18 sc
Move the temporary marker to the new beginning of the round as you continue.
Round 3 — Continue the Circular Shape
Keep the temporary marker in the first stitch so you can follow the round accurately.
Continue working single crochets and increases around the circle according to the demonstrated progression.
The completed round should have:
24 sc
At this stage, the regular increases continue expanding the circular base.
Pattern note: The supplied tutorial does not give a fully explicit stitch-by-stitch written sequence for this round, so no additional sequence is invented here.
Round 4 — Four Single Crochets, Increase
Work:
4 sc, 1 inc around.
Continue repeating this sequence until you reach the beginning of the round.
You should have:
30 sc
The repeated increases keep expanding the circular base while maintaining its rounded shape.
Round 5 — Five Single Crochets, Increase
Work:
5 sc, 1 inc around.
Continue the same sequence around the complete round.
You should have:
36 sc
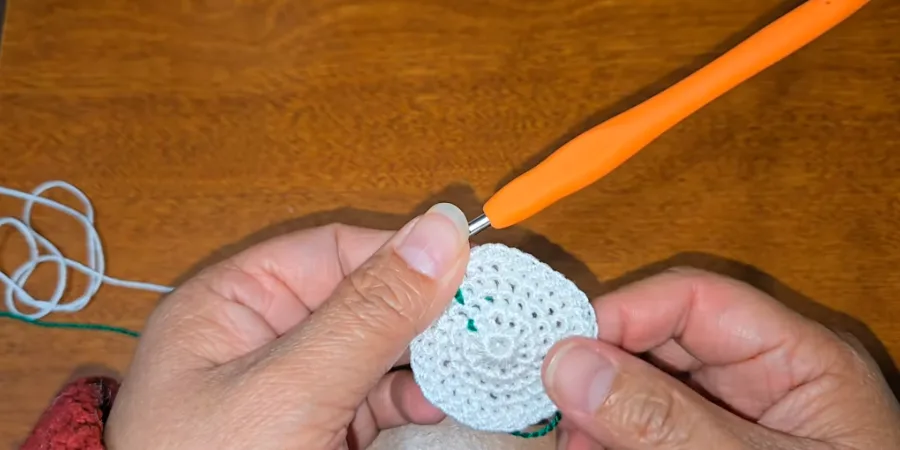
Round 6 — Six Single Crochets, Increase
Work:
6 sc, 1 inc around.
Continue until the round is complete.
You should have:
42 sc
The circle is now getting noticeably larger as the increases are spaced farther apart.
Round 7 — Complete the Circular Base
Work:
6 sc, 1 inc around.
Continue the sequence around the full round.
You should have:
48 sc
This completes the plain-color increase section before the Star of David colorwork begins.
Add the Star of David Colorwork
Once Round 7 is complete, introduce your second yarn color.
The tutorial changes colors by beginning the final stitch with the current color, leaving that stitch unfinished, bringing the contrasting yarn forward, and then completing the stitch with the new color. This creates a cleaner color transition.
Instead of cutting the unused yarn after every small section, carry it along the round. This reduces the number of loose yarn ends and keeps the two-color motif connected.
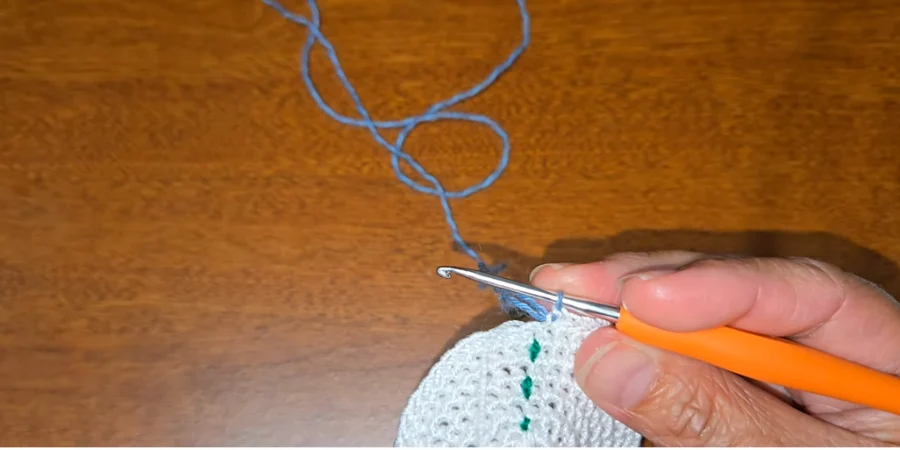
First Star of David Colorwork Round
For the first motif section, the demonstrated color sequence uses:
7 stitches in the main color, followed by 2 stitches in the contrasting color.
Continue this sequence around the round.
When changing colors, remember to complete the stitch with the new color rather than changing only after the stitch is finished. Keep counting the stitches in each color section so the Star of David design stays aligned.
Keep the Carried Yarn Relaxed
As you carry the unused color around the round, avoid pulling it tightly across the back of the work.
The carried yarn should have enough slack for the circular fabric to remain flat. Tight carried yarn can pull the fabric inward and affect the shape of the kippah.
Continue the Star of David Design
As the kippah becomes wider, the single-color sections become longer while the increases continue.
The demonstrated progression moves from:
7 stitches + 1 increase
to:
8 stitches + 1 increase
Continue paying close attention to the color sections as you work. The tutorial emphasizes counting each section before changing colors so that the motif remains consistent.
Round 9 — Eight Single Crochets, Increase
Work:
8 sc, 1 inc around.
Continue the two-color sequence while keeping the Star of David motif aligned.
The demonstrated stitch count is:
60 sc
Because this section combines increases with colorwork, count your stitches carefully before moving to the next color section.
Round 10 — Nine Single Crochets, Increase
Work:
9 sc, 1 inc around.
Continue the color sequence as demonstrated, keeping the contrasting sections aligned with the motif.
The expected stitch count is:
66 sc
At this point, the Star of David design should be becoming more visible across the surface of the kippah.
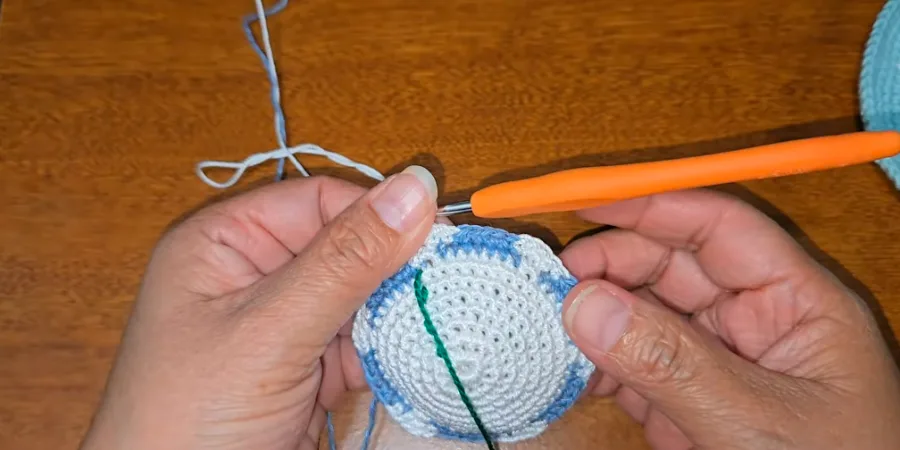
Round 11 — Ten Single Crochets, Increase
Work:
10 sc, 1 inc around.
Continue changing colors at the designated points until the round is complete.
The expected stitch count is:
72 sc
After this stage, the contrasting color has completed its role in the central Star of David section.
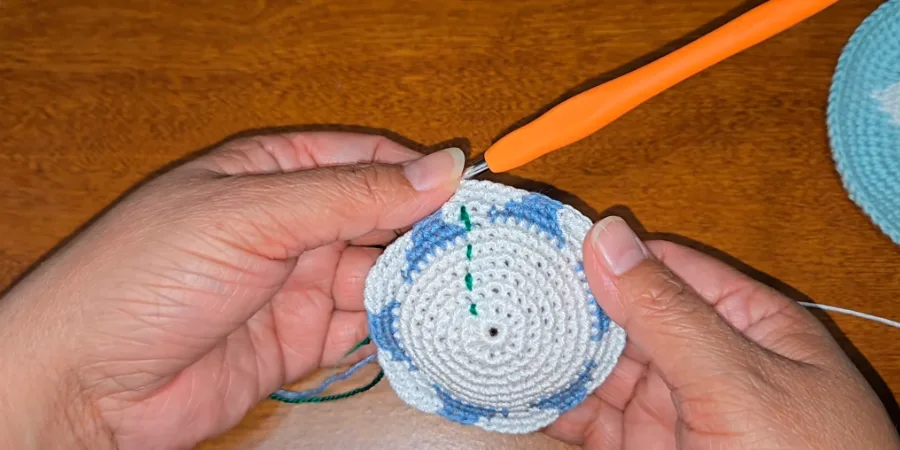
Return to the Main Color
Once the Star of David colorwork is complete, cut the contrasting yarn and secure the end.
Weave in the yarn end so it stays out of the way, then continue working the remaining body in the main color.
From this point onward, the construction becomes simpler because you no longer need to manage two colors around the round.
Continue Increasing the Kippah
The remaining body uses progressively larger spaces between increases.
Follow the demonstrated sequence:
- 11 sc, 1 inc
- 12 sc, 1 inc
- 13 sc, 1 inc
- 14 sc, 1 inc
- 15 sc, 1 inc
Continue the increase progression until the kippah reaches the desired diameter. The demonstrated small version continues through the 15-sc-and-increase stage.
The important idea is simple: as the kippah gets larger, the increases are placed farther apart. This allows the circular fabric to continue expanding without adding increases too frequently.
How to Make a Larger Kippah
The demonstrated finished kippah measures approximately 13 cm in diameter. This is the small version shown in the original tutorial.
If you want a larger kippah, continue the increase rounds beyond the demonstrated 15 sc, 1 inc round until the desired diameter is reached.
Once the kippah is wide enough, you can work:
1 sc in each stitch around
without making increases.
These additional no-increase rounds allow the fabric to continue building without making the circumference larger.
Final Contrasting-Color Edge
When the kippah reaches your desired size, finish the edge with the contrasting blue color used in the tutorial.
- Cut the main-color yarn.
- Join the blue yarn with a slip stitch.
- Chain 1.
- Work 1 sc in each stitch around.
- Do not make any increases.
- Join the round.
This creates a simple, clean single-crochet edge around the opening of the kippah.
Finishing the Kippah
After completing the final edging round:
- Cut the yarn.
- Pull the remaining yarn through the final loop.
- Secure the yarn end.
- Weave in all remaining yarn tails.
- Remove the temporary contrasting-yarn marker.
The temporary marker is only used to help identify the beginning of the rounds and is not part of the finished kippah.
Beginner Tips for a Smooth Finish
Keep track of the first stitch.
The temporary yarn marker makes joined rounds much easier to follow. Move it as you progress so you always know where the next round begins.
Count during the colorwork.
The Star of David section is the most attention-demanding part because you are managing both stitch increases and two yarn colors. Count each color section before changing colors.
Change colors while completing the stitch.
Do not wait until the stitch is completely finished. Leave the stitch unfinished, bring the new color forward, and use it to complete the stitch. This follows the demonstrated color-change method.
Do not pull the carried yarn tightly.
Keep the unused yarn relaxed while carrying it around the round. This helps the circular fabric maintain its shape.
Check the size as you go.
The original sample is approximately 13 cm, but the construction can be continued for a larger size. Once the desired width is reached, switch to single crochet without increases for additional sizing rounds.