Alpine Stitch Crochet Blanket Pattern
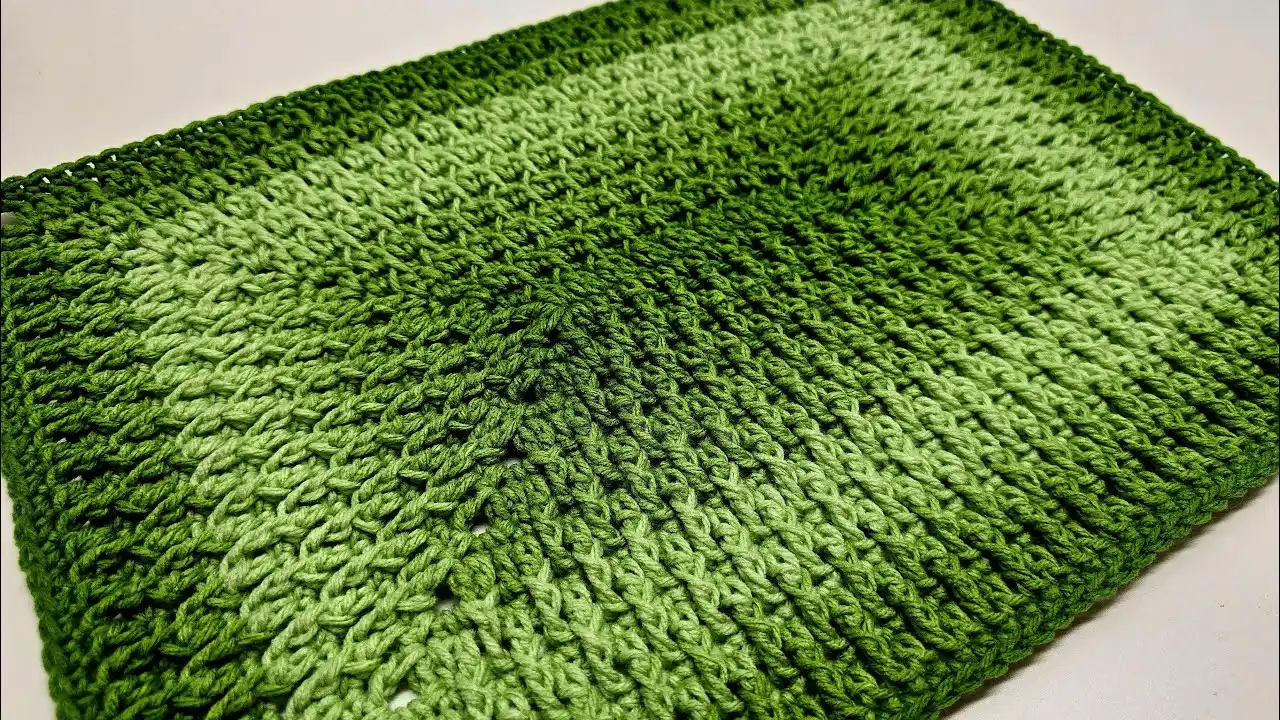
The Alpine Stitch Crochet Blanket features a beautiful raised texture created with double crochet and front post treble crochet stitches. Alternating textured rounds with single crochet rounds gives the blanket its distinctive appearance while helping the fabric settle as it grows.
Unlike a traditional blanket worked back and forth in rows, this project begins with a foundation chain and develops outward in rounds to form a rectangle. The four corners are shaped with chain spaces, and the Alpine stitch pattern builds up gradually through a repeating sequence of four rounds.
Alpine Stitch Crochet Blanket Pattern – the short answer?
Materials
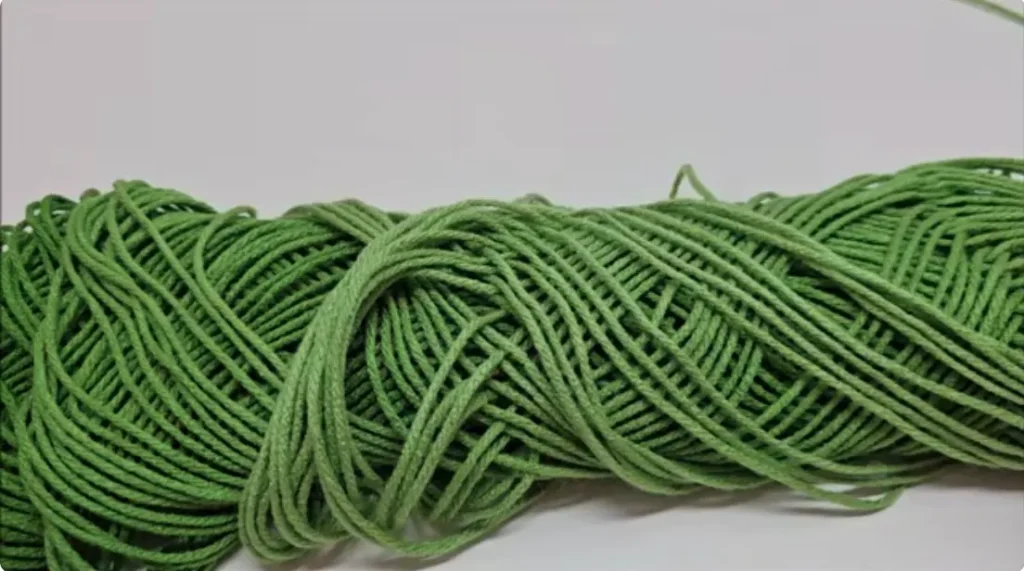
- Medium-weight (#4) acrylic yarn
- Red Heart Super Saver Ombre in Green Apple for the sample
- 5.5 mm (I-9) crochet hook
- Scissors
- Yarn needle for weaving in ends
Approximately 2,500 yards of medium-weight yarn may be suitable for an average throw-size project. The amount needed will vary with the finished dimensions, yarn choice, hook size, and personal tension.
Abbreviations
These instructions use US crochet terminology.
- CH: Chain
- SC: Single crochet
- DC: Double crochet
- HDC: Half double crochet
- FPTR: Front post treble crochet
- St(s): Stitch(es)
- Sp: Space
- YO: Yarn over
Pattern Notes
- The sample begins with a foundation chain of 19 stitches. Use an odd number for the starting chain.
- The blanket is worked in rounds, beginning at the center and expanding outward.
- Each corner has a chain-2 space that helps maintain the rectangular shape.
- The raised stitches are front post treble crochets worked around double crochet posts from two rounds below.
- Rounds 2–5 form the repeating pattern.
- The starting corner is completed in two stages to reduce the appearance of a visible seam.
- The finished dimensions depend on how many rounds you work.
Round 1: Create the Foundation Rectangle
- Make a slip knot and chain 19.
- Work 1 double crochet into the fourth chain from the hook. Continue working 1 DC into each chain until you reach the last chain.
- At the last chain, work 1 DC, CH 2, and 1 DC into the same chain to begin forming the corner.
- Work the additional double crochet stitches into this end as needed to establish both adjacent corner sections. Keep the chain-2 spaces distinct.
- Turn the work so you can crochet along the opposite side of the foundation chain.
- Work 1 DC into each stitch along this side. There should be 15 stitches across the side, excluding the corner stitches and chain space.
- At the opposite end, form the remaining corner sections using double crochet stitches and CH 2 spaces, following the same overall corner arrangement.
- Complete the starting corner with the HDC transition, joining into the top of the beginning chain as needed to establish the fourth corner space.
You should now have a foundation rectangle with four corner spaces. Keep the corner sections balanced so the next rounds can be worked evenly around the shape.
Round 2: Single Crochet
- Chain 1. This chain does not count as a stitch.
- Work 1 SC into the starting corner space.
- Work 1 SC into each stitch around the rectangle. Remember to work into the beginning-chain stitch where required; it still counts as a stitch.
- At each corner, work SC, CH 2, SC into the chain-2 space.
- Continue working 1 SC into each stitch until you return to the starting corner.
- Work 1 additional SC into the starting corner space, then make an HDC into the top of the first SC to complete the round.
This round establishes a single crochet base for the first raised Alpine stitch round.
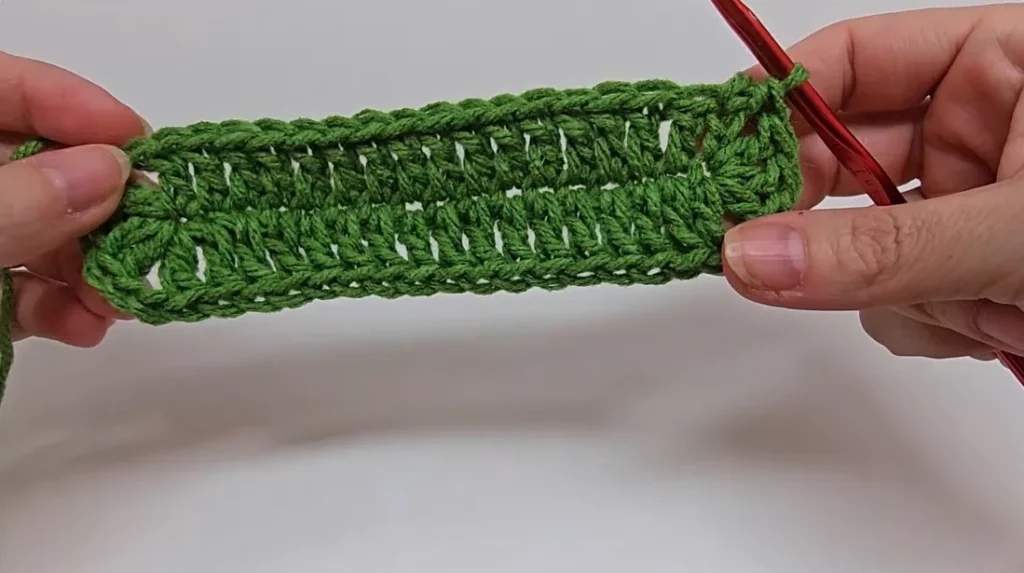
Round 3: First Textured Round
- Chain 1.
- Work 1 DC into the starting corner space, then work 1 DC into the next stitch.
- Yarn over twice and work 1 FPTR around the post of the first suitable DC from two rounds below. Skip the intervening single crochet round.
- Work 1 DC into the top of the next stitch.
- Continue alternating FPTR and DC stitches along the side. After each FPTR, skip the corresponding stitch behind it and work the next DC into the following stitch.
- Near each corner, complete the side stitches as established by the pattern.
- At each corner, work DC, CH 2, DC into the chain-2 space.
- Continue around the rectangle. At the starting corner, finish the remaining part of the corner and use an HDC transition into the top of the beginning DC.
The FPTR stitches reach down around the posts of the double crochet stitches from two rounds below. This creates the raised texture that defines the Alpine stitch pattern.
When repeating this round, work the first FPTR around the beginning chain and the corresponding DC together where needed to maintain the starting-corner construction.

Round 4: Single Crochet
- Chain 1.
- Work 1 SC into the starting corner space.
- Work 1 SC into each stitch around the rectangle.
- At each corner, work SC, CH 2, SC into the chain-2 space.
- Continue around until you return to the starting corner.
- Work the remaining SC into the starting corner space, then make an HDC into the top of the first SC to complete the round.
This round separates the raised stitches and gives the fabric another opportunity to settle.
Round 5: Offset Textured Round
- Chain 1.
- Work 1 DC into the starting corner space.
- Work 1 DC into each of the next two stitches.
- Begin the textured repeat by working 1 FPTR around the next appropriate DC post from two rounds below. Position this raised stitch between the raised stitches of the previous textured round rather than directly above one.
- Work 1 DC into the next stitch.
- Continue alternating FPTR and DC stitches, keeping the raised stitches offset from the previous textured round.
- Before each corner, work DC stitches into the remaining stitches as needed to complete the side.
- At each corner, work DC, CH 2, DC into the chain-2 space.
- Continue around the rectangle. At the starting corner, complete the remaining corner section and use an HDC transition into the beginning DC.
The offset placement gives the blanket its layered Alpine texture. As you work, look at the raised stitches from the previous textured round to identify where the next FPTR should go.
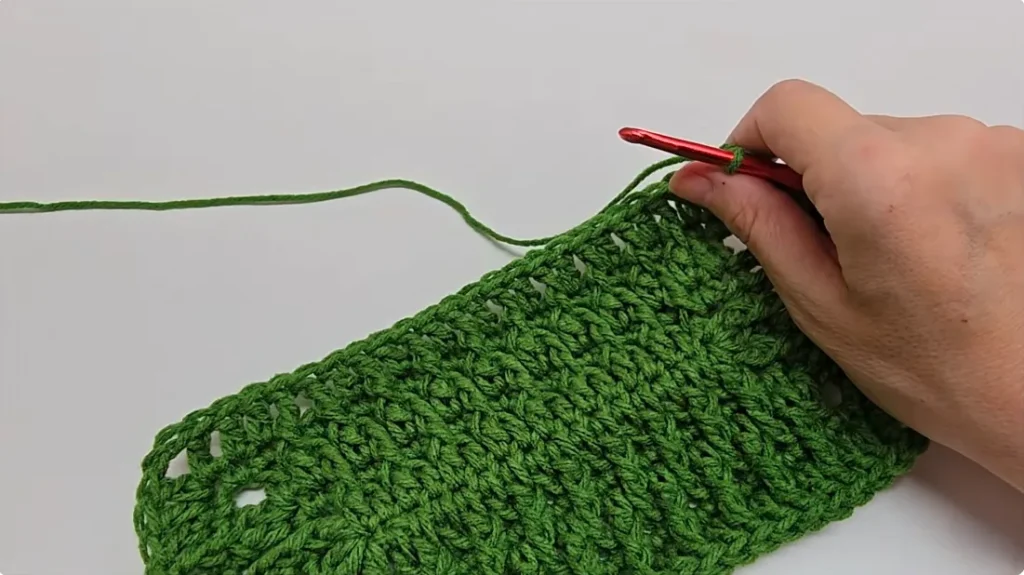
Repeat the Alpine Stitch Pattern
Continue repeating Rounds 2–5 to enlarge the blanket:
- Round 2: Single crochet
- Round 3: Textured double crochet and FPTR
- Round 4: Single crochet
- Round 5: Offset textured double crochet and FPTR
Maintain the four chain-2 corner spaces throughout the project. Each corner should remain clearly defined, with the appropriate stitches worked into the same corner space.
Repeat the sequence until the blanket reaches your preferred size. No fixed finished dimensions or total round count are required for this adjustable design.
Changing Colors
You can use one color throughout the blanket or introduce new colors between rounds.
To change colors, finish the current round, fasten off or secure the old yarn, and begin the new color in the chain space. Changing colors at the end of a round creates distinct bands and makes it easier to highlight the raised Alpine stitch texture.
Weave in the yarn ends securely as you finish each color section or save them until the end.
Finishing the Blanket
Finish the main pattern on a single crochet round.
If the edges still curl, add one or two more single crochet rounds to help the fabric lie flatter. You can also add a separate border if you want a more decorative finish.
Once the final round is complete:
- Fasten off the yarn.
- Use a yarn needle to weave in all loose ends.
- Lay the blanket flat and check the shape of the corners and sides.
- If desired, block the blanket using a method suitable for your yarn.
The finished blanket should have a rectangular shape and a raised Alpine stitch texture across the surface.
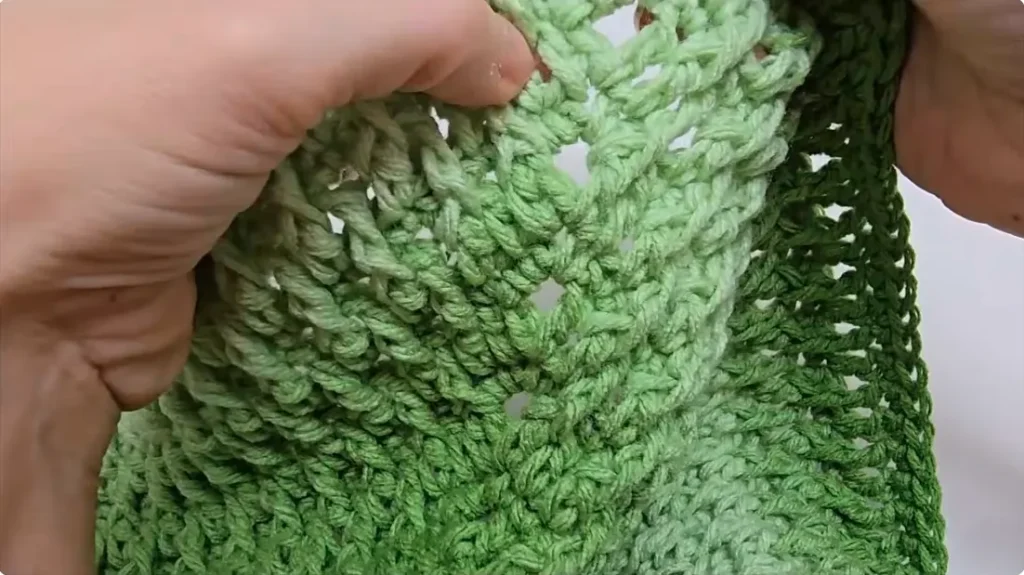
Tips for a Neat Alpine Stitch Blanket
- Keep the corners consistent. Work the correct stitches into each chain-2 space so the rectangle expands evenly.
- Work FPTR stitches around the post. Do not insert the hook into the top loops of the lower double crochet.
- Alternate the raised stitches. The textured rounds use different placements to create the characteristic Alpine pattern.
- Maintain even tension. Consistent stitches help the blanket lie flat and keep the texture uniform.
- Count the side stitches when needed. The foundation round can be tight near the ends, so careful counting helps keep the opposite sides balanced.
- Add single crochet rounds if necessary. These can help the fabric settle if the edges curl.
- Choose the size as you go. Continue the four-round repeat until the blanket reaches the dimensions you want.
Frequently Asked Questions
What yarn works best for an Alpine Stitch Crochet Blanket?
Medium-weight (#4) acrylic yarn is a suitable option for a cozy blanket. Red Heart Super Saver Ombre in Green Apple is used for the sample, but you can choose another yarn and color.
What crochet hook size should I use?
The sample uses a 5.5 mm (I-9) crochet hook. Using a different yarn or hook can change the texture, drape, and finished size.
Why does the blanket curl while crocheting?
The raised post stitches can cause the fabric to curl temporarily. The single crochet rounds help the fabric settle as the blanket grows. If the edges continue to curl, try adding one or two extra single crochet rounds at the end.
How do I make the blanket larger?
Continue repeating Rounds 2–5 until the blanket reaches your desired size. Keep the four corner spaces consistent as you work.
Can I change colors?
Yes. Change colors at the end of a round and begin the new color in the chain space. You can use as many colors as you like.
How should I finish the blanket?
Finish on a single crochet round, fasten off, and weave in the yarn ends. If needed, add extra single crochet rounds or a decorative border.
Final Thoughts
The Alpine Stitch Crochet Blanket combines a center-out rectangular construction with alternating single crochet and textured rounds. The front post treble crochet stitches create a raised pattern, while the offset placement in the textured rounds adds depth and dimension.
With its repeating four-round sequence, adjustable size, and opportunities for color changes, this blanket can be customized to suit your project. Keep the corner spaces consistent, maintain the alternating stitch placement, and finish with a single crochet round for a neat result.